Disclosure: this article contains Amazon affiliate links. As an Amazon Associate we earn from qualifying purchases, at no extra cost to you. It does not change what we recommend.
Video credit: Baxter of California, on YouTube. Technique detail in the passes and problem-area sections also draws on the double-edge tutorial from Gentleman’s Gazette. Shaving with a classic double edge safety razor looks intimidating from across the barbershop, and it is actually the most learnable skill in traditional grooming. In his traditional shave tutorial, Baxter of California walks through the whole method, and the core of it is simple: preparation decides the outcome. The razor itself is almost the least important part of the shave. What separates a comfortable, close shave from a burning, bumpy one is the order you do things in: how you load the blade, how you read your own growth pattern, how long the lather sits, the angle you hold, and how much hair you take off in one pass. This guide follows that method step by step, then adds the two-pass and three-pass structure that experienced double edge shavers use to finish closer.
Why bother with a safety razor
The pitch for a classic safety razor is not nostalgia, it is economics and skin. Done properly, a double edge shave minimizes razor bumps and irritation, and it does it with a blade that costs a fraction of a cartridge refill. A double edge razor is also more economical and more environmentally friendly overall, keeping expensive disposable cartridge razors out of landfills, because the only thing you throw away is a small strip of steel. The result of a proper double edge shave is superior to a typical cartridge shave and on par with premium single-blade systems like OneBlade, which is why barbers who learn it rarely go back. If you are comparing the two head to head before buying, our OneBlade vs safety razor breakdown covers exactly that trade. And a classic razor ages well: a solid handle is a one-time purchase, while blades cost pennies.
Key theme: The safety razor is a one-time purchase with pennies per month of running cost, and when the technique is right it is gentler on the skin than a multi-blade cartridge.
Loading the blade
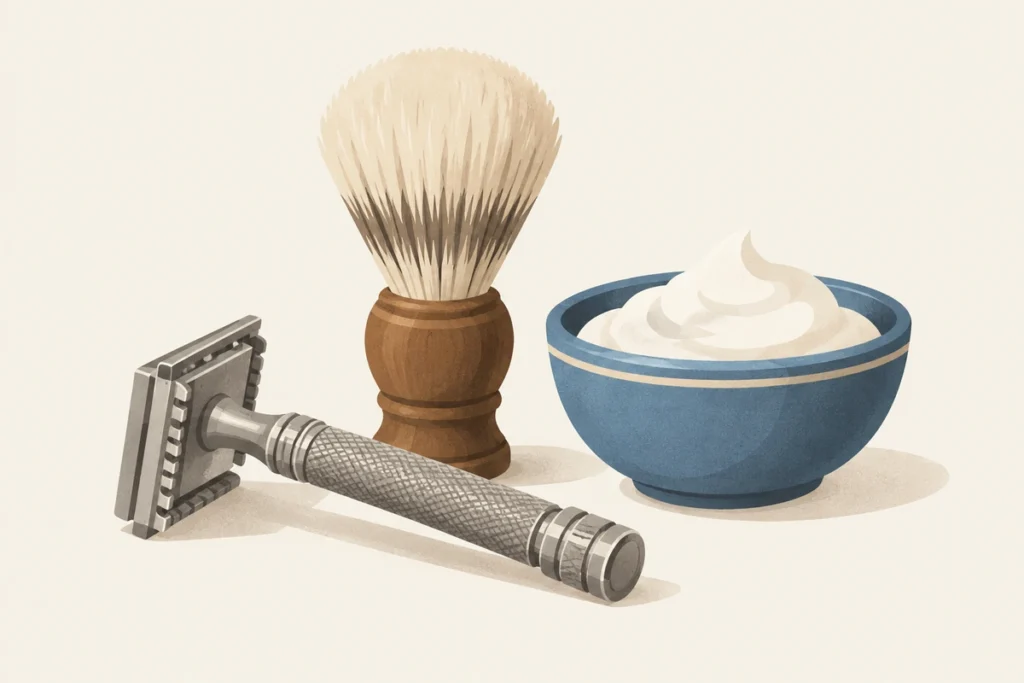
Start by inserting the blade into the razor. Drop the blade in between the two pieces of the head and screw it into the base, and you are ready to go. That sounds trivial, and it is where most first-timers lose their first drop of blood: check that the blade is sitting perfectly straight and not crooked before you tighten the handle. A crooked blade leaves one corner exposed, and an exposed corner is a nick waiting to happen. Once the head is closed, hold it up to the light from the side; the gap above the blade edge should look even across its whole width. The Merkur Mk34c below is the classic two-piece twist-to-open design the Baxter method assumes, but every standard double edge razor loads the same way.
Read your growth pattern before anything else
Before you start, inspect your facial hair growth pattern. You need to know which direction your hair grows in order to shave properly, because the first pass always travels with that grain. Stand in front of the mirror with dry skin and look closely at the cheeks, the jawline, and especially the neck: every man has a slightly different growth direction, so blanket advice like “shave down” is unreliable. The Gentleman’s Gazette tutorial suggests literally mapping it out, drawing the directions on paper the way you see them on your face. Do it once and you will remember it for years, because your growth map is the foundation of every pass you will ever take. Shaving against an unknown grain is the fastest route to ingrown hairs, and ingrown hairs are the reason most men quit safety razors early.
Key theme: Your first job is not shaving at all. It is mapping your own growth pattern, cheek by cheek and stripe by stripe on the neck, because every pass is planned off that map.
Steam, cleanse, lift
Before you shave, shower, or apply a hot towel to your beard for about thirty seconds. Steam softens facial hair, making it significantly easier to cut; a towel out of the microwave for a minute works almost as well, and so does splashing the face with hot water until the hair feels soft. Then cleanse. Use a combination of daily face wash and facial scrub: the face wash cleanses your skin while the scrub removes dead skin cells and lifts the hairs upright. Rinse well and pat dry. Skip this step and you are asking a dry blade to push through stiff hair and dead skin, which is exactly how razor burn happens. The three or four minutes this takes is the cheapest comfort upgrade in wet shaving.
The lather and the thirty second rule
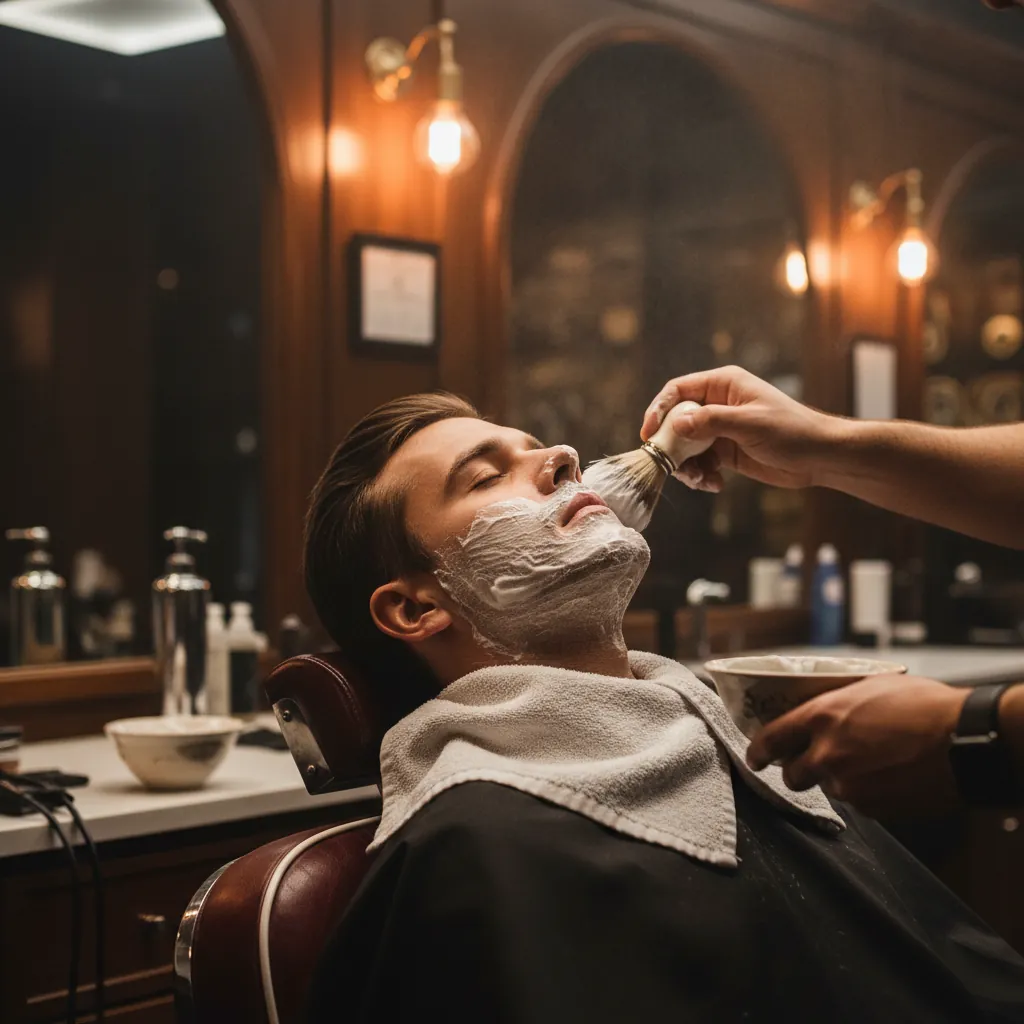
Now the shaving cream. Use a wet badger hair shaving brush to evenly apply the cream and lift your facial hair, then let the shaving cream sit on the skin for at least thirty seconds to soften the hair. That wait is not optional, it is the whole point of lather: the brush wraps every hair in lather while the cream softens it from the outside. Two things matter here. First, use a real lather, not an aerosol can: aerosol foam does not carry enough fat to protect the skin properly, while a tube cream or a brush-built soap does. Second, keep the lather alive. Shaving takes longer than you expect while you are learning, and by the time you cross from one side of the face to the other the cream has dried out. Dry lather stops protecting the skin and clogs the blade, so wet your hand and reapply a little lather before every pass over the same area. There is no such thing as too much shaving cream between the blade and your skin.
First strokes: with the grain, at the sideburn
Begin at the sideburn and shave the sides of your face first, going in the direction of your hair growth. Shaving with the grain may not provide the closest possible shave, but it provides a more comfortable shave with less irritation and minimizes ingrown hairs, which makes it the right place to spend your first weeks with a safety razor. Think of the first pass as a roughing cut: it removes the bulk so later passes have less to do. Never chase closeness on pass one. Closeness is built over two or three passes, not bought with pressure in one.
Key theme: The first pass always goes with the grain and takes the bulk of the hair. Closeness is built across passes, not bought with pressure on pass one.
The thirty degree angle
Here is the skill. The head of a classic razor does not swivel or pivot like a cartridge head, so the angle you hold it at is everything. Hold the razor at roughly a thirty degree angle and take short, straight strokes. Depending on the head geometry of your razor, anywhere between thirty and forty five degrees can feel right, and your skin will tell you: when the angle is correct you hear a light cutting sound and the razor glides. Let the razor’s own weight do the work and never push into the skin. Pressing hard does not cut closer, it just drags the top layer of skin along and ends in razor burn. Keep the skin in front of the blade tight: stretch it with your free hand, puff your cheek out to tighten that side, and use your tongue from the inside to firm up the area under your nose. On straight, stretched skin the blade has nothing to bite into except the hair.
Pass two and pass three: how the pros get closer
After the first with-the-grain pass, rinse the blade head under running water or in a sink of water and look at where hair remains. Reapply fresh lather and take a second pass, this time across the grain, at a ninety degree angle to your first pass. That sideways cut is what turns an okay shave into a smooth one, and for most men the second pass is enough. If your hair is thicker, or you want the glass-smooth finish for an event, a third pass against the grain gets you there, but treat it as a privilege you earn: against-the-grain cutting is the most aggressive pass, it is where most nicks happen, and a fresh shaver’s skin usually needs a couple of weeks before it tolerates it comfortably. If you ever feel pulling or pain, that is not you being unlucky: it means either your prep was not thorough or the blade is dull, and both have the same fix, stop and reset.
Key theme: Pass one with the grain, pass two across, pass three against, with fresh lather before every pass and a rinsed blade between them. Pulling means stop, not push.
The neck: two or three directions
The neck is where safety razor shaves go wrong, because hair there grows in many directions around the Adam’s apple, and a single downward pass will always miss some of it. This may require shaving in two or three directions on different parts of the neck, working off the growth map you made. Master the neck and you can say goodbye to ingrown hair for good, which is the single biggest quality-of-life upgrade a double edge shave delivers. The neckline and cheek-line shaping that follows the shave has its own method, which we cover separately in how to shave your neckline, cheek line and lip line. Go slowly here, use shorter strokes than you think you need, and re-lather between every direction change.
Lip and chin go last
Shave the difficult lip and chin areas last. They are last for a practical reason: leaving them permits the cream to soften that stubborn hair for the entire shave. Under the nose and under the mouth, puff air into the area and use your tongue from the inside to make the skin as flat and tight as the blade needs it. Around the jawline, pull the skin upward with your free hand so the curve presents a straight shaving surface. Every face has one or two problem areas that need their own approach: for the Gentleman’s Gazette host it is the spot under his right ear that only responds to a different direction of stroke, and finding yours is part of learning the method. Work them with short strokes and fresh lather, never a long confident swipe.
Blades make the difference
The razor is a frame; the blade is the tool. Double edge blades differ noticeably in sharpness and smoothness, which is why blade samplers exist, and why the same razor can feel two different ways on two different blades. The Astra Platinum is the dependable starting point most shavers recommend: sharp enough to cut cleanly on the first pass, forgiving enough not to punish a learning technique, and cheap enough that changing blades every few shaves costs nothing. Dull blades and rushed prep are the two causes behind nearly every “safety razors tore my face up” story, and the blade is the half of that equation you can fix in one motion.
Cold water and alcohol free balm to finish
Follow the shave with a splash of cold water or a cold washcloth. Cold water is not decoration: it rinses away what is left of the lather and calms the skin down after three passes of contact with steel. Then complete the shave by massaging a dime-sized amount of soothing aftershave balm into your face. Choose an alcohol free aftershave to minimize irritation. The old-school alcohol splashes that smell like a 1950s barbershop feel traditional and sting on contact, and they dry the skin out, which is the opposite of what freshly shaved skin needs. A dedicated sensitive-skin balm does the job for a few dollars a tube.
The first week, realistically
Your first double edge shaves will take noticeably longer than your cartridge shaves, and that is fine: you are learning a technique, not operating an appliance. Expect the whole routine, prep to balm, to run ten to fifteen minutes at first. Expect one or two small nicks and one or two hot spots on the neck. What you should not expect is a perfect result immediately, and equally you should not expect a bad one to last: most shavers report that by the end of the second week the shave is faster, closer and more comfortable than their cartridge routine ever was. The Baxter video runs the full sequence in under three minutes, and it is worth rewatching once after your first shave, when the parts you got wrong are suddenly obvious. If you are still choosing your first razor, our beginner safety razor gift guide and best safety razors under $50 both narrow the field, and the Henson AL13 review covers the mild, forgiving geometry many first-timers start on.
Key theme: Week one is about building the habit chain: hot water, real lather, light pressure, fresh lather per pass. Speed comes by itself around week two.