Disclosure: Some links in this article are Amazon affiliate links. If you buy through them, we may earn a commission at no cost to you.
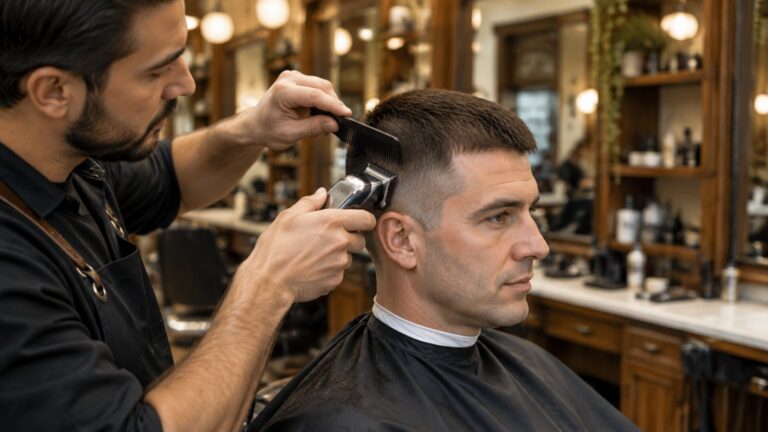
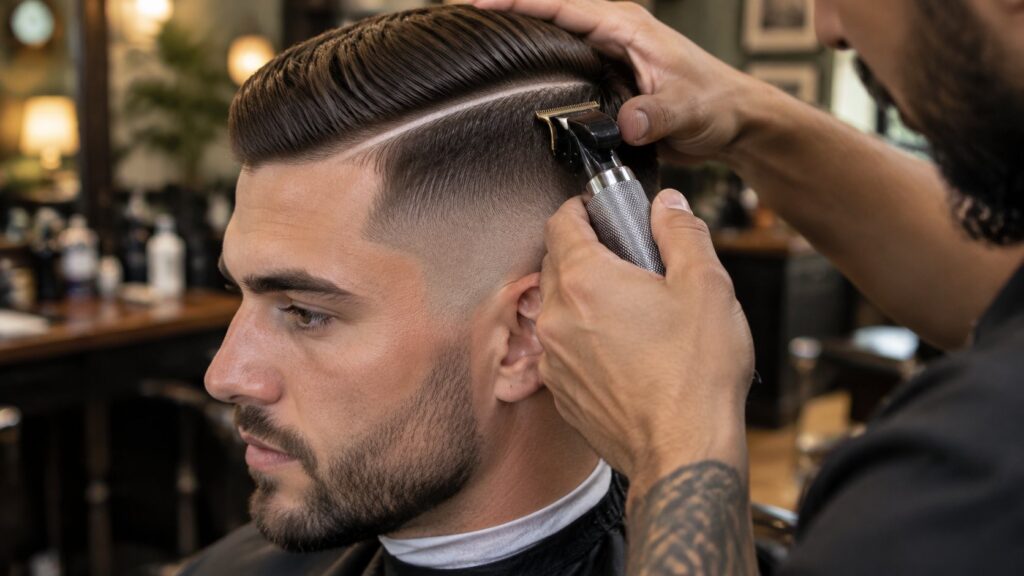
A hard part is a shaved line cut into a side part, usually paired with a comb over and a fade. Done right it sharpens the whole haircut. Done wrong it sits too high, looks painted on, and grows out awkward in a week. Two barber tutorials cover the cut from opposite ends: one isolates the placement rule most people get wrong, the other shows the full haircut the line lives inside.
A note on the sources: This guide draws on TheSalonGuy’s hard part tutorial (January 2017), in which barber John demonstrates placement and razor work, and CADMEN Barber Academy’s comb over with a hard part (December 2025), a complete cut that shows how the line fits into a faded comb over. One teaches where the line goes; the other shows everything around it.
What a hard part actually is
The part in a comb over is a line where hair splits left from right. A hard part takes that natural division and makes it permanent for a couple of weeks: a barber etches a narrow shaved line along it with a trimmer or a straight razor. You will also hear it called a razor part or a line up part. The effect is a part you never have to find with a comb, and a haircut that reads crisp from across the room.
Placement: the parietal ridge rule
John’s tutorial opens with the mistake he sees constantly: barbers and clients cutting the hard part on the natural part. The natural part is often the wrong spot. On a lot of heads it sits too high, drifting toward the middle of the skull, and a shaved line up there looks disconnected from the haircut.
His rule: find the parietal ridge, the corner where the side of the head turns into the top, and place the line right at that corner or just above it. That corner is where a comb over naturally wants to split, so the line reinforces the shape of the head instead of fighting it. CADMEN’s full haircut demo reinforces the same idea from the other side: the parietal ridge is the structural landmark the whole cut is built around, fade below it, length above it.
Assess the head before any guidelines
CADMEN’s instructor spends real time on a step beginners skip: before a single guideline goes in, he combs the whole head out and reads it. Where does the hair naturally lie? Where is it dense and where is it thin? Are there bumps or grooves in the skull that will show through a short cut? All of that decides where the part can sit and how the fade should be built.
Then he parts the hair neatly, and only after the part is established does he touch a trimmer. The order matters. If you cut guidelines first and part second, you can end up with a line that fights the fade instead of sitting inside it.
The tools
- A T-blade trimmer. The Wahl Detailer Li is built for exactly this: a tight blade that etches clean lines without wandering.
- A straight razor or shavette. After the trimmer sets the line, a shavette-style barber razor takes it to the skin and makes it read sharp. This is the step that separates a hard part from a part with a groove in it.
- A cutting comb. A rigid carbon comb is what establishes the part and holds hair out of the way while the line goes in.
- A styling product. A medium-hold Suavecito Original Hold pomade keeps the comb over in place so the line stays visible all day.
Cutting the line
With the part established and the fade built, the line itself is a short sequence:
- Isolate the part. Comb the hair cleanly to each side so the part line is exposed skin, then hold it open with the comb or a finger.
- Etch with the trimmer. Run the T-blade along the exposed line, front to back, in short controlled passes. Narrow is better; you can widen a line, you cannot un-widen it.
- Define with the razor. Stretch the skin and follow the etched line with the shavette to take it down to clean skin.
- Check the 360. CADMEN’s habit is worth copying: step back and look at the whole head. A line that looks straight from the front can drift over the parietal ridge from the side. When working the back of the head, he has the client tip their head forward so the skin lies flat.
Styling the comb over
The line only shows if the hair stays off it. Work a fingertip amount of pomade through towel-dried hair, comb everything to its side of the part, and let the product set. Water-based pomades like the Suavecito hold through the day and wash out without a fight, which matters when you are re-combing across a shaved line every morning.
How long it lasts
A hard part is a commitment measured in days, not months. The shaved line starts showing regrowth inside a week and looks fuzzy by two. Most guys get it re-etched every time they get the fade tightened, on a two to three week cycle. Between cuts, a careful pass with a trimmer can stretch it, but razor work at home is where most DIY hard parts go wrong, so touch the trimmer line only and leave the skin work to the chair.
FAQ
Where exactly should a hard part go?
At the parietal ridge, the corner where the side of your head turns into the top, or just above it. Not on your natural part, which often sits too high toward the middle of the head.
Trimmer or razor for the line?
Both, in sequence. The trimmer etches the line, the razor sharpens it to the skin. A trimmer-only line is softer and fades faster; a razor-only attempt on un-etched hair is how lines go crooked.
Does a hard part work with thinning hair?
It depends on the density. A shaved line removes hair, so on a thinning top it can exaggerate the contrast. Keep the line narrow and talk to your barber first; on some heads a soft natural part reads fuller.
Can you grow a hard part out?
Yes. Stop re-etching it and the line disappears in about two to three weeks as the shaved hair reaches stubble length and blends into the rest of the cut.
How wide should the line be?
Narrow. One to two millimeters reads sharp; much wider and it starts to look like a racing stripe. Your barber can always widen a line, so start thin.