TrustedBarber is reader-supported. If you buy through links on this page, we may earn a commission from Amazon at no extra cost to you.
- What makes a wolf cut a wolf cut
- The sectioning map
- The nape baseline and the back half
- Anti-head shape: the graduation trick
- The sides: pull forward, cut horizontal
- The blending pass that ties it together
- The crown section and razor layering
- The fringe
- Texture: why a razor does this job
- Styling the finished cut
- The tools for the build
- FAQ
The wolf cut is the haircut where a razor earns its place on the station: Russell Mayes, Director of Content at Jatai Academy, built a full K-pop inspired men’s wolf cut on camera, and the reason a razor sits at the center of it comes up early: with a scissor cut you blunt the line and then have to go back over it and over-texturize to force separation into the hair. Cut with the razor in the same pass and the texture is already there, piecier, with less effort. That workflow difference is what separates a wolf cut that pops from one that reads as a shaggy layered cut.
What makes a wolf cut a wolf cut
The brief in the video is specific: a K-pop inspired wolf cut, which means a lot of texture on top of a structure that builds up weight in the crown and in the back of the head. That weight placement is the whole identity of the cut. A standard layered cut distributes length evenly and lets the silhouette taper. The wolf cut does the opposite on purpose: it stacks fullness right around the occipital bone, then lets everything under it collapse and flip out. Mayes calls the target result “that flippy, piecey, wolfy type of shape,” and that phrase is worth keeping in your head as the standard the rest of the build serves.
Weight at the crown and back, texture everywhere, a nape that collapses and flips. That triangle is the entire wolf cut.
Our mullet cutting guide covers the closest relative in the family, and the difference in where the weight sits explains most of the styling gap between the two.
The sectioning map
Mayes starts with what he calls basic sectioning, and it is worth copying exactly because every later step references it. He parts down the center of the front half, separating the front half of the head from the back half, then runs a second part from just above the occipital bone to above the mastoid behind the ears, which lifts the nape section out. That gives him three working zones: the back half, the nape, and the top-front mass.
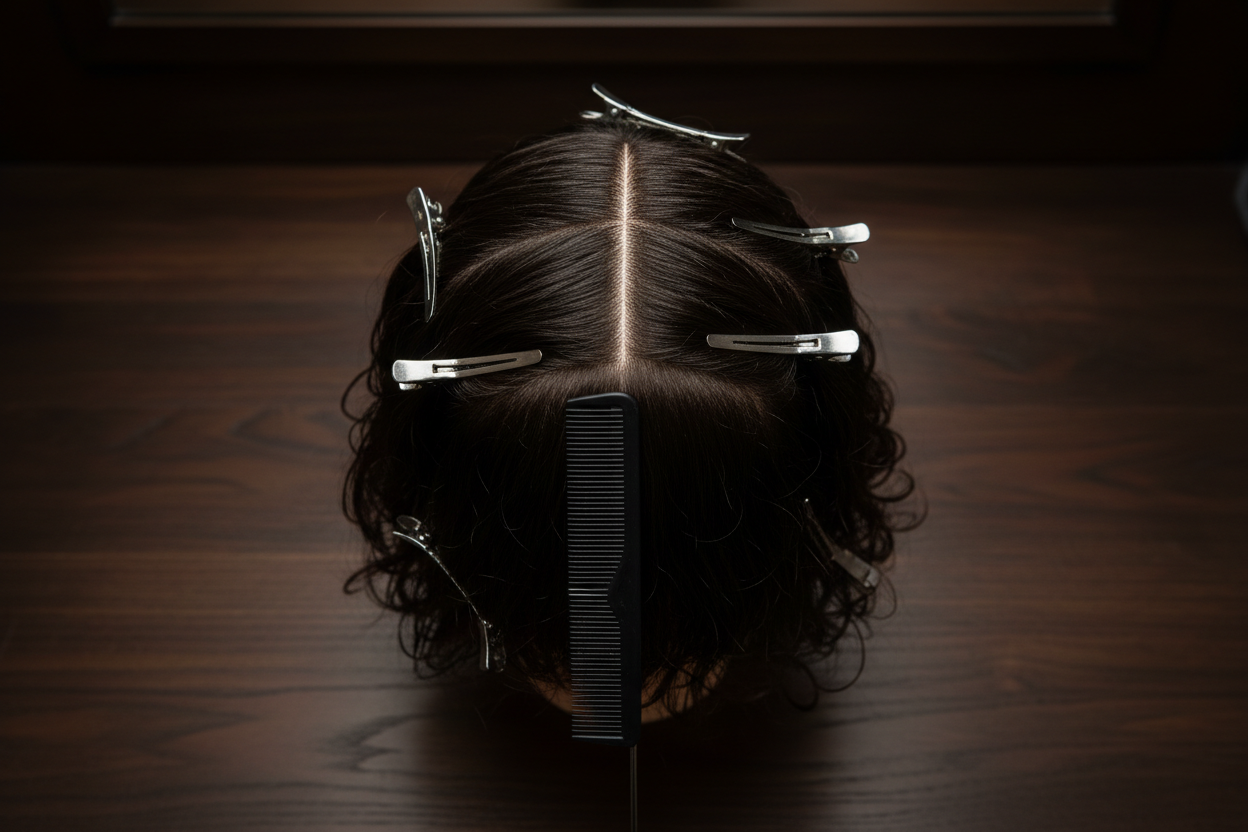
The reason for the map shows up later: the sides and the back get cut with different pulling directions and angles, and the sectioning is what guarantees those lines meet behind the ear without a shelf.
Set the three zones now: every cut that follows references this map.
The nape baseline and the back half
The build starts at the bottom. Mayes starts at the nape, sets his baseline, and works that baseline all the way up until the whole back half of the head is finished. Everything in the back half is held straight back, and each section is cut to a straight up-and-down line. He picks the length for the shortest layer, holds the section straight back, and cuts vertically. A vertical cut line through sections held straight back is what produces the graduation and collapse described next; cut the nape horizontally like a traditional shag and you get a horizontal shelf instead.
Start at the bottom, hold every section straight back, cut straight up and down.
Anti-head shape: the graduation trick
This is the most transferable idea in the whole video, and Mayes names it plainly. Head shape cut would be the same length from top to bottom of the head. Anti-head shape is leaving it longer at the top, shorter in the middle, and longer at the bottom. Holding each back section straight back and cutting straight up and down produces exactly that length pattern, and it does two things at once.
First, it builds graduation: the cut line curves as he works, and that curve is the fullness stacking around the occipital bone, where a wolf cut wants its weight. Second, because the middle of the section is shortest, the hair underneath gets lifted and collapses instead of hanging. Mayes names the failure mode he is designing against: the overly bulky nape, the “mud flap” look mullets get. The graduation carries the fullness higher up the head, and the hair below flips instead of bunching.
He then walks his guide over section by section. The center section becomes the guide, a horizontal section from the left side joins it, everything pulls into the center of both sections, and he follows the guide cutting straight up and down again. Repeat that walk, section by parallel section, until the whole back half is cut, and you have a back that graduates cleanly instead of a stack of independent layers that each got their own length.
Longer at the top, shorter in the middle, longer at the bottom. Anti-head shape is what stacks the weight where the wolf cut wants it.
The sides: pull forward, cut horizontal
The side sections work on a completely different logic, and the switch is deliberate. He sections off high on the recession area of the side of the head, takes an angle diagonally back that runs parallel to the hairline, and pulls that section forward. The cut line itself is straight horizontal, but because the hair is pulled forward, cutting it there means the front of that section ends slightly shorter than the back of it.
The pull-forward trick does two jobs. It introduces movement, so the hair around the face swings back instead of hanging flat, and it sets the fringe length: he pulls everything forward and cuts about right to the tip of the nose, which becomes the fringe reference. He is also explicit about sequencing: texture and length are not cut at the same time on the sides. Length and shape come first, texture comes later, in two separate steps.
Pull forward, cut horizontal. The pull is where the movement comes from.
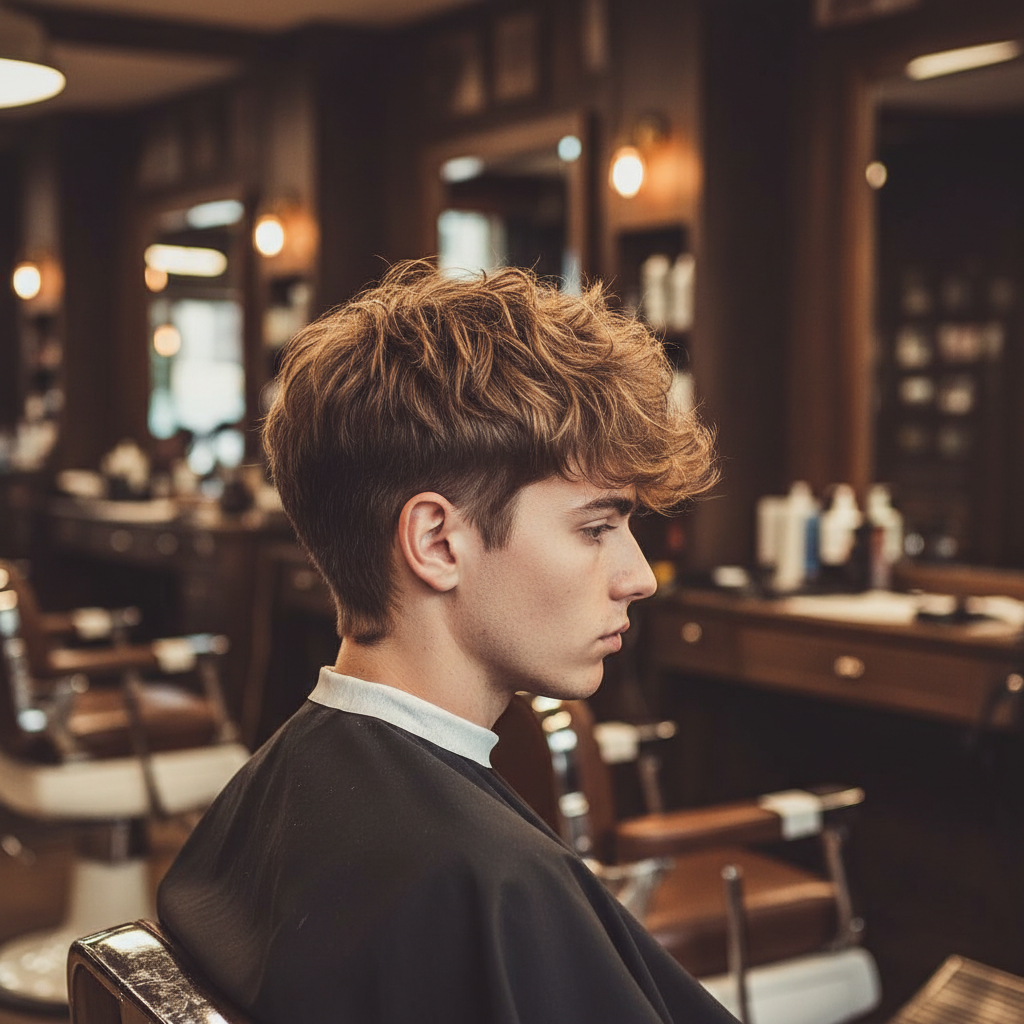 ” alt=”Stylist trimming a man’s shoulder-length hair” class=”wp-image-7096″ style=”width:640px;height:auto” />
Then he connects the sides to the nape. He sections the top and back, angles the section down into the nape parallel to the first side section, which itself ran parallel to the hairline behind the ear. This time he pulls the section straight out from the head at 90 degrees and cuts it straight up and down, blending it into the nape length he already established. There is not much hair to remove here and that is the point: this pass exists to make sure the side lengths and the back lengths meet, so the junction behind the ear is continuous rather than patched.
The blending pass that ties it together
With the major lengths cut, Mayes runs what he calls a quarter part back blending pass, and the name is a mouthful he acknowledges. The section he cut underneath, vertically at the ear, is what made sure everything blended from the sides down into the nape. Now he takes the back half of the head on top and makes sure that hair blends through with what he cut underneath. His standard for this pass is strict: no hair from the top hanging over and disconnected from the hair underneath. Everything blends through perfectly or it gets cut until it does.
This is the pass beginners skip, and skipping it is why home wolf cuts look assembled from parts: the front, the crown, and the nape were each cut to their own logic, and this pass is what makes the three agree.
The quarter-part blending pass is what makes three separately cut zones agree.
The crown section and razor layering
The crown gets its own architecture. He takes a center section from the front hairline all the way to the back, a mohawk section, and the length at the crown becomes the guide for all the layering. That section pulls straight up, cuts at 90 degrees from the head, and he works back to front cutting it all at the same length. From there the parallel sections walk to each side, get held up into the middle together, and follow the guide from underneath, with anything hanging past the guide cut off.
The razor handling here is worth slowing down for. Layering with the Feather Plier Razor, a guardless razor, means respecting what the blade does: it can touch skin without cutting, but it cuts when it touches and then moves left or right. So the discipline is in the grip and the stroke. The hand holding the section grips it hard, a “death grip” so the section cannot fall out or shift, then the razor applies gently with an up-and-down cutting motion.
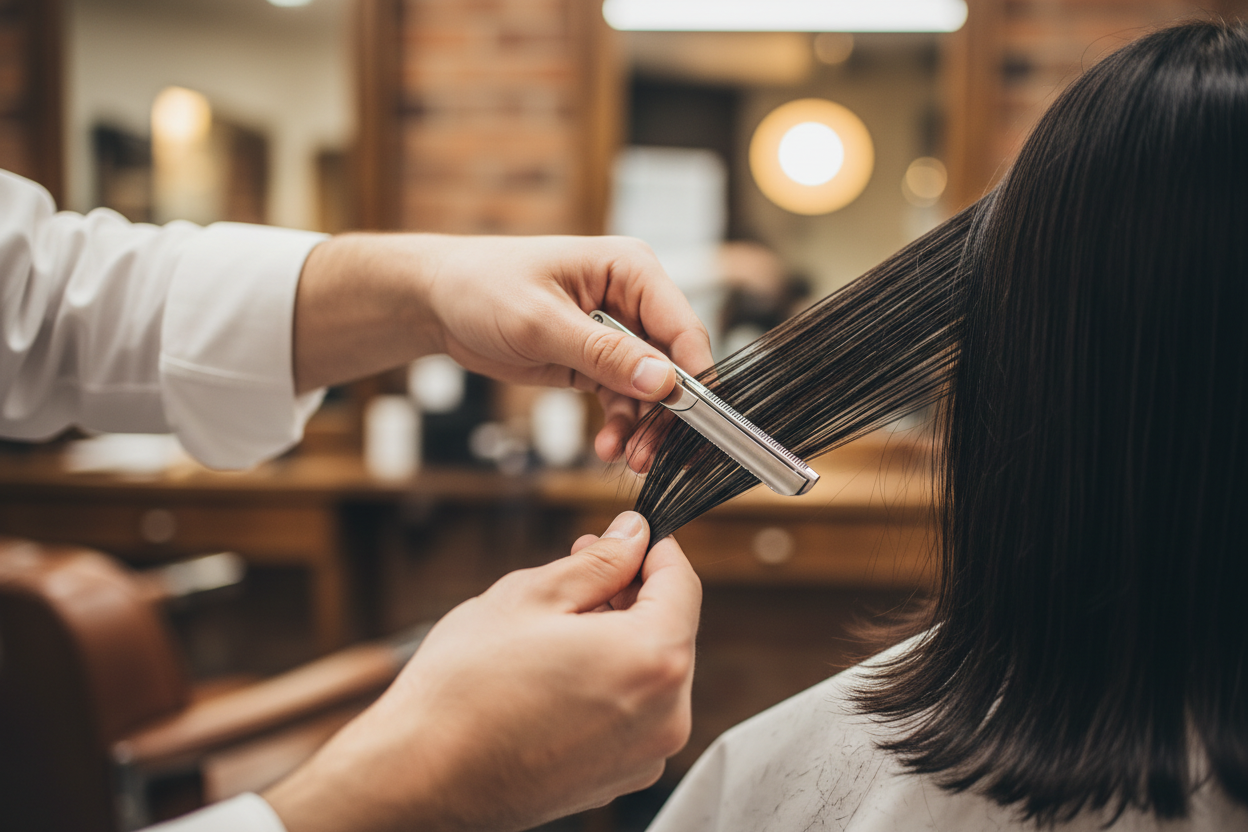
His practice advice is direct: take a mannequin head and practice until you are comfortable, then work methodically and slowly. Moving fast, he says, is the enemy of clean sections and clean hair.
Grip hard, stroke up and down, work slow. The razor rewards patience, not speed.
The fringe
The fringe gets cut to its own rule set, and the reasoning matters because it is what keeps the wolf cut from looking like a straight-across crop. He pulls the center of the front down to the tip of the nose and razors that length off, which sets the fringe length. Then he splits the front in half and takes the entire right side of the head, blending it through with the short piece he just cut at the front center.
The geometry here is the lesson: going a little shorter in the middle leaves the sides a little longer, and shorter hair always flows toward longer hair. That is how the fringe gets its movement without any styling product forcing it. The razor direction compounds it, because he razors from the center out to the sides, which introduces even more directional movement. Compare that to cutting a blunt fringe across at one length: no flow differential, nothing to move, and the fringe just sits.
Shorter in the middle, longer at the sides. Shorter hair always flows toward longer hair.
Texture: why a razor does this job
After the lengths, the texture pass runs around the front half of the head, because the back already got its texture applied while the length was being cut. Mayes makes the calibration decision sound simple, and it is: thick hair needs more texture than you think, fine hair needs less, and every head gets its own judgment call that only practice teaches. He checks as he goes, matching the texture through the front to the texture already in the back so the whole cut reads as one piece.
Here is where the workflow choice from the opening pays off. If you had cut everything blunt with shears, this pass would be a rescue mission: over-texturizing the blunt lines, hunting for separation and pieciness that was never built in. Because the lengths were cut with the razor in the same pass, the texture is already distributed, and this pass is fine-tuning instead of reconstruction. Less effort, and a piecier result, in his words.
The razor builds texture while it cuts. Shears make you buy that separation back later.
Styling the finished cut
A wolf cut lives or dies in the styling chair, because the shape depends on separation the cut built in. That flippy piecey shape with weight at the crown and clean collapse at the nape reads best with grip and dry texture rather than shine and weight. A matte texture powder like Slick Gorilla Hair Styling Powder dusted through the crown adds the grit that makes the piecey separation stand up instead of clumping.
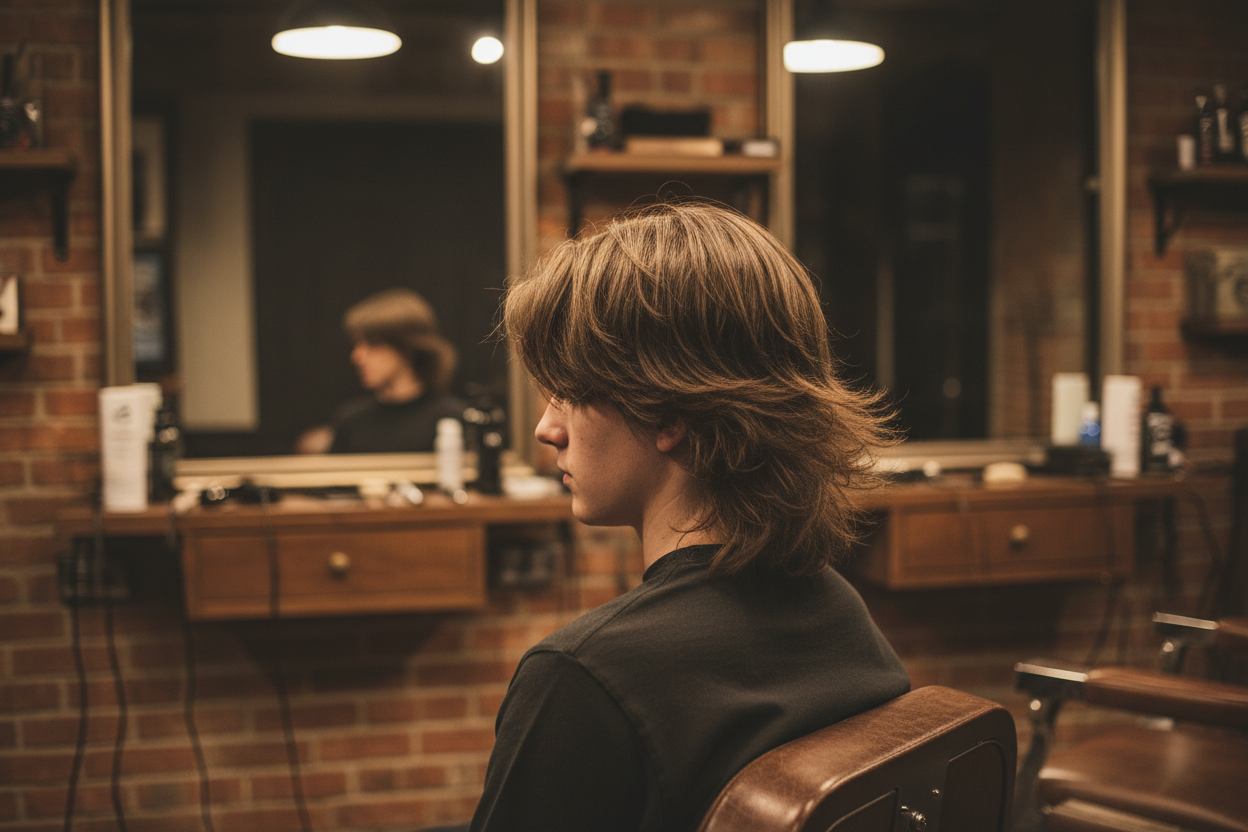
On slightly longer wolf cuts, a sea salt spray preps the hair for that collapsed, flipped-out finish at the nape, and the Slick Gorilla Sea Salt Spray builds it without adding shine.
If the hair is thicker or the client wants the crown weight controlled rather than maximal, a matte clay gives hold while keeping the separation visible, and the Slick Gorilla Lightwork Matte Clay does that job at a flexible hold.
Whichever product family you land on, our pomade, clay and paste breakdown sorts the three by hold and finish so the pick matches the hair in the chair.
A wolf cut should be separated with fingers or a wide comb, never combed smooth. The Bardeau professional cutting comb, with wider teeth spacing, detangles a layered cut without flattening the texture you just cut in.
Separate with fingers or a wide comb. Never comb a wolf cut smooth.
If the wolf cut runs longer and heavier on top, swap the powder for a cement-strength hold: the Layrite Cement Hair Clay at $27.00 averages 4.6 stars across more than 7,100 ratings and keeps the piecey separation without shine. The American Crew Classic Fiber at $22.86, 4.7 stars, is the low-shine classic that does the same job for shorter versions of the cut.
The tools for the build
The razor
The entire build runs on a guardless razor, and Mayes is explicit that nothing else on the market gives this look and texture. If you are adding razor work to your service menu, the non-negotiables from the video are the grip discipline, the up-and-down stroke, and mannequin practice before the first client. The texture a razor leaves is also why our thinning shears technique guide makes a useful companion read: it covers the scissor-side of texturizing, which is the right tool for the blunter wolf cut variants.
If you are assembling the razor kit for this cut, the Feather Standard Styling Razor Kit bundles the ergonomic handle with 11 guarded blades and a metal blade disposal case in one box. It runs $54.99, averages 4.7 stars across 594 ratings, and is in stock now.
Supporting kit
Sectioning clips and a good comb keep the map honest all the way through, and a hair dryer with a concentrator helps set the crown volume before the texture powder goes in. For the shorter wolf cut variants that taper the sides, our clipper guard sizes chart covers the guard ladder.
Lineups and necklines still want a trimmer even on a razor-built cut, and the Andis Professional T-Outliner is the shop standard for it: corded with the GTX T-blade, $64.95, 4.5 stars across more than 34,000 ratings, and back in stock.
FAQ
Is a wolf cut the same as a mullet? No, and the video draws the line precisely. Both carry weight toward the back, but the wolf cut’s graduation stacks that fullness around the occipital bone while the nape collapses and flips. Mayes explicitly designs against the bulky nape he calls the mud flap look that mullets get. The silhouette family is related; the weight placement is not.
Can you do this cut with shears instead of a razor? You can cut the lengths, but the signature pieciness comes from the razor applying texture in the same pass as the cut. Shears blunt the line and push the texture work into a separate over-texturizing pass: more effort, less piecey result.
How do you know how much texture to remove? Mayes’ rule is that discernment comes from experience: thick hair needs more texture than you think it needs, fine hair needs less, and the back half of this cut gets its texture during the cut while the front half gets a separate pass afterward so the two match.
What should a client ask for? Bring the vocabulary: a layered cut with weight at the crown, texture throughout, a fringe shorter in the center than at the sides, and a nape that collapses and flips instead of bunching.