
As an Amazon Associate, TrustedBarber earns from qualifying purchases.
Top pick: Merkur Mk34c Safety Razor
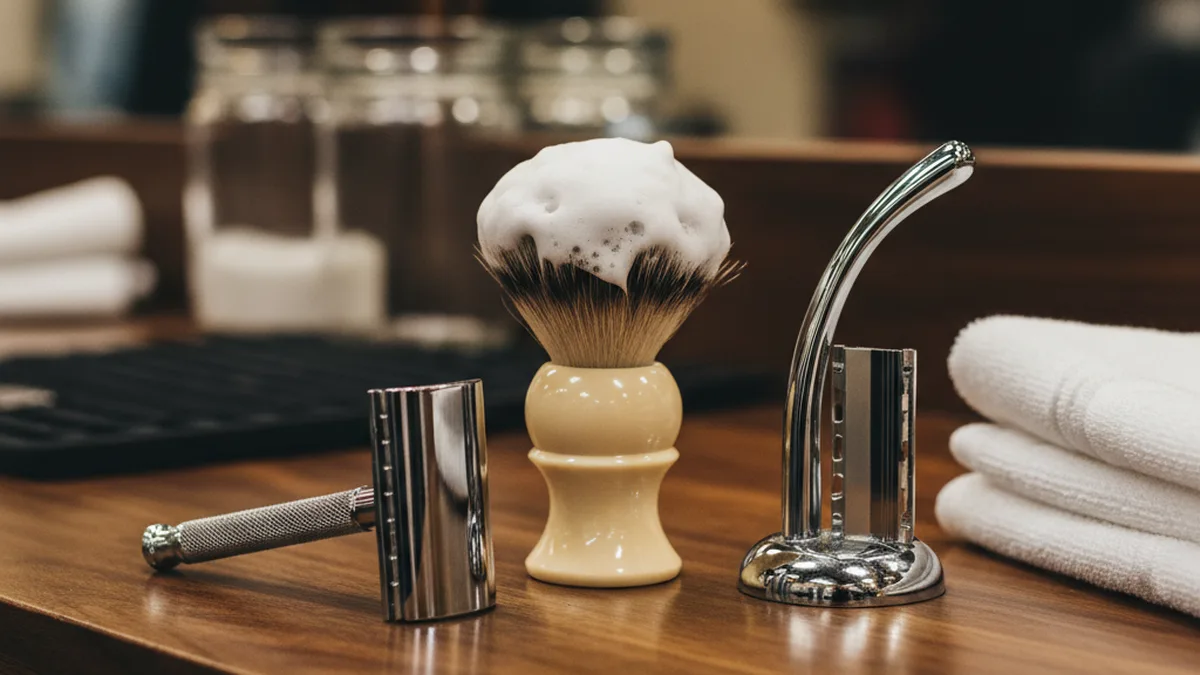
Video credit: Baxter of California and Gentleman’s Gazette, on YouTube.
Shaving with a classic double edge safety razor looks intimidating from across the barbershop, and it is actually the most learnable skill in traditional grooming. The Baxter method’s core is simple: preparation decides the outcome. The razor itself is almost the least important part of the shave. What separates a comfortable, close shave from a burning, bumpy one is the order you do things in: blade loading, growth pattern, lather, angle, and how much hair each pass takes.
In this guide
- The quick picks
- Why bother with a safety razor
- What you need for your first shave
- Choosing a first razor
- Loading the blade
- Read your growth pattern first
- Steam, cleanse, lift
- The lather and the thirty second rule
- First strokes: with the grain
- The thirty degree angle
- Pass two and pass three
- The neck: two or three directions
- Lip and chin go last
- Blades make the difference
- Cold water and balm to finish
- Nicks, burn and what to do
- Cleaning and storing the razor
- Common beginner mistakes
- The first week, realistically
- FAQ
- The bottom line
The quick picks
Why bother with a safety razor
The pitch for a classic safety razor is not nostalgia, it is economics and skin. A single exposed edge, good prep and light pressure are what a double edge shave is built around, and the blades cost very little each. Whether it suits your skin better than a cartridge or a OneBlade is personal; if you get razor bumps that will not settle, see a dermatologist rather than switching razors again and again. Our OneBlade vs safety razor breakdown covers that trade head to head.
What you need for your first shave
You do not need a drawer full of gear. Four things do the work, and one extra makes the first weeks easier. Here is the short list, with an example of each from the products in this guide.
| Item | Why it matters | Example |
|---|---|---|
| Razor | A closed comb is the gentler start | Merkur Mk34c |
| Blades | Change them often; they are cheap | Astra Platinum blades |
| Cream or soap | Cushion and glide | Proraso Refreshing Shaving Cream |
| Brush | Builds lather and lifts hair | Proraso Professional Shaving Brush |
| Balm | Calms skin after rinsing | Nivea Men Sensitive Post Shave Balm |
A brush is the one item people skip, and it is the one that changes the shave most for beginners. If you prefer a boar brush to badger, the Proraso Professional Shaving Brush is boar bristle, according to its listing.
Choosing a first razor: closed comb or open comb
The part of the head under the blade is called the comb, and it decides how much blade touches your skin. Mühle, the German razor maker, explains the split on its own blog: an open comb has rake-like teeth and lets the blade protrude more, which suits very heavy beards but is less gentle and carries more risk of nicks. A closed comb has a smooth bar or gentle waves instead of teeth, so the blade is less exposed. Mühle calls a closed comb the better choice for beginners and for sensitive skin.
That is why every razor named in this guide is a closed comb. The Merkur Mk34c is the one we lead with: Merkur lists it as a two-piece, closed-comb razor made in Solingen, Germany, about 3.2 inches long and 2.75 ounces. The Mühle R89 closed-comb safety razor is the maker’s own pick for gentle shaving; Mühle describes it as one of the softest razors on the market. The Edwin Jagger DE89 safety razor is another long-running closed-comb option at a similar price.
Check Mühle R89 Safety Razor Price
Good to know: “Mild” and “aggressive” describe how much blade a razor exposes, not how good it is. Start mild, learn the angle, and only move to a more aggressive head if your beard keeps beating the razor.
Loading the blade
Start by dropping the blade between the two pieces of the head and screwing it into the base. Check that the blade is sitting perfectly straight before you tighten the handle: a crooked blade leaves one corner exposed, and an exposed corner is a nick waiting to happen. Once closed, hold the head to the light: the gap above the blade edge should look even across its width. The Merkur Mk34c is a two-piece razor, according to Merkur: the top cap unscrews from the handle, the blade sits on the closed-comb base plate, and the cap screws back down. Butterfly (twist-to-open) razors open with a knob at the bottom of the handle instead, and three-piece razors come fully apart, but the check is the same on all of them: a straight blade and an even gap.
Read your growth pattern first
Before you start, inspect your facial hair growth pattern, because the first pass always travels with the grain. Stand in front of the mirror with dry skin and study the cheeks, jawline, and especially the neck: every man grows a little differently, so blanket advice like “shave down” is unreliable. The Gentleman’s Gazette tutorial suggests mapping the directions on paper once; your growth map is the foundation of every pass you will ever take.
Steam, cleanse, lift
Before you shave, shower, or apply a hot towel to your beard for about thirty seconds. Steam softens facial hair and makes it easier to cut; a microwave-hot towel works almost as well. Then cleanse with a face wash plus a facial scrub to lift dead skin and the hairs upright, and rinse well. Skip this step and you are asking a dry blade to push through stiff hair and dead skin, which is exactly how razor burn happens.
The lather and the thirty second rule
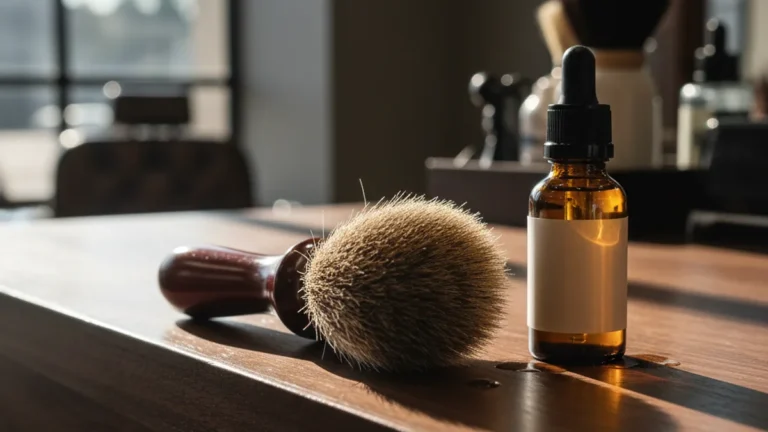
Now the shaving cream. Use a wet badger hair shaving brush to apply the cream evenly and lift your facial hair, then let it sit on the skin for at least thirty seconds: the brush wraps every hair while the cream softens it from the outside. Use a real lather, not an aerosol can: foam does not carry enough fat to protect the skin, while a tube cream like Proraso or a brush-built soap does. And keep the lather alive: it dries out before you finish a pass, and dry lather stops protecting the skin and clogs the blade.
First strokes: with the grain
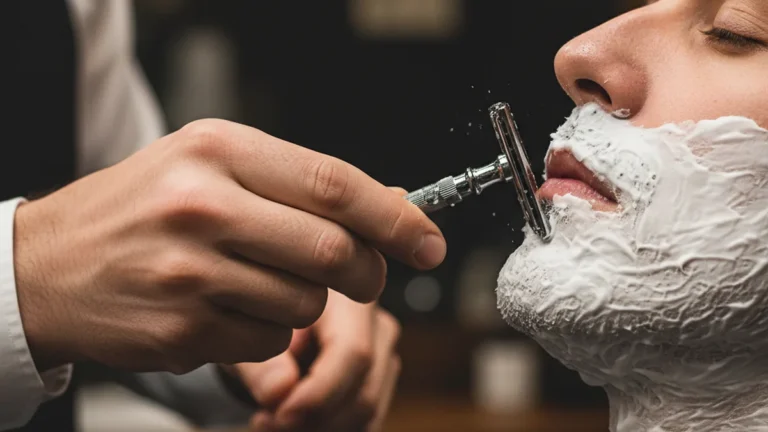
Begin at the sideburn and shave the sides of your face first, going with the grain. Shaving with the grain may not give the closest shave, but it is more comfortable, causes less irritation, and minimizes ingrown hairs. Think of the first pass as a roughing cut: it removes the bulk so later passes have less to do. Never chase closeness on pass one.
The thirty degree angle
A classic razor head does not pivot like a cartridge head, so the angle is everything. Hold the razor at roughly a thirty degree angle and take short, straight strokes; anywhere from thirty to forty five degrees can feel right. When the angle is correct you hear a light cutting sound and the razor glides. Let the razor’s own weight do the work and never push into the skin; pressing hard drags the top layer of skin along and ends in razor burn. Keep the skin in front of the blade tight: stretch it with your free hand, puff your cheek out, and firm up the area under your nose with your tongue.
Pass two and pass three
After the first with-the-grain pass, rinse the blade head and look at where hair remains. Reapply fresh lather and take a second pass, this time across the grain, at a ninety degree angle to your first pass; that sideways cut turns an okay shave into a smooth one, and for most men the second pass is enough. If your hair is thicker, a third pass against the grain gets you glass-smooth, but treat it as a privilege you earn: it is the most aggressive pass, where most nicks happen. Pulling or pain means your prep was not thorough or the blade is dull: either way, stop and reset.
The neck: two or three directions
The neck is where safety razor shaves go wrong: hair grows in many directions around the Adam’s apple, and a single downward pass will always miss some of it. You may need two or three directions on different parts of the neck, working off your growth map. The American Academy of Dermatology suggests shaving in the direction the hair grows to help prevent razor bumps and burns, so if your neck is bump-prone, keep it to with-the-grain passes and see a dermatologist if bumps persist. Neckline and cheek-line shaping has its own method, covered in how to shape your neckline, cheek line and lip line. Go slowly, use shorter strokes than you think you need, and re-lather between direction changes.
Lip and chin go last
Shave the difficult lip and chin areas last, so the cream softens that stubborn hair for the entire shave. Under the nose and mouth, puff air into the area and use your tongue from the inside to make the skin flat and tight. Around the jawline, pull the skin upward so the curve presents a straight shaving surface. Every face has one or two problem areas that need their own approach; work them with short strokes and fresh lather, never a long confident swipe.
Blades make the difference
The razor is a frame; the blade is the tool. Double edge blades differ noticeably in sharpness and smoothness, which is why blade samplers exist. The Astra Platinum is a sensible, inexpensive first blade: sharp enough to cut cleanly on the first pass, forgiving enough not to punish a learning technique, and cheap enough that changing blades every few shaves costs nothing. Dull blades and rushed prep are behind nearly every safety-razor horror story, and the blade is the half you can fix in one motion.
Cold water and balm to finish
Follow the shave with a splash of cold water or a cold washcloth: it rinses off the lather and calms the skin after three passes of steel. Then finish with a dime-sized amount of soothing aftershave balm. Choose an alcohol free balm to minimize irritation: the old-school alcohol splashes feel traditional and sting, and they dry the skin out. A dedicated sensitive-skin balm like Nivea Men Sensitive Post Shave Balm does the job for a few dollars a tube.
Nicks, burn and what to do about them
Everyone nicks themselves in the first few shaves. It almost always comes from one of three things: too much pressure, too steep an angle, or a stroke across a spot where the skin was not held tight. The fix is technique, not a new razor.
- A small nick: rinse with cold water and press a clean, damp cloth on the spot for a minute. Do not keep shaving over it.
- A hot, red patch: that is usually pressure or an extra pass. Skip the against-the-grain pass on that area next time.
- Bumps that keep coming back: the AAD’s advice is to shave in the direction of growth. If they still do not settle, see a dermatologist.
Some traditional shavers keep an alum block next to the sink and glide it over damp skin after the final rinse. The Bloc Osma Alum Block is the classic French one. It is a finishing step, not a fix for poor technique, and if a cut keeps bleeding or your skin stays sore, see a doctor.
Cleaning, drying and storing the razor
A safety razor lasts for years if you keep it dry. The American Academy of Dermatology’s shaving tips cover the basics: rinse the razor after each swipe, let it dry completely between shaves, and do not leave it in the shower or on a wet sink. The AAD also says to change the blade after 5 to 7 shaves to minimize irritation.
- Rinse under hot water after every stroke or two, so lather and hair never dry in the head.
- Open the head after the shave on a two-piece razor like the Merkur Mk34c and rinse the blade and plate.
- Shake and pat dry with a towel, then let it air dry upright, away from the shower.
- Bin old blades safely. Keep used blades in a lidded tin or a blade bank, then dispose of it as your local rules say. Never drop loose blades in a trash bag.
For an occasional deeper clean, geofatboy’s video below scrubs each razor with a drop of dish soap and a toothbrush, rinses it, dips it in isopropyl alcohol or Barbicide and dries it fully; before using either on a plated razor, check your razor maker’s care page and the product’s label.
Video: “How To Clean and Disinfect Safety Razors” by geofatboy on YouTube.
Brushes need the same care. Rinse the soap out, shake it, and hang or stand it bristles-down or upright in open air so it dries fully.
Common beginner mistakes
- Pushing. A cartridge habit. Let the weight of the razor do the work.
- Chasing closeness on pass one. The first pass removes bulk. Closeness comes from passes two and three, if your skin likes them.
- Reusing dry lather. Re-lather before every pass.
- Keeping a blade too long. If it tugs, change it. At a few cents each, a fresh blade from a pack like the Derby Extra double edge blades is cheaper than a sore neck.
- Skipping the map. If you shave the neck in the wrong direction, you will feel it the next day.
The first week, realistically
Your first double edge shaves will take noticeably longer than your cartridge shaves, and that is fine: you are learning a technique, not operating an appliance. Expect the whole routine to run ten to fifteen minutes at first, with one or two small nicks and one or two hot spots on the neck. A perfect result is not immediate, and a bad one does not last: the routine gets faster with repetition, and the nicks get rarer as your angle and pressure settle. If you are still choosing your first razor, our beginner safety razor gift guide, best safety razors under $50 and the Henson AL13 review narrow the field.
Key theme: Week one is about building the habit chain: hot water, real lather, light pressure, fresh lather per pass. Speed comes with repetition.
FAQ
How often should I change a safety razor blade? The American Academy of Dermatology says to change your blade after 5 to 7 shaves to minimize irritation. Change it sooner if it tugs. Double edge blades are cheap enough that there is no reason to stretch one.
Which double edge blade should a beginner use? Blade feel is personal, which is why blade samplers exist. The Astra Platinum is a sensible first blade. If it does not suit you, try another brand such as Feather double edge blades and keep the one that feels smoothest on your face.
Should I shave against the grain? Only if your skin tolerates it, and only on the last pass. The AAD’s tip is to shave in the direction the hair grows to help prevent razor bumps and burns. Many men stop after a with-the-grain and an across-the-grain pass.
Do I need a shaving brush? You can apply cream with your hands, but a brush builds a thicker lather and lifts the hair, which is why the Baxter method uses one.
Is a safety razor good for sensitive skin? It can be, with good prep, light pressure and a mild closed-comb razor. The AAD suggests a shaving cream labeled for sensitive skin if your skin is dry or sensitive. If irritation continues, see a dermatologist.
How do I stop nicking my neck? Map the growth directions, stretch the skin, use shorter strokes and re-lather between directions. Most neck nicks come from a long stroke over a curve.
The bottom line
Learning to shave with a safety razor is a technique, not a purchase. Prep well, map your growth, keep the lather fresh and let the razor’s weight do the work. If you want one starting setup, the Merkur Mk34c safety razor with a pack of Astra Platinum blades and a tube of Proraso covers it.