Disclosure: this article contains Amazon affiliate links. As an Amazon Associate we earn from qualifying purchases, at no extra cost to you. It does not change what we recommend.
Scissors are the tool most home cutters skip straight past, and the tool barbers reach for when a cut needs to look soft instead of stamped out. We pulled three tutorials apart, one from The One Minute Barber, one from Kenra Professional’s education team, and one from BARBER BLUEPRINT, and every one of them teaches the same core moves a different way: how to hold the comb, how big a section to take, and why the bottom blade never moves. Between the three there is a full beginner method for cutting men’s hair with scissors.
A note on the sources: The One Minute Barber (Michael Holm, cutting for 20 years) teaches barbering courses and tags a pair of scissors in his description. Kenra Professional is a hair product brand, and its educator finishes the demo with a Kenra styling wax. BARBER BLUEPRINT’s Frank Hackett runs a barbershop and academy. The mechanics they teach are the same mechanics, whoever is holding the shears.
In this article
The One Minute Barber’s Section Method
Michael Holm, The One Minute Barber, starts every scissor cut the same way: soak the hair. “Don’t be afraid to make sure that you have plenty of water on your hair,” he says in his step-by-step scissor cut lesson (recorded September 2022). “The more water the better,” because wet hair stays under control instead of sliding out of the section.
His structure is panels, and the direction matters. He clips the long top hair out of the way with basic sectioning clips, starts in the middle at the back of the head at the occipital bone, and works down in sections, picking hair up with the scissor, catching it with the comb underneath, and cutting. Working up instead of down, he explains, means you “work into piles of hair,” because everything above falls onto the section you are cutting. A full back of the head takes about five panels: one middle, one either side, and one by each ear.
Once the short hair exists at the bottom, it becomes the guide. He combs the long top down, finds the short hair at his fingertips, tilts his hand slightly out from the crown, and cuts up his fingers so the short hair runs into gradually longer hair. That, he notes, is what graduation actually is. And he is blunt about the finish: after vertical sections the cut will be rough. “It’s not going to be pristine.” The polish comes from combing everything down and re-cutting in horizontal sections, which is the cross-check that finds the uneven spots.
The Section Size Rule That Prevents Scissor Marks
Holm gets one question constantly: how do I get rid of scissor marks, the visible lines that show up in a cut, worst of all on straight hair. His answer is section size. “The biggest culprit is too big a section,” he says, ahead of two smaller causes: uneven tension, and cutting sections to different lengths.
His measuring tool is free: the carbon cutting comb already in your hand. “Use the width of your comb as a marker for how much hair to pick up,” he says. If the section fits comfortably in the teeth of your comb, it is a good size. If you are squashing hair into the comb, you took too much. Wavy and curly hair hides the sin, because the marks disappear into the curl. Straight hair shows everything, so straight hair gets smaller sections.
Kenra’s Scissor Over Comb Rules
Sarah McGinty, an educator with Kenra Professional, teaches scissor over comb as the move that both cross-checks a cut and tightens it. In her foundations of men’s cutting tutorial (recorded February 2026) her pro tip is alignment: “The bottom of your blade should always line up with the spine or bone of your comb.” From there the motion is one fluid action, “work up and scoop out,” never a jab.
Two of her details save beginner cuts. Behind the ear, she pivots the comb to a diagonal instead of working horizontally, because a horizontal comb there picks up too much hair and wrecks the taper. And she cuts palm to palm around the parietal ridge on purpose: keeping strength in that corner is what gives a men’s cut a strong, masculine shape, while cutting the corner off softens the whole silhouette.
Her length rule is the one to memorize before touching the top: over-directing preserves length. She combs everything forward and cuts to a traveling guide precisely so the hair keeps its length when it swings back. Pull hair backward and cut it, and you have just shortened the front of the haircut without meaning to.
BARBER BLUEPRINT’s Blade Mechanics
Frank Hackett of BARBER BLUEPRINT shrinks the whole technique down to hand mechanics in his beginner scissor over comb demo (recorded November 2020). Use the first inch or so of the comb and only the top point of the scissors. Opening the full blade, he warns, gives you less control and raises the risk of indentations that become weight lines.
His engine room is the thumb. “The bottom blade is stationary and your thumb will be doing the movement,” he says. “The fingers across the top of the scissors should not move, there should be no movement there at all.” The comb and scissors travel parallel, but at different speeds, and if he could leave a beginner with one line it is this: fast scissors, slow comb.
His fix for the most common weight line is direction. Most beginners scissor over comb up to a point, stop, comb down, and go back to the same point, building a visible ridge. Hackett’s rule is to cut through the weight line and off the head in a C-shaped movement, which protects the weight above and creates the graduation instead of a shelf.
How Both Say to Practice
Neither teacher pretends the coordination arrives on day one. Holm’s own drill is deliberately low-tech: he sat on the sofa watching TV and flipped a comb over in his fingers “for like half an hour” at a time, building the speed and agility that the catch-and-cut motion needs. “That might sound strange but it worked for me,” he says. Hackett’s version is the same idea from the other hand: build loose speed in the thumb, because the fingers do nothing and the comb sets the pace.
Tools for a First Scissor Cut
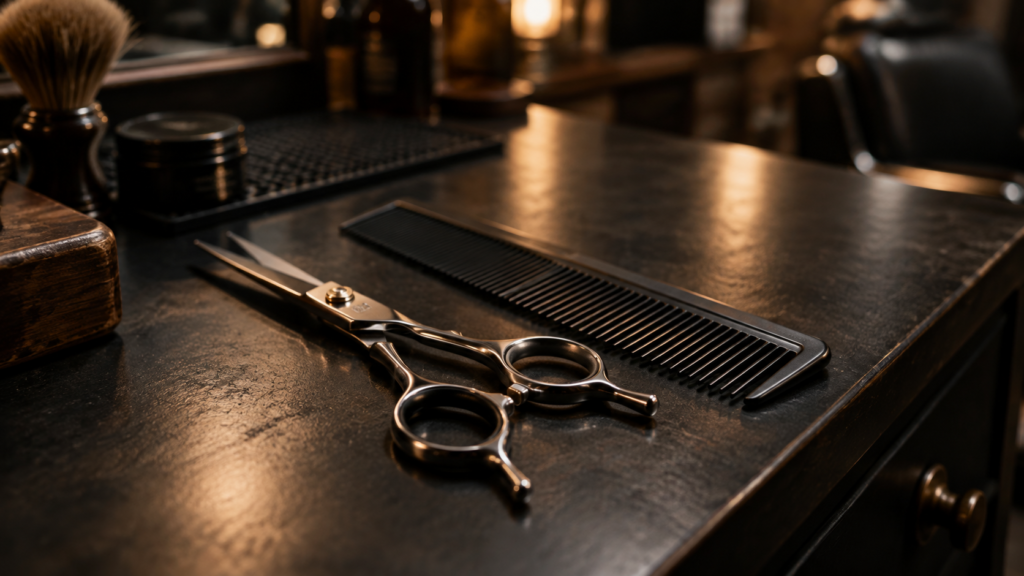
The tutorials keep the kit short: a proper pair of barber shears, a cutting comb, sectioning clips, and a water spray. For shears, the Equinox Professional Razor Edge barber shears are a solid entry point that shows up constantly in beginner setups, with the Japanese stainless and tension adjustment the teachers’ mechanics rely on. For the neckline and around the ears afterward, all three teachers reach for a trimmer; the Wahl 5 Star Cordless Detailer Li is the kind of precise T-blade that work calls for. Holm adds one practical note: dry the hair off first, because fine trimmer blades clog in wet hair.
FAQ
Can I learn scissor cutting at home without a mannequin? Start with the drills, not a head. Holm’s comb-flip and Hackett’s thumb-speed practice build both hands separately before you ever cut. Your first real attempt should be a small cleanup on an existing cut, not a full restyle.
Wet or dry? All three teachers cut wet. Holm is the most emphatic: more water means more control. Dry scissor work is a finishing and texturizing technique, not a beginner one.
Why does my scissor cut look choppy compared to a barber’s? Almost always section size or a missing cross-check. Take comb-width sections, then comb everything down and re-check with horizontal sections. That second pass, Holm says, “is what really polishes the hair up.”
Do I need thinning shears too? Not to start. Everything in these three tutorials is done with a straight shear, a comb, and a trimmer for the edges. Thinning shears are a texturizing tool for later, and overusing them is its own beginner mistake.
Master the panel method, keep sections comb-width, cut through the line and off the head, and practice the two drills for a week before you touch anyone’s hair. The mechanics are small. Getting them quiet and automatic is the whole game.