Disclosure: this article contains Amazon affiliate links. As an Amazon Associate we earn from qualifying purchases, at no extra cost to you. It does not change what we recommend.
A clean lineup is the part of a haircut people notice first. I went through three popular barber tutorials on lineups and edge-ups and pulled out the points they agree on. This is a summary of what the videos say, not something we tested on a client.
One more flag: the second video is from a channel that also promotes a trimmer attachment in the description, so I note where the pitch comes in.
In this article
Start at the Neckline and Keep the Arches Natural
In a beginner lineup tutorial from the Barber Style Directory channel, the barber starts at the widest point of the neckline and takes hair off gradually. He uses the full blade until the round part of the ear, then switches to the corner of the blade to keep the arch natural.
For the front, he combs the hair forward so he takes off as little as possible, and angles the trimmer in slightly, roughly 85 degrees rather than a flat 90. His warning is the same at the neck and the hairline: do not dig into the line, because it looks bad when it grows back.
Source: Lineup Tips for Beginner Barbers, Barber Style Directory.
Quick take
Start wide at the neckline, use the corner of the blade on the arches, and do not dig into the line. Press and pull down with light pressure and let the trimmer do the work.
Light Pressure, Then a Razor for the Last Bit
He says to press and pull down with light pressure and let the trimmer do the work. When a client has light spots in the corners, he tapped into them only a little and kept going straight across rather than chasing them. A comb catches the fly hairs, and he goes back to refine the line until he is happy.
To finish, he uses a razor on the edge to take the fine hairs the trimmer misses, pulling the skin the opposite way with his thumb. He says this usually makes the edge-up last at least another three days. That is his claim, and it will vary by person.
Check Symmetry Before You Cut
The second video, also from Barber Style Directory, is about symmetry. The barber says the most important step happens before the first cut. He runs a three-point check:
- Eyebrow to vertical bar. Compare how far each vertical bar sits from the highest point of the eyebrow, so you know how much hair you have to work with.
- Side arches. They almost never match, so find the stronger and weaker side and start on the weaker one, since you have less hair there.
- Density mapping. Look at where growth is thickest and thinnest, because that affects how the hairline sets. He tapers the hairline in places to even it out.
His closing tip is to use a mirror to check symmetry from every angle, because your eyes tire from staring at the same spot. He also makes the point that symmetry does not mean cutting both sides the same. It means adjusting for the client’s own features.
Source: 3 Key Tips to Get the Perfect Lineup, Barber Style Directory. The description links to the Switch 1.0 from Duette, and the video ends with a pitch for it, so treat that part as the maker’s own promotion.
Good to know
The sponsor pitch aside, the three-point check works with any trimmer. Look at eyebrow alignment, arches and density before you start.
Angle the Blade Up on a Round Head
A short video from the HowToFade101 channel makes one point well. Once you reach the area where the head starts to round, angle the trimmer blade up. How much depends on how round the head is and how quickly it curves. A client with a squarer forehead needs less angle.
The reasoning is that a straight line on a round surface will not look straight, so the line needs to curve slightly, like a smile, to read as straight. Source: The ULTIMATE Barber Tutorial For PERFECT Lineups/Edge-ups, HowToFade101.
What You Need to Do It
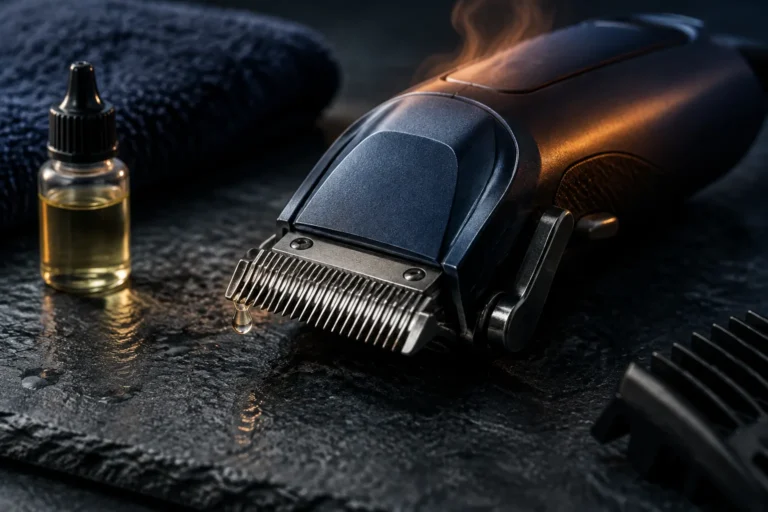
None of these tutorials depends on one trimmer. You want a T-blade trimmer that is set properly, a comb, and a razor for the final pass. For a cordless option, Andis lists the Slimline Pro Li with a carbon-steel T-blade, a 4 ounce body and up to 2 hours of runtime (Andis product page, read October 13, 2026).
If you are choosing a trimmer, our zero gap trimmer guide and Andis T-Outliner cordless review go deeper. If you are learning the rest of the haircut, see how to cut a fade at home.
Pick this if…
You are a beginner who wants one repeatable routine: neckline first, symmetry check, light pressure, razor finish.
Quick Checklist
- Check eyebrow alignment, arches and density before you cut.
- Start at the widest point of the neckline and work gradually.
- Use the corner of the blade on arches. Do not dig into the line.
- Angle the blade up as the head rounds, and curve the line slightly.
- Light pressure. Comb for fly hairs.
- Finish with a razor and check symmetry in the mirror.