A fade is the most requested haircut in the country and the one most people are scared to try at home. It is more forgiving than it looks: a fade is just short guards blended into each other, and the taper lever does most of the blending for you. Here is the method, plus the tools that make it possible.
Key takeaways
- Cut a home fade in 3-2-1 guard steps, then blend with the taper lever.
- Keep the hair damp and stop each guard band at a consistent height all the way around.
- Refresh the blend every 2-3 weeks; the touch-up is faster than the original cut.
The video above is the clearest beginner walkthrough we have found: Like To Style cuts a complete self-haircut step by step, starting with a number three guard on the sides and working up and out. Watch how high each guard pass stops before blending; that discipline is the whole skill.
What You Need
- A cordless clipper with guards and a taper lever, like the Wahl Magic Clip
- A detail trimmer for the neckline and edges. See our zero-gap trimmer guide for picks
- A hand mirror, a spray bottle, and a comb
- Clipper oil, because a dry blade pulls
Step by Step
1. Start longer than you think
Put on a number three and cut the sides and back with the grain. Cut dry, never wet; clippers skip on wet hair. Stop about two fingers above the ear and stay conservative, because a guard you can remove is a mistake you can fix.
2. Establish your baseline
Drop to a number two and cut a band one finger width below your number three line. Then a number one below that. You are building a staircase, and each step is a blend you will make later.
3. Blend with the lever, not new guards
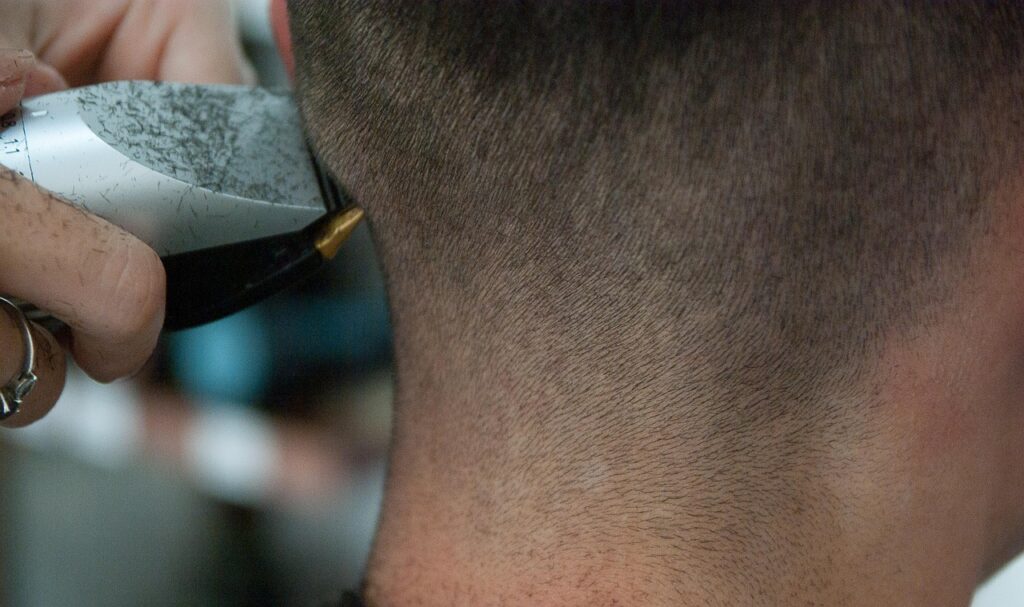
Flick the taper lever open and closed as you rock through each hard line. The lever is a free half-guard, and it is how barbers turn two hard lines into one soft one. Rock the clipper through the line repeatedly rather than pressing in.
4. Detail the edges
Switch to the trimmer for the neckline, sideburns, and the line behind the ear. Pull the ear down and work upward, and keep the trimmer flush for clean corners.
5. Check in daylight
Step outside or use a bright mirror. Shop lighting hides ridges; daylight does not. Touch up any line you missed with the lever before you put the clippers away.
Common Mistakes
- Starting with a low guard. One pass at a number one is a six-week growout.
- Cutting wet hair. It feeds unevenly and clogs the blade.
- Pressing instead of rocking. Pressure makes ridges; the lever makes blends.
- Skipping oil. A dry blade pulls hair and overheats.
FAQ
Can you fade your own hair?
Yes, with two mirrors and patience. The back is the hard part; cut it last, by feel, with the grain, and blend it with the lever rather than trying to see it perfectly.
What number guard is a fade?
A classic low fade runs from a zero or one at the bottom to a three or four on top. The numbers matter less than the blending between them.
What clipper should a beginner buy?
One with a taper lever and a full guard set. The best clippers for home use guide starts at a complete kit under $50.
Skin Fade vs Taper Fade at Home
Know which fade you are cutting before the first pass, because they start differently.
- Taper fade: the blend happens only around the sideburns and neckline. Start at a two or three and work down to a zero just at the edge. This is the forgiving version, and the right first project.
- Low fade: the blend line sits about an inch above the ear. Everything below the line goes to a zero or one. Most “normal short back and sides” haircuts are low fades.
- Mid or high fade: the blend line climbs to the temple or crown. Dramatic, but it shows every mistake and it leaves you committed: a high fade gone wrong is a buzz cut.
Guard Numbers Cheat Sheet
Guard numbers are eighths of an inch, which is why the sequence feels arbitrary until you memorize it; our guard sizes guide covers the whole system.
- Number 1: 1/8 inch. The shortest safe guard; stubble territory.
- Number 2: 1/4 inch. The classic short back and sides.
- Number 3: 3/8 inch. Where most home fades start on the sides.
- Number 4: 1/2 inch. Blending guard and a good top length for short cuts.
- Numbers 5 to 8: 5/8 to 1 inch, for scissor-blending longer tops.
The taper lever adds roughly half a guard on top of whatever is attached, open or closed. That half-guard is what turns a staircase of guards into a gradient, which is why every clipper in our fade clippers guide was picked partly on lever feel.
Cutting the Back of Your Own Head
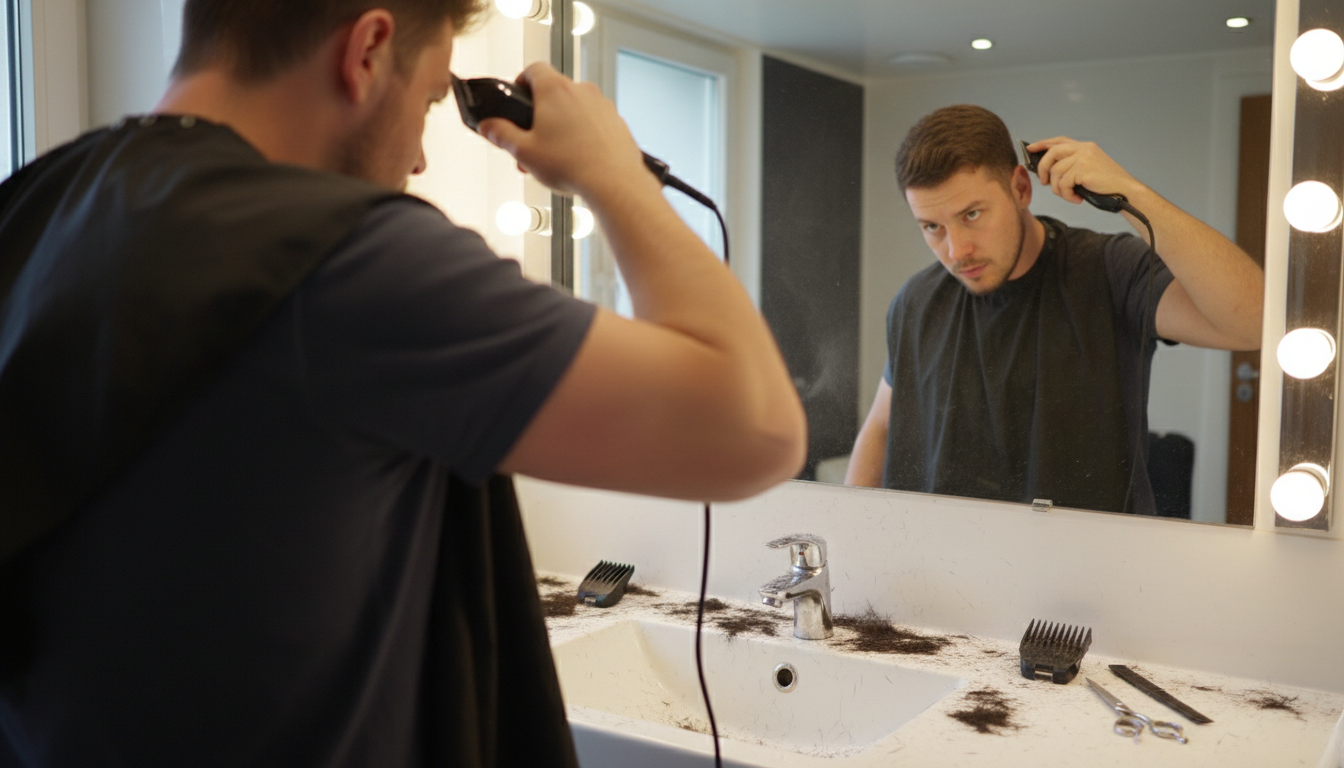
The back is where home fades go to die, because you cannot see it. The fix is routine, not vision: hold the clipper with the grain, keep your elbow high so the blade stays flat against the skull, and work by feel in straight rows from the bottom up. Use a second mirror for the final check only. Cutting the back by feel with a consistent guard beats trying to steer it by a shaky hand mirror.
A Worked Example: The Classic Three-Two-One
The most reliable home fade pattern is the 3-2-1, and it is worth walking through in full because every fade you will ever cut is a variation on it.
Start with the number three guard and cut the whole sides-and-back region with the grain, stopping at an imaginary line about two fingers above the top of the ear. This is your canvas, and stopping at the same height all the way around matters more than anything else in the haircut. Then switch to the number two and cut a band below that line, again stopping at a consistent height, one finger width lower. Then the number one below that. You now have three visible shelves.
Now blend, and do not remove the guards yet. Flick the taper lever closed and rock the clipper through the top shelf line from below at about forty five degrees, working the line until it softens. The lever rocking is what erases the shelf; repeated light passes beat one hard press every time. Do the same to the lower line. Finally, take the guards off entirely, close the lever, and touch the neckline and sideburns, or switch to the trimmer for the sharp corners.
Total time for a first attempt: about 25 minutes plus cleanup. By the fourth attempt it drops under 12. The video earlier in this article shows the same sequence in motion, which is faster to learn from than any description; watch the guard changes, not the hands.
When to Stop and Fix Instead
Sometimes the fade fights you, and the amateur move is to keep cutting. The pro move is to stop and diagnose. If you see a ridge, you pressed or skipped a guard; fix it by re-cutting the band one guard lower and re-blending, not by chasing the ridge directly. If the clipper is snagging instead of cutting, stop entirely, because every pass makes it worse; oil the blade or check our clipper pulling hair troubleshooting guide. And if the whole thing is beyond saving, a number two all over with a taper lever blend is a respectable haircut that resets the clock for two weeks of growout.
Final Thoughts
Your first fade will be a C-plus, and your fourth will look shop-quality. Once you know you like cutting at home, upgrade to a pro machine like the Wahl Senior 2.0, and for the tool side of it, our best clippers for fades guide pairs with this one.
How often should I redo a fade?
Every two to three weeks to keep the blend sharp. The good news: a refresh is faster than the original cut, since you are only re-blending the bottom inch or two.
Why does my fade look patchy?
Usually one of three things: you skipped a guard in the sequence, you pressed the blade in instead of rocking it through, or the hair was damp. All three are fixes, not failures.
Disclosure: this article contains affiliate links. We may earn a commission at no cost to you.