TrustedBarber is reader-supported. If you buy through links on this page, we may earn a commission from Amazon at no extra cost to you.
The comb over fade lives or dies on a contradiction: the top needs length to lie over in a part, the sides need to be tight enough to make that length dramatic, and the two have to meet in a blend that does not leave a ledge. Barber Jorge Zepeda filmed his full method start to finish, and what makes it worth studying is that he refuses the shortcut most people expect. He does not buzz the sides down. Here is the build, in his order.
Start wet, part with the grain
Everything begins with wet hair and a parting, and the direction of that parting is decided before any cutting. Part the hair in the direction it naturally wants to go, because if you force it against its own grain, the hair will fight the style all day and never lay down properly. That single decision, made in the first thirty seconds, determines whether the finished comb over sits flat or stands up. Anyone who has fought a cowlick into a part knows exactly what he is preventing.
Keep the length: clipper over comb first
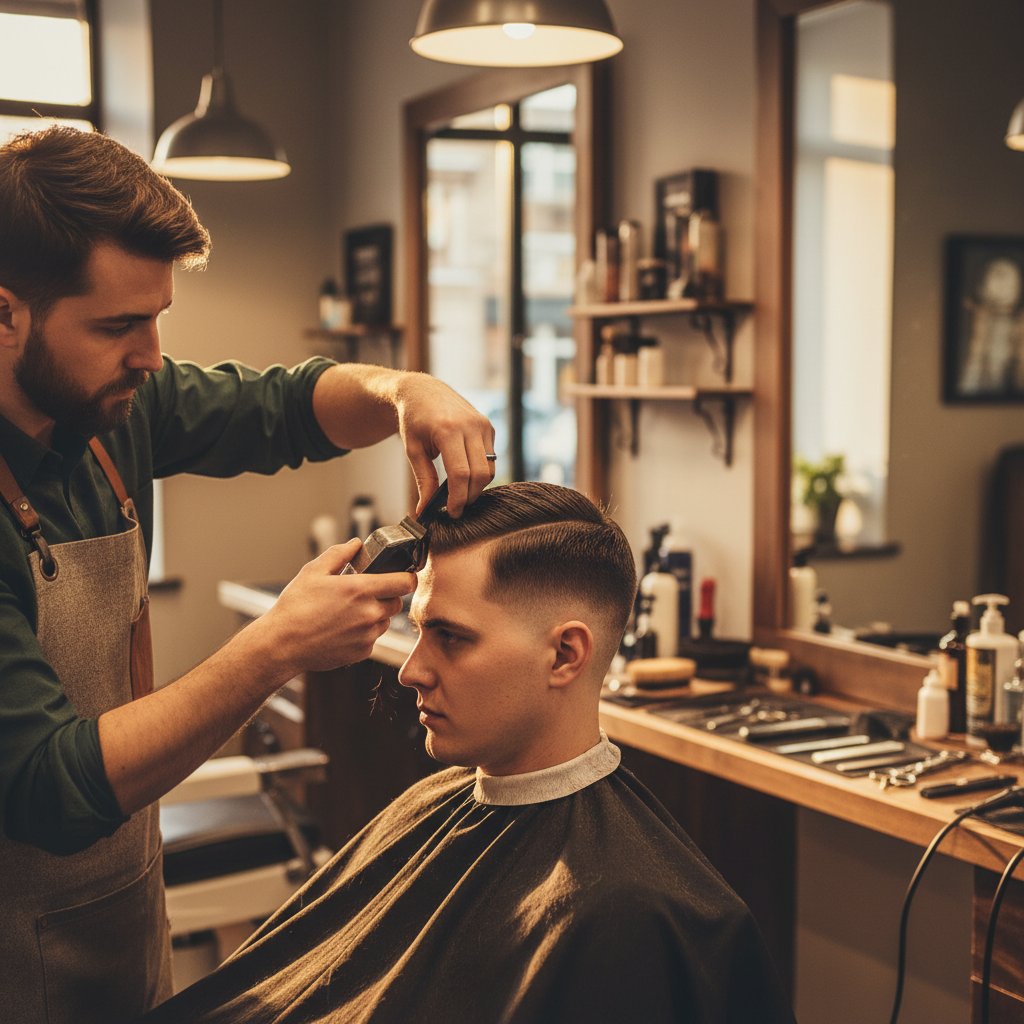
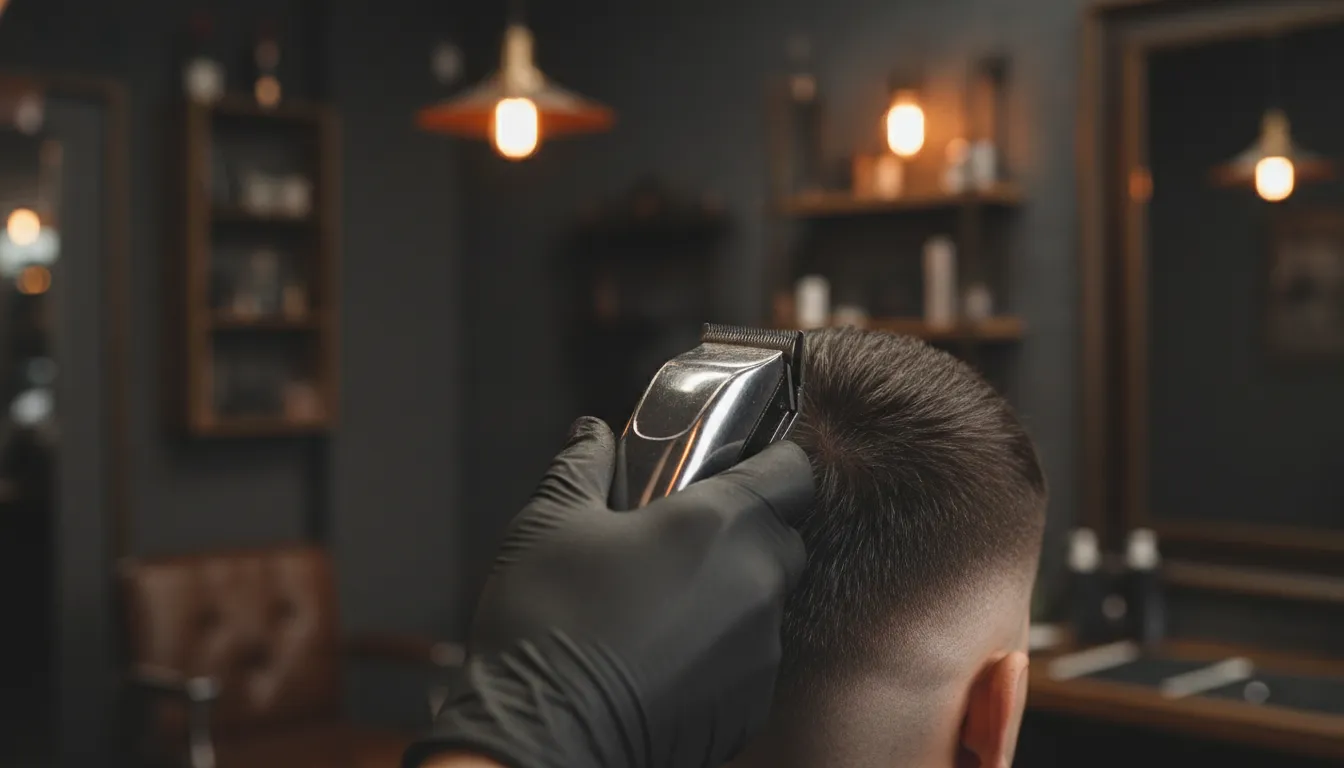
Here is the choice that separates this build from a generic fade video. Zepeda deliberately does not buzz the sides off, because the comb over needs enough side length for the hair to lie down toward the part. Instead he takes his clipper over comb and blends the sides into the top to remove bulk. The sides get shorter, but they stay hair. The clipper over comb technique guide covers the hand skills behind that pass if you are working on your own control.
Before the fade structure, the bulk pass deserves its own explanation, because it is doing double duty. Clipper over comb on the sides is not shaping yet, it is volume control: the hair needs to be dense enough at the part for the top to lie over it, but if the sides hold too much hair, the blend has nowhere to go and the finished cut reads bottom-heavy. Working clipper over comb lets the barber set that balance by eye, head by head, instead of committing to a guard length that might be right on one client and wrong on the next. It is also why this build suits men whose side hair grows in heavy: the technique subtracts weight without subtracting length, which no single guard pass can do.
It is worth being precise about what “keeping length” means here. The sides still come down dramatically from the top; the drop fade at the temple sees to that. What stays is enough hair for the comb over to rest on, which is typically a lot more than a skin fade leaves. If you have ever asked for a comb over fade and walked out with something that looked like a regular fade with the top pinned over, the sides were cut too short at this exact step.
The first guideline comes from the trimmer
Once the bulk is gone, the fade structure starts, and it starts with the trimmers rather than the clippers: he grabs his trimmers and establishes the first guideline at the bottom. That is the anchor line everything else fades up from, the same order our fade at home guide follows. With the baseline set by the smaller tool, the clippers do the blending rather than the demolition.
Fading up: fast feeds, guard by guard
Zepeda names his two main clippers here, because this is the section where they earn their places: the cordless Magic Clips and his Fast Feeds, and he calls them probably the best he has ever used. That pairing is itself a lesson: a heavy-duty blending clipper plus a fast, nimble one covers both halves of the job, the volume removal and the fine lever work, and his whole fade runs on those two machines. You do not need an armory; you need the right two.
The fade then climbs in his sequence:
First pass, no guard, lever all the way open, up about an inch. Then lever closed, to begin blending the bottom line in. If that does not fully erase the bottom line, he takes the zero guard off entirely, opens the lever all the way, and plays with it, closing slightly and using the corner of the blade to pick up what the zero guard missed. That corner-work detail is the kind of thing that only shows up when someone films their actual process instead of the tidy version.
Next, the number one guard, all the way open, up about half an inch, then closed all the way, working out the bottom line again. Then the number two guard, whose job is specifically to blend whatever the one guard and the clipper over comb work did not catch, bringing the sides into the top. Each guard exists to erase the line the previous one left, which is the whole logic of a fade; our guard size guide maps those lengths.
Cutting the part line
With the fade set, the signature element gets built, and the trick is that the part is cut, not drawn. He separates the hair first, parting it nice and straight, and explains why: a straight part gives you a clean guide, so cutting the line becomes a matter of tracing it rather than freehanding a curve through dry hair. The comb sets the line, the clippers just follow it.
Preparation matters as much as the cutting. He pulls the long hair back and pins it out of the way with duck clips, separating the long top from everything below. Then, before the lineup, he knocks down the baby hairs with his number one guard all the way closed, flicking out at the edge, a soft taper that cleans the perimeter without carving it.
Two things in that sequence reward a second look. The lever discipline is the part beginners skip. Every pass in the video is described as a lever position first and a guard second: open for the aggressive pass up, closed for the cleanup at the bottom line, and the in-between positions are where the actual blending lives. The lever is the fine adjustment that the guard system cannot make, and using it deliberately is the difference between a blend and a stack of stripes. Our zero gap guide covers the other half of getting close without irritation.
The other is the order of operations across the whole head. Notice that the part line is cut after the fade, not before: the fade establishes the frame, and only then does the barber commit a razor-sharp line into it. Cutting the part first and fading afterward risks the blend drifting into your part and softening it, which means re-cutting the line. Build the frame, then draw the signature.
The baby-hair pass deserves a word of its own, because it is the step home cuts skip and professionals never do. Those fine, short hairs at the perimeter do not respond to guards; they stick up over every line you set and make a clean fade look fuzzy within a day. The fix in the video is a number one guard all the way closed, flicking out at the edge, which knocks the strays down without cutting a visible line. It takes thirty seconds and it is the difference between a fade that photographs sharp and one that photographs soft.
The lineup
The edge work happens with his Wahl Heroes trimmer, and the order is deliberate: start in the middle of the forehead, work out to the left, come back to the center, then work to the right. Center-out is how a lineup stays symmetric, because any error made starting at one temple compounds across the whole hairline. The goal he states plainly: make the line up as straight as possible. Our hairline lineup guide expands on the same discipline.
Blow dry, thin, style
The finishing sequence has three steps, and the first one surprises people. Blow dry the top, yes, but also blow dry the sides, because heat and tension help the side hair lay down toward the part, which is the entire point of a comb over. Drying the top alone leaves the sides puffed and fighting the style.
Once dry, he goes over the whole haircut with thinning shears, hunting for any remaining bulk and thinning those specific sections down. This is the step that makes a comb over look like a haircut instead of a construction project: the volume comes down, the line comes forward. The thinning shears guide covers the flicking and point-cutting moves.
The lever discipline in that sequence is worth slowing down for, because it is the part beginners skip. Every pass in the video is described as a lever position first and a guard second: open for the aggressive pass up, closed for the cleanup at the bottom line, and the in-between positions are where the actual blending lives. The lever is the fine adjustment that the guard system cannot make, and using it deliberately is the difference between a blend and a stack of stripes. Our zero gap guide covers the other half of getting close without irritation.
He works a pomade through the hair, and the detail worth copying is coverage: not just the top, the sides too, again to help them lay down. Then the comb goes in and works the pomade all the way through, shaping the comb over into whatever height and direction the head calls for. Product combed through wet-handed is what holds a comb over through a workday; our pomade vs clay vs wax guide explains which finish to pick for yours.
The tools from the video
Zepeda names his equipment across the video, and all three core tools are in stock. Here is the same shelf, matched with what each one does in the build.
Wahl Professional 5-Star Magic Clip Cordless
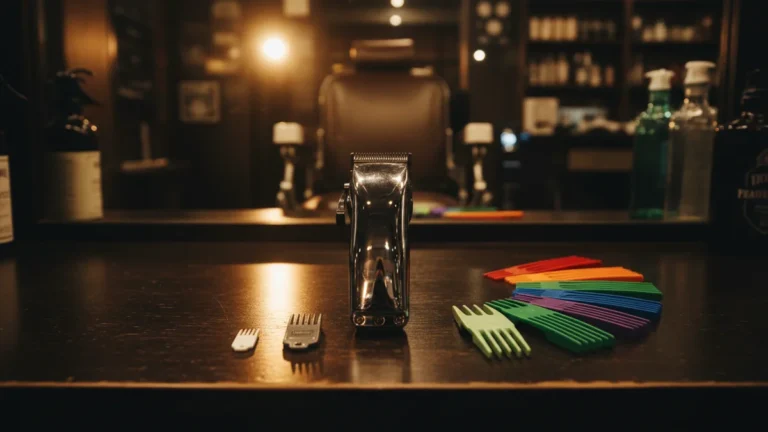
His primary clipper, named by him as one of the two best he has used. The Wahl 5-Star Magic Clip Cordless is the staggered-tooth blade clipper that made crunch-free fading its calling card: the blade feeds hair into itself, which is exactly what you want when you are playing the lever against the corner to erase a bottom line. It runs the whole guard ladder in this build, from the open no-guard inch pass to the number two blend.
Andis 04780 T-Outliner
Trimmers start the fade’s baseline and cut the part line, and this is the trimmer in that role on professional stations everywhere. The Andis 04780 Professional T-Outliner carries the carbon steel T-blade, deep-tooth geometry and bump-free cutting that made the model a barbershop fixture, corded so it never fades mid-lineup. It is the tool for the first guideline and the crisp edges around the part.
Suavecito Pomade Original Hold
The styling step in the video runs on a pomade worked through with a comb, and this is the classic at the price the routine deserves. The Suavecito Pomade Original Hold is the water-based, medium-shine pomade that combs through clean, holds the part flat, and washes out with water. Applied to top and sides and combed through exactly as Zepeda does, it keeps the comb over sitting where the haircut put it.
FAQ
Why not just buzz the sides for a comb over?
Because the sides need enough length to lie down toward the part. The video keeps them hair and removes bulk with clipper over comb instead, which is what makes the finished cut read as a comb over fade rather than a comb over on a buzzed head.
Where does the first guideline go?
At the bottom, and it comes from the trimmers, not the clippers. Once that baseline exists, the clippers climb: no guard open, zero guard closed, then the one and two guards erasing each previous line.
How do you cut a straight part line?
Comb the part in straight first and treat it as a guide. With the line combed in, cutting it becomes tracing, not freehand drawing, which is why the video parts the hair before any line work.
Why blow dry the sides?
Heat and tension train the side hair to lay down. Drying only the top leaves the sides puffed, and puffed sides kill the contrast a comb over depends on.
What pomade should I use?
A water-based pomade with medium hold, worked through with a comb, top and sides. It combs out clean, washes with water, and holds the part without turning the hair stiff.
Related reading: taper vs fade explained by a barber, the best clippers for fades, Magic Clip vs Senior 2.0, and how to zero gap your blades.