Disclosure: this article contains affiliate links. As an Amazon Associate, Trusted Barber may earn from qualifying purchases, at no extra cost to you.
The flattop is one of the most recognizable haircuts in the world, and in the tutorial embedded below barber Slim builds one from the first side pass to the final edge cleanup. His framing is the reason we picked this video: the flattop is a precision cut where you cut to a shape rather than to a length, and every technique in it, clipper over comb, following through at the curve, the heat set, transfers to almost every other men’s haircut. If you only ever watch one flattop video, this is the one.
Video credit: Slim The Barber, on YouTube. This guide follows his method step by step; nothing here is our own testing.
Why the flattop is worth learning first
Slim’s own argument, and it is a good one: the flattop teaches you to cut to a shape instead of cutting to a certain length. Most haircuts are built from a guard number and a fade; a flattop is built from a plane, and holding that plane while you work around a curved head forces you to learn angles, follow-through and comb control. He also notes the cut is easy to manipulate into variations to fit most head shapes, which matters because a flattop magnifies whatever it is sitting on.
His order of operations is also different from most cuts and worth copying: he starts with the sides, not the back, because working the sides first gives him a better idea of the angles he will use for the rest of the haircut.
Step 1: the sides, cut to the curve and follow through
Slim starts the sides with a 1.5 blade length. If your clipper runs plastic guards instead of metal blades, his equivalent is a #1 guard with the lever open to a little over halfway, which lands at the same length. He takes that length up to where the head begins to curve toward the crown, and here comes the technique that makes or breaks the cut: follow through. When the blade is no longer pressed against the head, keep the clipper moving up at the same angle rather than pulling it away.
His reasoning is precise. Cutters who stop at a spot and immediately pull the clipper away leave hair that is harder to blend into the top with clipper over comb, and they risk following the curvature of the head too high, which cuts the top of the sides at too steep an angle. Follow through keeps the angle honest. He cuts the second side to match the first before moving anywhere else.
Key theme: Follow through is the whole trick: once the blade leaves the head, keep moving up at the same angle instead of stopping at a spot. It keeps the blend possible.
Step 2: the back runs higher, up to the cowlick
He keeps the same 1.5 blade for the back unless the guest asks otherwise, but the back sits higher than the sides: the guideline in the back starts high and gradually slopes down to meet the side guidelines. He takes the 1.5 all the way up to the cowlick (the whorl at the back of the crown), cuts around the top of the back of the head against the grain, and holds the blade at the same follow-through angle as it leaves the head.
That height difference is deliberate. The back corners of a flattop get tapered into the middle and slightly rounded, and keeping that area short is what keeps the cut looking clean once the hair has had a day to do what hair does.
Key theme: The back runs higher on purpose. The guideline slopes down to meet the sides because the back corners get tapered into the middle, not because the sides were cut wrong.
Step 3: drop the bottom of the sides with a #1
The lower sides get a #1 blade, taken up to a guideline near the temples, and those lines meet near the occipital bone at the back. To make the transition between the #1 and the length above it really clean, Slim uses a rocking technique with the clipper, a slight rock of the blade as it works the line, until the line completely disappears. It is the same principle as the lever walk in a skin fade: several shallow adjustments beat one hard stop.
Any professional clipper with a full blade set handles both lengths. The Wahl Magic Clip below is the shop standard, and the Wahl Color Pro is the budget version with color-coded guards if you are building a kit at home.
Step 4: the heat set, no products
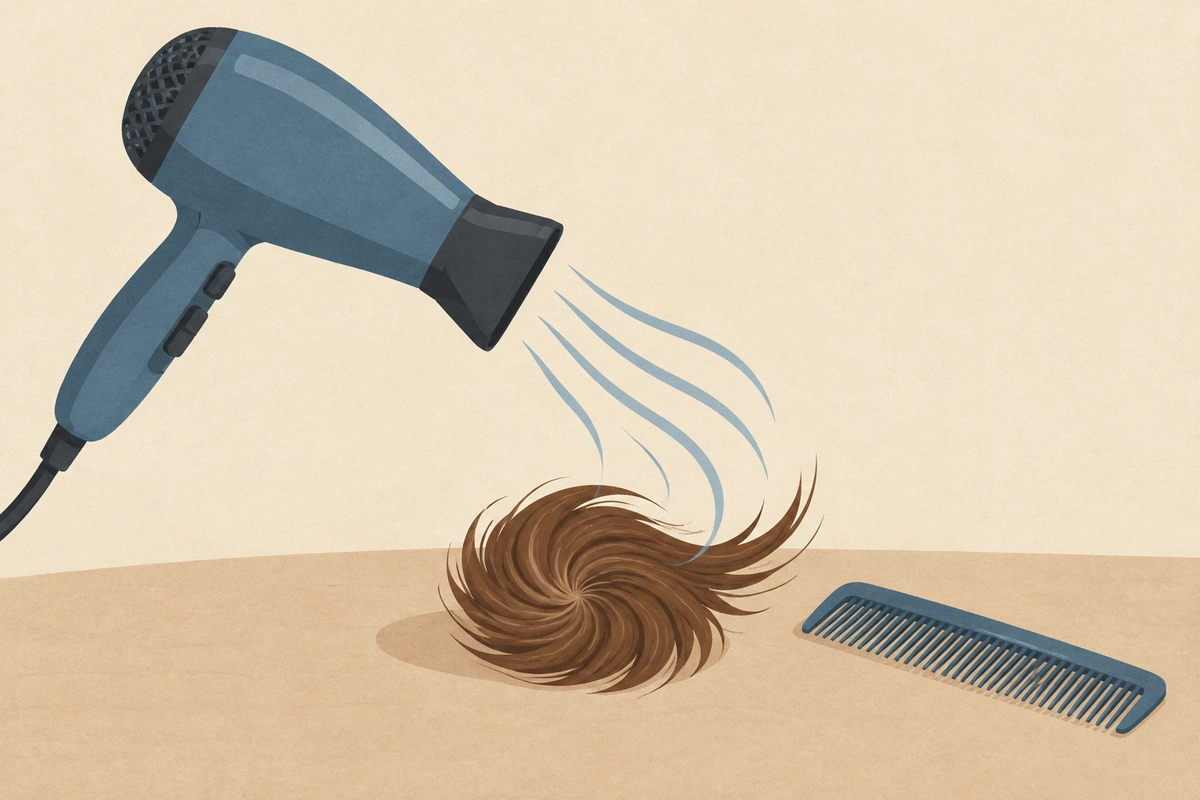
Before the top gets cut, the hair has to stand up, and Slim is categorical about how: always use a blow dryer with a funnel, brushing the hair against the grain so it stands up. If the hair is matted down he starts by spraying water and brushing against the grain with a stiff, military-style brush, but the blow dryer is always the final step. His reason: heat sets the hair without any product, and product can hinder the clipper’s ability to cut the hair. His words: that is not opinion, that is fact.
For a home setup, the funnel is the missing piece: a heat-shield attachment concentrates the airflow upward so the hair dries standing instead of blowing sideways. The one below is the standard barber attachment.
Step 5: cut the top back to front, on a plane
With the hair set, the top is cut with the comb held flat against the head. Slim holds the spine of the comb against the scalp for stability and positions it to nearly match the angle he used when cutting up to the cowlick. The hair is slightly longer at the crown than at the cowlick itself, and the length gradually gets longer from crown to front; he usually switches positions one or two swipes past the very middle of the head. He always combs the hair away from himself while cutting.
For the front, he cuts the very front to the desired length first, about an inch long in most flat tops, pushing back to blend with the previously cut crown area, then blow dries again to keep the heat set and to blow loose hairs out of his sightline.
Key theme: Cut the top on a plane, not a curve: comb spine flat against the scalp, longer from crown to front, and switch your working position past the middle of the head.
Step 6: blend the sides into the top with clipper over comb
This is the step that earns the flattop its reputation as a teaching cut. Blending the sides into the top is done with clipper over comb, at the same angle used when cutting the sides in step one, and the curvature of the head creates the fade for you. He stabilizes the comb against the head and cuts from just above where the comb is stabilized up to the top of the flattop, working from the back to just past the middle, then moving to the front. Remember his rule: always cut the front from the front.
Step 7: the back corners and the A-frame choice
On almost all of his flat tops, Slim tapers the back corners into the middle and leaves them at least slightly rounded, with the angle becoming more straight up and down toward the front; usually only about half of the top is actually flat. He keeps the back corners short on purpose: cowlicks at the back make the hair grow in different directions, and if that hair is left long it is difficult for the average person to style. Short enough that it cannot look messy is the design brief for a precision cut.
If the guest wants the back of the top longer, he does not taper the sides into the middle as much, because the taper makes the head appear too narrow. He calls that shape the A-frame, because the top of the cut looks like the outline of an A.
Step 8: check it from the four corners
The last cutting step needs more angles than the front and back: Slim gets his eyes at the level of the hair and looks at the cut from the four corners of the flat top. Anything that sticks out gets cut down to match the rest, slowly and a little at a time, because it is very easy to take one swipe too low and ruin the work already done. He then checks from the sides the same way, and finishes the edges and the neck.
Barber jsnwelsch17’s flattop demonstration adds one rule of thumb that pairs well with this step: start in the middle and keep the corners high, because starting in the middle makes it easier to keep the cut level and keeps you from cutting your corners off. Hold the comb flat and straight up, work out from the middle, and the level has a reference point.
How a flattop grows out, and when to re-cut
A flattop is honest about its maintenance schedule. The plane only stays a plane while the hair stays short enough to stand up on it, so the cut needs a touch-up every two to four weeks depending on how fast the hair grows and how flat the front is kept. The good news is that the re-cut is faster than the first cut: the shape already exists, so the work is following the same steps at maintenance length, usually skipping the full guideline rebuild on the sides and spending most of the appointment on the top plane, the corners and the edges.
Between cuts, the heat set is the part that carries the look. Because Slim cuts the top without product, the style depends on the hair standing up under its own heat set; a morning pass with the blow dryer re-establishes it. Anyone who wears the cut daily learns where their cowlick sits and dries against it first, which is the same logic the cut itself uses at the back crown.
Key theme: The four-corner check is the quality gate. Look at the cut at eye level from all four corners and remove what sticks out, slowly, a little at a time.
The kit a flattop actually needs
Short list, and it is shorter than most precision cuts: a professional clipper that accepts metal blades or a full guard set (steps 1 and 3), a flat top comb with a level edge for the plane of the top, a blow dryer with a funnel or heat shield for the heat set, and a detail trimmer for the edges and neckline. The comb matters more than people expect: a true flat top comb has a flat, level surface to rest the clipper against, which is what turns “roughly flat” into flat.
Who a flattop suits
Slim’s point about head shapes is the honest starting answer, and it is worth unpacking because a flattop hides nothing. A flat plane on top puts the whole silhouette on display: the head’s side profile, the line of the neck, the evenness of the corners. Straighter profiles carry it easily; a pronounced slope from the crown forward can be adjusted with the A-frame variation, which adds length toward the front and rounds the outline. Hair density matters too, since the front inch is what the whole cut is judged by. His point A flattop rewards a head with a decent crown and a front that can carry an inch of vertical hair; a strong cowlick at the back crown is manageable because the cut keeps that area short by design. It is also a cut that reads intentional from a distance, which is either the point or the problem depending on what you want your hair to do for you. If you are between cuts, our number 1 guard buzz cut guide covers the shortest version of the same family, and the clipper guard sizes chart has every blade and guard length the steps above reference.
Key theme: A flattop is a plane, not a length. Get the comb, the heat set and the follow-through right and the cut holds itself; skip any one of the three and it reads as a bad crew cut.
The short answer
Cut the sides with a 1.5 or a #1 lever-open, follow through at the curve, keep the back higher up to the cowlick, drop the lower sides with a #1 and rock the lines out, heat-set the top with a blow dryer and no product, cut the top back to front on a flat comb plane, blend with clipper over comb and let the head’s curve create the fade, then check the cut from all four corners before you clean the edges. Our TPOB clippers review covers the clipper side of the kit if you are buying for this cut.