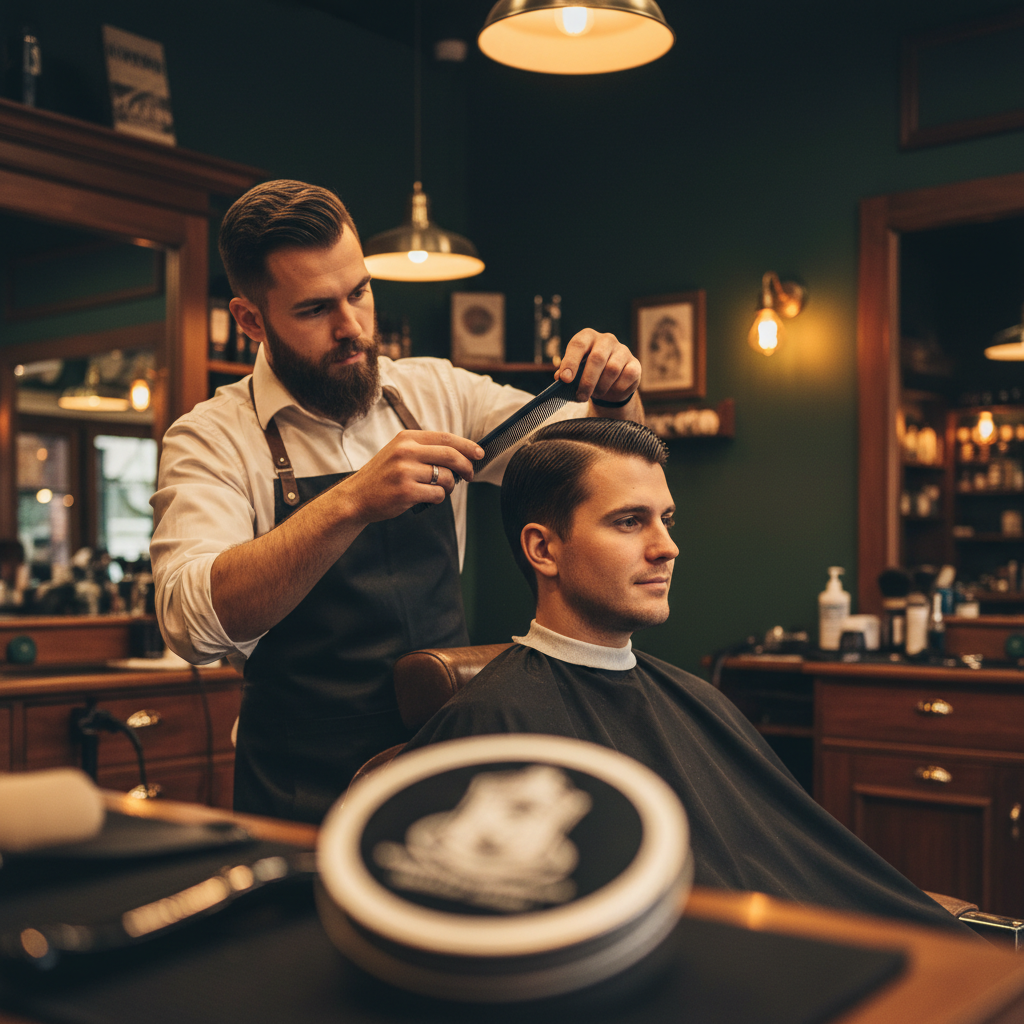
The classic side part is having a real moment, and most of the tutorials feeding it skip the two things that decide whether the cut works: how the part is placed, and how the top is cut so the hair actually wants to lie toward it. In this cut, the team at Regal Gentleman takes client Ben, who has spent years trimming his own hair, and rebuilds the whole shape around those two questions, double crown and all.
Everything below comes from that cut. It is a complete recipe: the guard ladder for the sides, a six-pass classic taper, the sectioning logic that handles a double crown, and the pomade order that turns a decent cut into a sharp finish.
Affiliate disclosure: As an Amazon Associate, TrustedBarber earns from qualifying purchases.
Where DIY side parts go wrong
Ben’s hair tells the story of years of self-trimming: the weight sits right on the round of the head, which is exactly where a beginner’s clippers wander. The round of the head is the hardest zone to judge by feel, because you cannot see the surface you are cutting, and every small overcorrection stacks into a visible shelf.
The round of the head is the last place to self-cut. Leave the zone you cannot see to someone who can.
The barber’s rule from the video is blunt and worth adopting as your own: the round of the head is the last place you should ever cut your own hair. Leave that zone to a professional and confine DIY work to the areas you can see in a mirror. If a self-cut has already left a ridge or a shelf, our guide to fixing a bad haircut covers the repair sequence before you add more damage.
Thick straight hair needs length before it needs style
The barber uses his own head as the reference for the hair type, and his point is one most product reviews never make: thick, straight hair needs real length before it can carry a side part at all. Heavy pomades need hair to grip. Cut too short, and the hair will not slick; it spikes, especially at the crown, and no amount of product forces it flat.
That is why this cut preserves length through the top even while the sides come down hard. The top is what the style is made of. The sides exist to create contrast, and contrast is what makes the length look intentional instead of overgrown.
Placing the part: crown to recession point
Placement follows a classic rule: the part runs from the crown toward the point of recession, the corner where the hairline starts to pull back. Ben’s part is placed on that line, and the barber is candid that finding your own part takes practice, a couple of weeks of daily combing before the hair settles into the groove.
He also draws the distinction between a hard part and a soft part, a fork that matters most in the slicked-back family our MC Barber pompadour walkthrough lives in. A hard part is a cut line, carved with a trimmer or the corner of a blade, and it suits slick, deliberate styles. A soft part is just a comb line in styled hair, and it suits everything else. His argument for keeping a defined part on a classic side part is aesthetic: the part itself is what makes slicked-back hair read classic rather than greasy. Without that line of intent, slicked hair just looks flat.
The part runs crown to recession point. Give it two weeks of daily combing before you judge it.
Working with a double crown
Ben has a double crown, the classic culprit behind cowlicks that spike in two directions at once. The barber lays out the three options every double crown owner has: work with it, cut it off, or leave the hair super long so the weight overrides the whorls. This cut takes the first option, and the method is the interesting part.
A double crown is a fact to design around, not a defect to hide.
The top gets sectioned into a horseshoe, and critically, the horseshoe includes the crown. The crown is not treated as problem hair to be isolated; it is connected into the sectioning so its natural fall becomes part of the shape. Sectioning that respects the crown is why the finished style shows separation and natural movement instead of a fought-over flat plane.
The guard ladder: three, two point five, two
The sides come down with a deliberate ladder. A number three handles the bulk in the problem areas where the hair is heaviest; our clipper guard sizes chart maps every number if you want the full ladder. A two point five then softens the line into the three, removing the step the three would otherwise leave. A number two goes where the hair is thicker still, sitting just above the taper.
Then comes the check that separates careful barbers from lucky ones: he wets the hair down and re-reads the blend. If the transition kicks out when wet, it will kick out dry, because wet hair shows the true lie of the cut before product hides anything. This wet-check habit costs thirty seconds and catches most blend failures before the client leaves the chair.
If it kicks out wet, it kicks out dry. Check the blend with the hair lying the way it lives.
A strong classic taper, pass by pass
The taper under a classic side part is not a fade; it is a statement. The barber builds it with a sequence worth copying exactly, because each pass buys a little height above the last:
Six passes, one taper. Each lever position buys a little height above the last.
He starts with a 1 guard. Then he moves to a setting between the 1 and the 1.5 with the lever in the middle, and works down to the 1 again. Next, open blade with the lever back to half. Then the lever opens fully, comes back to halfway, and finally closes to zero for the bottom line. The trimmer finishes the mast area behind the ear where the taper meets the neckline.
Six passes, each a half-step above the last, is what produces the strong contrast this style needs. The slicked top only reads sharp when the sides are genuinely tight, and a lazy two-pass taper leaves the whole head looking blurry.
Sideburns and neckline on a classic
The detail work follows the style’s logic. Around the ears he takes a 1.5 to clean up without over-thinning. The sideburns are squared off, his stated preference for this look, and he tips each sideburn at its sharpest point rather than rounding it. The neckline gets strengthened by cutting into it, building a line that will still read as a line a week later. And in keeping with the classic brief, he keeps hairline work minimal: this is a cut that should look natural at the edges, not stencil-drawn.
Square the sideburns, tip them sharp, and strengthen the neckline. Edges decide whether classic reads classic.
Cutting the top for the part
The top is where this cut is won, and the barber’s sectioning is precise. The longest point of the hair runs from the center of the head to the part, which means every top section is taken from the middle, never from the parting side. Cutting a section that starts at the part removes exactly the weight that makes the part lie flat, and it is the single most common DIY error on this style.
Take every top section from the middle, never from the parting. The part needs its weight.
The cutting itself is precision work: straight, uniform cuts with no texturizing, because the style needs weight and a clean edge, not feathering. The fringe is kept longest and cut on an angle so it sweeps asymmetrically across the forehead. At the crown, horizontal sections connect the crown into the rest of the top, cut with loose tension so the hair keeps its natural fall instead of being pulled into a false direction.
The blow-dry that sets the direction
Styling starts with the dryer on medium heat and medium speed, a deliberate pairing: hot enough to train the hair, gentle enough not to whip it into frizz. He works with a small round brush, always brushing from the left and facing the part, wrapping the hair at the root and rolling it over to build the direction. The pass finishes with cold air, which locks the root direction the heat just set.
Brush from the left, roll the root, set with cold air. Direction is trained before it is dressed.
Then one scissor move that pays for itself: point cutting into the heavy side, from the recession point back, to remove weight where the hair wants to slump. The move itself is one of the texturizing techniques barbers actually use. Thin it slightly and the part lifts; skip it and the heavy side drags the whole style down by midday.
The pomade order that makes it hold
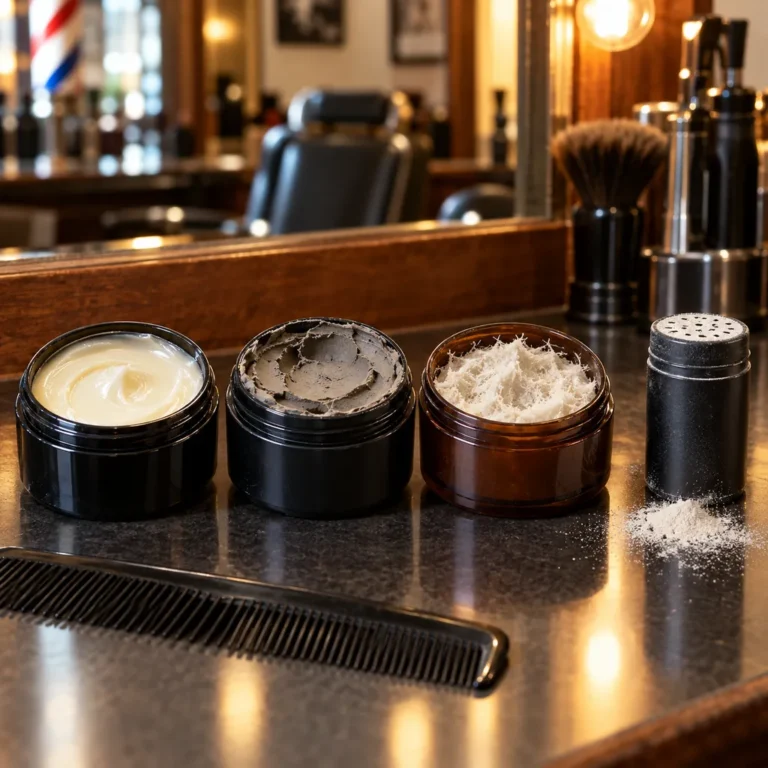
The finish uses Reuzel Green Grease Pomade, the classic oil-based green grease the barber names in the video, a medium-hold, low-shine pomade built for exactly this style. The application order is the lesson:
First stop is the part itself, because that short side is the problem area: the short bits need to be held down before anything else happens. Then front to back through the blend, and finally back and sides to gloss the hair so the light reads one color all over. The failure mode he is preventing is the classic one: wet-looking on top while the sides stay dry and matte, which makes the cut look like two different heads.
Dress the part first, not the top. The short side is the one that fights you by noon.
He combs everything into place to finish, and offers the natural-finish alternative for anyone who finds grease too much: a clay. His example is in the Baxter of California Clay Pomade class, a matte clay that gives the same direction with a dry, modern finish. And for the combing and parting itself, a proper barber comb makes the difference; the Bardeau Professional barber comb is the everyday workhorse for setting a part without fighting the hair.
Keeping it sharp
One honest note to close on: a classic side part is a high-maintenance silhouette. The perimeter is what loses its shape first, and the slicked top has nowhere to hide a grown-out taper. The client in the video gets the full treatment because the style only works when every element is fresh. If you are going to commit to the look, commit to the cycle that keeps it looking intentional, and walk into the chair knowing what to ask for; our guide on telling your barber what you want covers the vocabulary.
The perimeter quits first. Book the cycle before the shape tells you to.
When the part fights back
Even on well-behaved hair, the part line itself is usually where a cowlick lives, and Ben’s cut shows the handling order. The part does not get forced into place with product; it gets trained with heat first, combed into its groove every day in the two weeks the barber mentions, and only then dressed. If your part line whorls or stands, comb it wet in the direction you want, dry it that way with moderate heat, and let the set cool before you touch it with pomade. Product on an untrained part just glues the fight in place.
There is also a placement mercy valve worth knowing: if one placement genuinely will not lie, the classic answer is to move the part a finger’s width toward the stronger side rather than fighting the whorl head on. The rule about running from crown to recession still governs; you are choosing which recession point, not abandoning the rule.
Train the part with a comb and a dryer before you dress it. Pomade holds a habit; it does not create one.
The lower-maintenance middle ground
Everything above is the full traditional treatment, but the video’s framework also supports a softer version that suits people who like the look more than the upkeep. Ask for the same three-to-two ladder and the same taper, leave a little more length through the top, and finish with a clay instead of a grease pomade. You keep the part, the contrast, and the square sideburns, and you give up the mirror-gloss finish and most of the daily discipline.
The honest trade is definition. A clay-set side part reads relaxed, and by the end of a long day it reads even more relaxed. That is not a flaw; it is a choice about what the style says. The full grease version is a statement piece, and the clay version is an everyday piece, and both are legitimate answers to the same cut.
FAQ
Which side should a classic side part be on?
Follow the hair’s natural fall and the growth pattern. The classic placement runs from the crown toward the point of recession on whichever side the hair already wants to move. Fighting a strong natural part is a losing battle.
Hard part or soft part for a side part?
A hard part, a cut line made with a trimmer, suits slick, deliberate styles and adds definition to straight hair. A soft part, just a comb line, is more versatile and more forgiving. The video’s point: some defined part is what stops slicked hair from reading greasy.
Can you style a side part with a double crown?
Yes, by sectioning around it rather than against it. The horseshoe section in this cut includes the crown so its natural fall becomes part of the shape. The alternatives are cutting it out or growing enough length that weight overrides it.
What pomade holds a classic side part?
A medium-hold, low-shine oil-based pomade like the Reuzel Green used in the video, applied part first. If you want a natural finish, a matte clay gives the same direction with less shine. Our pomade versus clay versus wax guide breaks down the full spectrum.
How often should a side part be cut?
Every two to three weeks to keep the taper and perimeter reading sharp. The slicked style shows growth faster than textured cuts do, which is the price of the look.