Disclosure: this article contains Amazon affiliate links. As an Amazon Associate we earn from qualifying purchases, at no extra cost to you. It does not change what we recommend.
The mullet is back, and the modern version is more blended than the one your uncle wore. I watched two popular barber tutorials on cutting one: Dreclipperhands does it with clippers and a taper, and Robert at Mailroom Academy does it almost entirely with scissors.
On sources: both creators sell things. Dreclipperhands promotes a paid academy and has affiliate promo codes in his description, and Mailroom Academy sells its own styling products, including the clay used at the end.
In this article
What Makes It a Modern Mullet
Both barbers describe the same target before they pick up a tool. The top is cut shorter than the back. Dreclipperhands puts it plainly: if the top and back are all one length, you have a burst fade, not a mullet. The sides go short, but the transition into the back has to blend. Robert says the most common problem he sees in mullets online is that there is no blend from the side into the back, so the cut looks like someone just shaved up the side of the head.
The third shared point is texture. Neither barber cuts the top straight across and leaves it. Both point cut or slice into it so the hair moves instead of sitting flat, and both keep the edges soft instead of carving a hard line.
The Clipper Method: Taper First, Then Texture
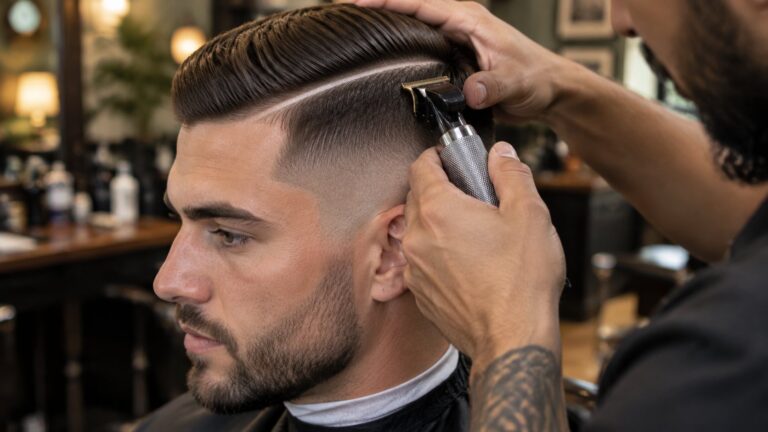
Dreclipperhands starts with a 2 guard, lever open, to debulk, because his client has a lot of hair and he wants a clean foundation. He sets the taper slightly higher than normal, just behind the ear, and exaggerates the round shape on purpose so the edges of the taper stay dark. That is the burst effect.
From there he works a guard sequence: trimmer and then a shaver for the bald line (he holds the ear out of the way and lets the weight of the tool do the work), then lever open about a finger’s width up, a 1 guard open, a half guard he closes little by little until the line is gone, and the 2 guard flicked out at the highest point of the taper, just below the parietal ridge. He blends back down with a 1.5 guard, closing gradually. His advice through all of it is to trust the process and not quit on the blend early.
Two details stand out. He follows clipper over comb with thinning shears, because clipper over comb alone is choppy and the shears soften it while keeping the darkness at the top of the taper. And on the scissor work for the top, he takes off about an inch and a half, works three sections with a middle guideline, and point cuts everything for texture. He also shows a mistake he made on the back: he cut the guideline following the shape of the head instead of pulling straight off it, which cost him the even look, and he explains how he would fix it next time. That kind of honesty is useful for a beginner.
Source: Textured Mullet, Step by Step, Dreclipperhands.
Quick take
Dre’s order: debulk with a 2, set the taper high and round behind the ear, blend down with the half guard, then thinning shears so the top of the taper keeps its weight.
The Scissor Method: Sectioning Does the Work
Robert at Mailroom Academy skips the fade entirely and cuts the mullet with shears. His setup is the lesson. He separates the back from the sides and top first, so each side has a clear reference for where the other stopped, which is how he keeps the weight symmetrical. He finds the section line by resting a comb on the head and using the spot where it sits at 45 degrees.
The sides are cut in a triangular shape: short at the front, gradually longer toward the back, so the side flows into the mullet instead of ending in a wall. He warns against building that triangle too early, because that puts weight right where the head rounds and makes it look poofy. Past the ear he overdirects every section to the one at the middle of the ear and slices the ends, closing the blade only halfway so the cut stays light.
On the back, he knows he is breaking a rule: some mullet fans think cutting the back at all is a sin. He trims it anyway, with vertical sections angled outward, so the back is layered and keeps its length at the bottom. Around the ears and edges he barely touches anything, just light point cuts, so the cut looks lived in rather than fresh. The top stays a little disconnected on purpose, because he likes how it hangs over the side.
Source: How to Cut a Mullet, Mailroom Academy.
Good to know
Robert’s sectioning trick: separate the back first so each side has a reference for where the other stopped. That is what keeps both sides building weight in the same place.
Barber tip: decide the sides before you touch anything. A burst taper to skin and a scissor-only side are two different haircuts, and switching halfway leaves you with neither.
Where They Agree and Where They Split
They agree on the skeleton: top shorter than the back, a real blend from the sides into the back, texture cut into the top, and soft edges. They split on tools and sides. Dreclipperhands wants a skin-close burst taper with a shaver finish. Robert keeps the sides short but scissor-cut, with no bald line at all. Dre reaches for thinning shears to soften; Robert slices with the shears half closed. If you are cutting at home, Robert’s version is more forgiving, because nothing goes to skin and every mistake is a little easier to grow out.
Tools and Styling
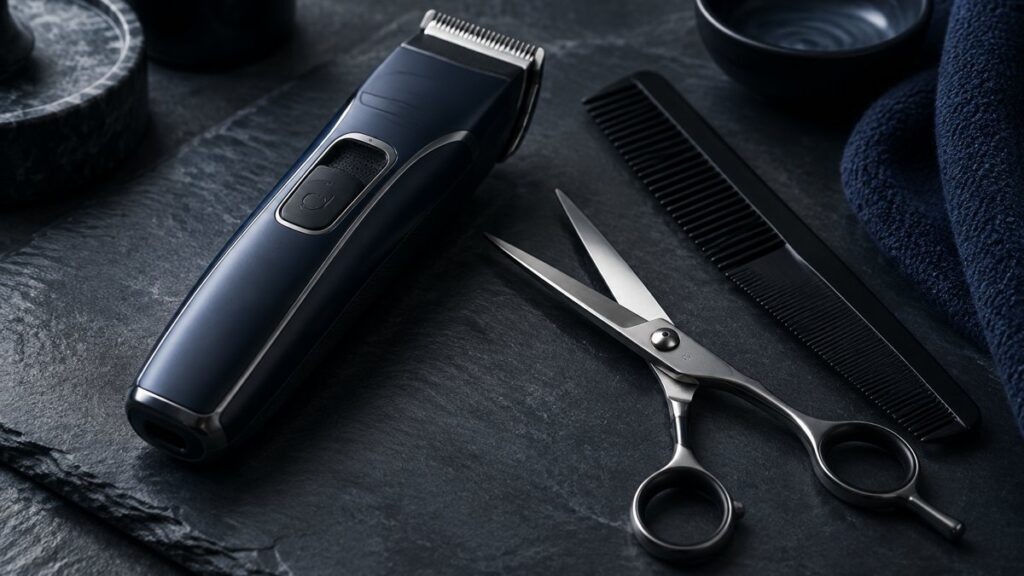
For the clipper route you need a cordless clipper with guards, a trimmer, a comb and thinning shears. For the scissor route, a decent pair of shears and a comb cover it. Our guide to straight vs thinning shears explains which length and type does what, and our best clippers for fades roundup covers the clipper side.
Both barbers finish the same way: a matte product worked through dry hair to bring out the texture. Dre uses a volumizing powder first, then a matte clay. Robert uses his own shop’s matte clay pomade, which he sells. For picks that are not tied to one creator, see our pomade, clay and paste guide.
Pick this if…
Go with Dre’s method if you want a sharp, barbershop taper on the sides. Go with Robert’s if you want a softer, lower-risk cut you can do with shears at home.
Shop note: the back guideline is where mullets go wrong. Pull straight off the head, not along the curve, and the length lands even, which is exactly the fix Dre describes on his own mistake.
Quick Checklist
- Cut the top shorter than the back, or it stops being a mullet.
- Blend the sides into the back. A wall of hair is the number one mistake.
- Clipper route: taper high and round behind the ear, blend down with the half guard.
- Scissor route: section the back off first, cut the sides in a triangle, slice lightly.
- Point cut the top for texture. Keep the edges soft.
- Finish with a matte product on dry hair.