Most fade tutorials show you a finished head and then replay the steps backwards from it. This one goes the other way. In his drop fade walkthrough, Los of Loscuts builds the cut in three deliberate guard steps, and every decision he makes is downstream of one habit: he sets a baseline with a closed zero before any guard ever touches the head. The result is a drop fade with no hooks, no steps, and no rescuing passes, because each stage does its own job and nothing more.
This walkthrough is pulled directly from his tutorial and organized the way he actually works. If you cut fades on clients or on yourself, the texture rules in the middle of this article are the part worth studying, because they explain why the same guard numbers produce different fades on different heads.
Affiliate disclosure: As an Amazon Associate, TrustedBarber earns from qualifying purchases.
Start with a baseline, not a guard
Los begins every drop fade by establishing a baseline with his clipper closed all the way down to a zero. No guard, no lever play, just a clean line of demarcation around the bottom of the head. Only after that line exists does he switch on a guard and bulk the rest down.
The reason is control. A guarded clipper pushed low has to chew through a lot of hair at once, and when it does, the cut line drifts: you get hooks at the round of the head and a baseline that sits lower where the head curves. A closed zero pass sets an honest boundary first. Then the bulk work happens above it, where mistakes are cheap.
His order of operations from there is deliberate. Bulk clear with the clipper, then bring the trimmers in to knock the hair down further. The trimmer pass matters because a shaver glides across skin and cuts cleaner than a guarded clipper forced low, and once the bald-line area is actually smooth, every blend that follows works on real skin instead of on stubble it has to fight through.
Baseline first, bulk second, trimmers last. The order is what makes the blend invisible.
The foundation guard: number three, lever closed
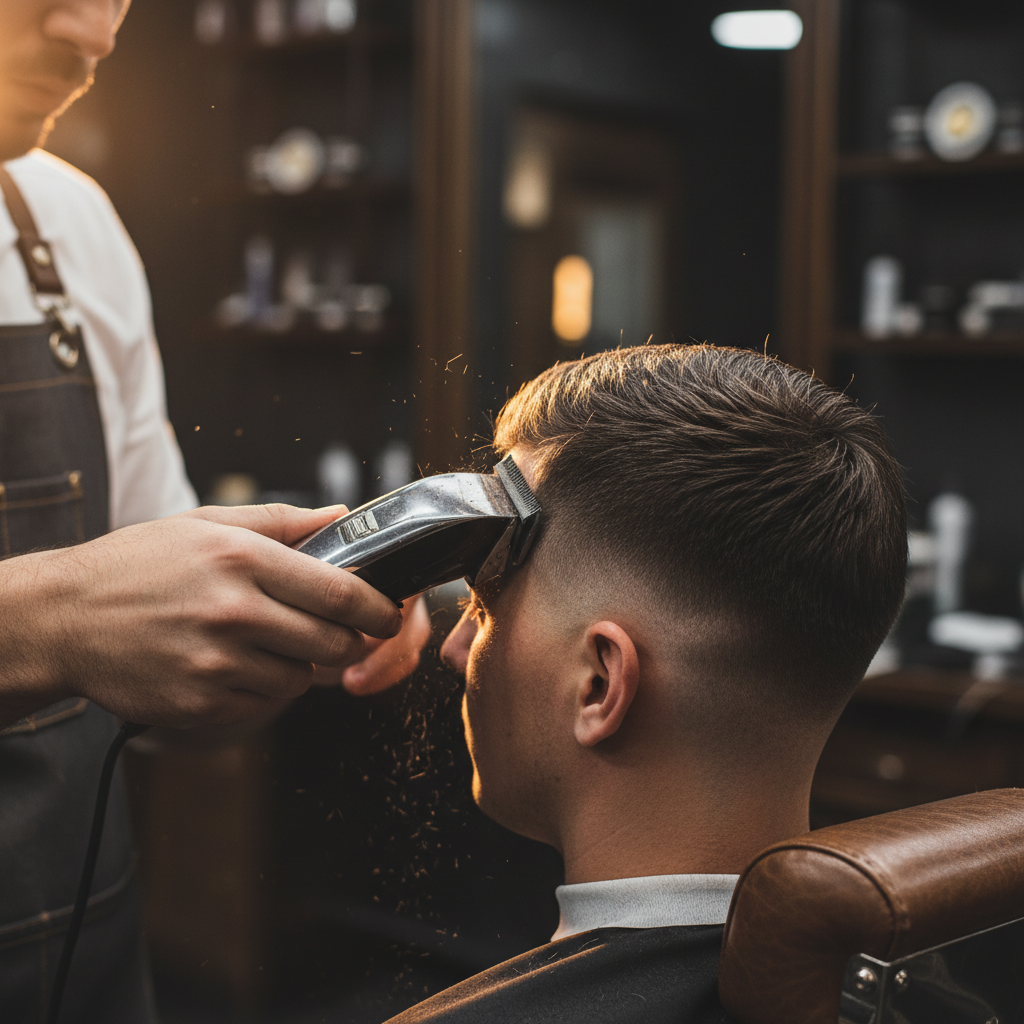
The first real guard of the fade is a three, lever closed, and Los works it up the sides in sections. As the head starts to round away from him, he flicks the guard out instead of following the curve flat. Flicking keeps the foundation line level; following the curve blind digs the line lower than the shape you drew in your head.
Flick where the head rounds and drop the back foundation lower. The crown keeps its length; the sides do the talking.
At the back, he drops the number three lower than it sits on the sides. That is a crown-preserving move: the crown holds its length so the head keeps its shape from behind, which is the view everyone else gets. Around the occipital bone he flicks deliberately rather than cutting through the bump, because the occipital is where steps get born.
The 1.5 guard is the whole transition
Next comes the guard that does most of the work in a three-step fade: the one and a half. Los runs it with the lever closed and places it roughly an inch and a half to two inches above the baseline, which puts it about half an inch below where the number three finished. That half inch of real estate is the transition zone, and its placement decides the character of the whole fade.
Place the 1.5 first, blend it second. Where that guard sits decides whether the fade reads open or dark.
Take the 1.5 higher and the fade reads more open and skin-tight at the bottom; where this all sits on the spectrum is our low, mid, and high fade guide territory. Take it lower and you leave more dark. His own framing is worth repeating: the 1.5 creates the top of the dark area. That is its entire job. Once the 1.5 line is set, he switches to lever open and flicks to marry it into the number three, so the transition dissolves instead of stacking.
The half guard finishes the bottom
The bottom of the fade belongs to the half guard, and Los is strict about one thing here: the baseline shape he follows with the half has to match the shape he set at the very start, all the way around the head. If the baseline curved, the half follows the same curve. Anything else reintroduces the step you just spent three guards removing.
He runs the half with the lever open, skimming close to the baseline with gentle flicks. The open lever is deliberate. It is the safe setting for a guard this short, because it cuts almost nothing at first and lets you creep down notch by notch. If the open lever is not cutting enough, he closes it one notch at a time rather than dropping it closed and hoping.
Run the half open and flick gently. Close one notch at a time, never all the way at once.
Hair texture changes what a guard reads as
This is the section most fade tutorials skip, and it is the one that separates a method from a recipe. Los works on a client whose hair is on the thin side, and he narrates exactly how that changes the math. On thin hair, a half guard can act like no guard at all, because there is not enough density for the length difference to show. The two and the three read lighter and shorter than they would on dense hair, and a 1.5 on thin hair can look like a 3 or 4 would on thick hair.
His adjustments follow directly. On thin hair, he builds the foundation higher, sometimes to a four or a five, because the lower guards simply will not register visually. Where a half guard disappears entirely on thin hair, he reaches for a 1 instead, so the step actually exists. On thick hair the opposite: the same ladder reads darker and heavier, and the detail work moves to thinning shears rather than more clipper passes.
The deeper lesson is that guard numbers are a language, and every head speaks it with an accent. You are not cutting to the number on the guard. You are cutting to the visual result, and the guard is just the shortest path to it on this particular head.
Same ladder, different reading. Thin hair makes a half look like nothing; thick hair makes it look like a real step.
Thinning shears are the universal blender
When Los needs to clean up the roof of the fade, the transition where the fade meets the longer hair above it, his tool of choice is not another guard. It is the thinning shear. He takes the shears over the area and removes weight without adding a line, which is exactly what that zone needs late in the cut when a wrong guard choice would cost you the whole blend.
It is also the safest recovery tool in the kit. A guard pass either cuts or it does not, and when it does, it cuts everything. Thinning shears take a percentage, which makes them reversible in a way clippers are not. If you are building fade skills, our guide to thinning shear technique covers the over-comb and point work barbers actually use.
Blending the baseline into the skin
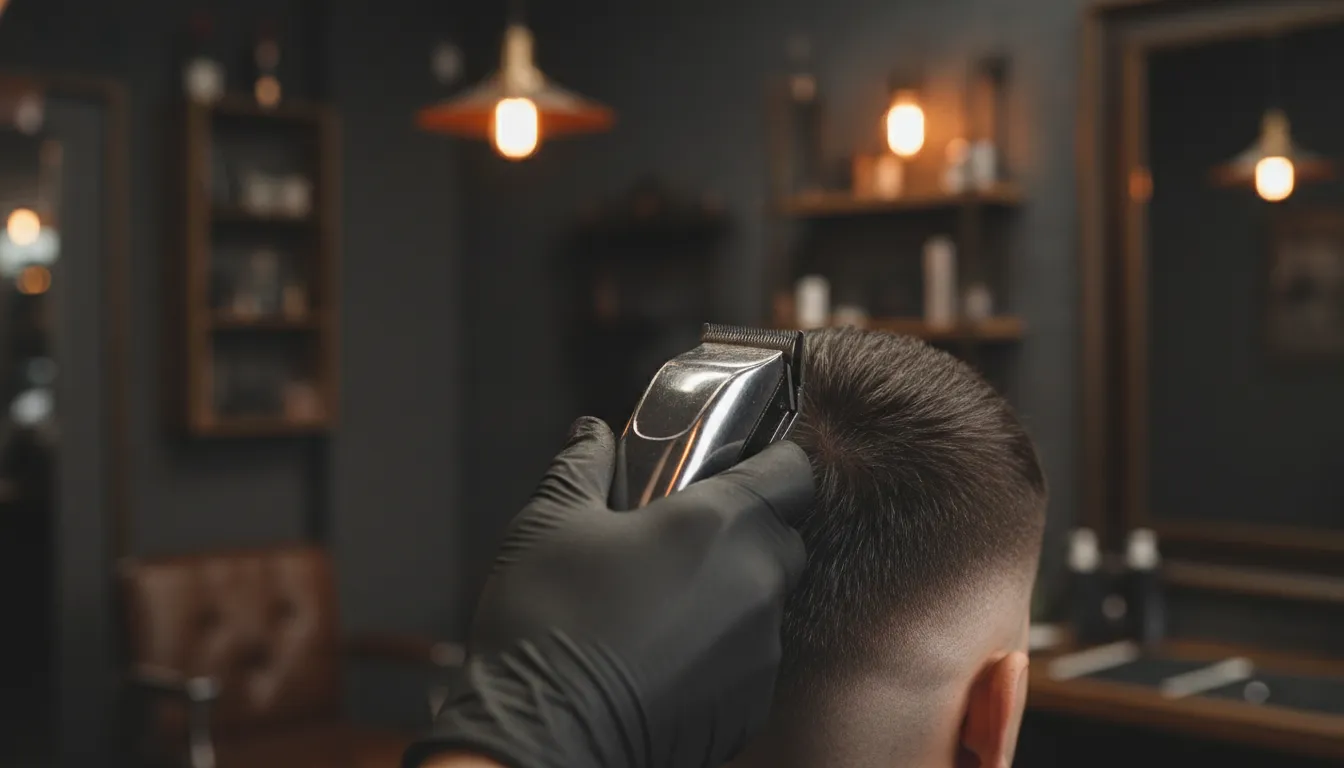
With the guards done, the baseline itself gets its finishing pass. Los takes the clipper closed to zero and works small, gentle flicks right along the line, dissolving the last of the demarcation into bare skin. Small flicks, not long sweeps: the flick is what feathers the edge, and the small size is what keeps it from cutting a new line a quarter inch higher.
Here he drops the myth that stops a lot of home cutters from even trying this: none of his clippers are zero-gapped. Zero-gapping gets marketed as a requirement for skin-tight fades, and his work is the counterargument. Technique, lever discipline, and light pressure do the job a gap modification pretends to guarantee. If you are shopping for tools, our review of the best zero-gap trimmers covers what actually matters at the blade edge.
The two-trimmer rule, and when the zero stalls
Sometimes the closed zero will not fade the line no matter how clean the flicks are. Los has two answers. The first is pressure placement: a tiny amount of pressure, applied only right on the line, never along the whole pass. Pressing anywhere else does nothing useful and everything harmful.
One sharp trimmer for lines, one softer for fading. Two pairs is not luxury; it is how a stubborn baseline gets dissolved.
The second is the two-trimmer rule, and it is the most quietly useful idea in the video. He keeps two pairs of trimmers. One pair stays sharp and is reserved for lineups, where a crisp blade edge is the entire point. The other pair is deliberately softer, worn down just enough that it fades and knocks down bulk without biting. A softer trimmer driven with gentle flicks along the line is what dissolves a stubborn baseline, while a sharp trimmer would only re-draw it. His lineups get the Wahl Cordless Detailer Li class of tool: a trimmer that holds a crisp edge for the detail work, which is exactly the role the sharp pair plays on his station. For the full read on that category, our Andis T-Outliner Cordless review covers what a lineup-grade blade edge buys you.
The top: number six, with the corners kept
Up top, the client asked for a number six, and Los cuts it with a guard and then blends into it with shears rather than another guard pass. The important structural choice is what he does not cut: the corners. The hair at the parietal ridge, the corner points where the side meets the top, stays on, because those corners are what keep the shape square from the front. Shave or fade through them and the head reads round from every angle.
Corners are structure, not decoration. Keep the parietal points and the head stays square from the front.
The front is left longer than the mid, and length is kept through the back as well, so the head has a real silhouette instead of a dome. That gradation, longest at the front hairline and fullest through the back, is what lets the cut be styled at all.
For the clipper work itself he is on a cordless machine in the Wahl Magic Clip category, the same class of clipper most working barbers run for fades: light enough to flick with, strong enough to chew through the bulk pass without stalling.
What to do when the hairline is receding
The client’s hairline tells the last story of the cut. On the front right, the hair grows in a distinct pattern, so before any lineup Los combs the hair into its natural fall and cuts to that pattern rather than fighting it. Cutting against a growth pattern is how lineups look perfect for an hour and wrong for a week.
Uneven lengths and deliberate disconnections fake density. One uniform length announces the recession.
His broader advice for thinning or receding hairlines is worth quoting in spirit: keep the lengths uneven, use disconnections, and never fade everything to one uniform length, because uniformity is what advertises the recession. Varying lengths and leaving deliberate breaks creates the illusion of density. If that is your situation, our guide to haircuts for a receding hairline goes deep on exactly these moves. He also notes the client comes in every four to five days, which is what a skin-tight fade honestly costs in maintenance.
Lineups that survive the week
For the lineup itself, Los works enhancements where the client wants them, including a vertical bar on the front right that sharpens the corner the growth pattern softens. The sequence is always the same: comb the hair into its natural fall first, establish the line second, and only then apply any enhancement. Lineups drawn on hair that is combed the wrong way are drawn on fiction.
Comb into the natural fall, then draw the line. A lineup on combed-wrong hair is drawn on fiction.
Styling the finished fade
Los finishes the cut with a hair clay worked through the top, which is the right call for this shape: a matte, pliable clay gives the top enough grip to stand away from the fade without adding shine that would spotlight the transition. The product he works with is in the Slick Gorilla Lightwork matte clay class, the lightweight matte styler barbers reach for when they want texture without weight. A matte clay also ages honestly through the day: it loosens instead of collapsing, which suits a cut the client is re-upping every four or five days.
Matte clay gives texture without weight, and it loosens through the day instead of collapsing.
FAQ
What guards do I need for a three-step drop fade?
A three, a 1.5, and a half, plus a closed zero for the baseline. That is the entire ladder. If your kit skips 1.5 and half guards, our clipper guard sizes chart shows which combinations approximate them.
Why does my drop fade come out with hooks at the back?
Hooks come from following the curve flat instead of flicking, and from a bulk pass that drifted below the baseline you set. Set the zero baseline first, flick as the head rounds, and keep the back foundation slightly lower than the sides.
Do I need zero-gapped clippers for a skin fade?
No. Los builds skin-tight fades with clippers that are not zero-gapped. Technique and lever discipline matter more than the gap; a modified gap mainly raises the stakes of a wrong pass.
How often does a drop fade need a touch-up?
In the video the client returns every four to five days. Any skin-tight fade lives on a similar cycle; stretch it to a week and the baseline blur is what you notice first.
Is a drop fade good for thin hair?
It can be, with adjustments. Build the foundation higher, expect short guards to read even shorter, and lean on thinning shears rather than extra guard passes. The texture rules above apply directly.