TrustedBarber is reader-supported. If you buy through links on this page, we may earn a commission from Amazon at no extra cost to you.
- Why the clipper comes first
- Light pressure and the glide
- The rough draft line
- The neck: the sensitive zone
- The golden rule of shaping
- Against the grain, and why
- Blade teeth up: the bump prevention rule
- Shaping the bottom: the afro technique
- The mustache pass
- The hard line and client communication
- The electric shaver finish
- The tools for the shape
- FAQ
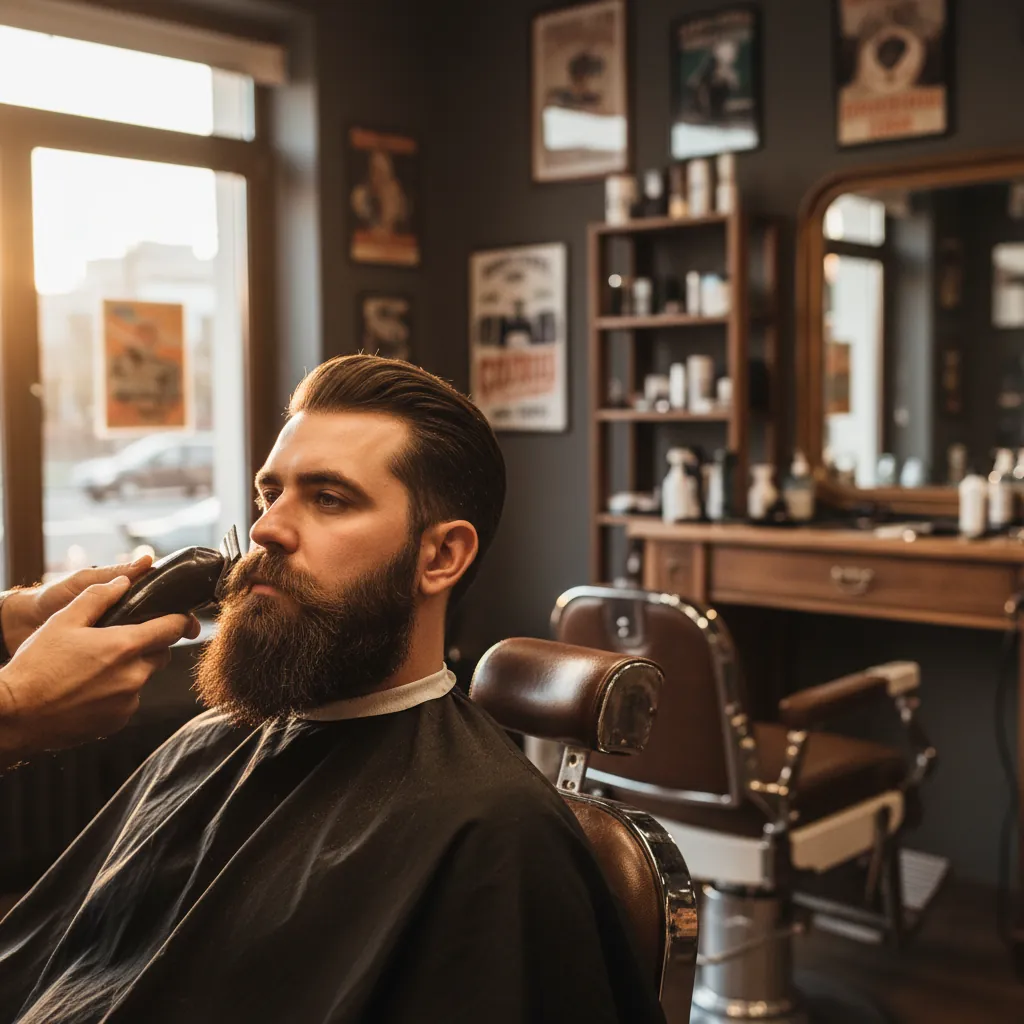
A goatee is one of the few styles where the order of operations matters as much as the lines, and Thomas of Barber Style Directory opens his shaping tutorial with the detail most people get wrong. He shaves the bulk of the facial hair down with the clipper before the trimmer ever touches the face. The reasoning is mechanical, not stylistic: going straight in with the trimmer on thick growth would probably work, but it puts stress on the trimmer blade and can snag in a few spots. The clipper pass removes the mass, and the trimmer pass gets to do precision work instead of demolition. That one sequencing decision shapes the rest of the build below.
Why the clipper comes first
Think about what each tool is being asked to do. A clipper with a guard set can chew through a week or two of growth without effort, and it leaves an even, predictable canvas. A trimmer is a detail instrument with a narrow blade designed for lines, and asking it to plow through heavy bulk is where snagging, irritation and shortened blade life come from. The video’s opening tip is really a workflow: bulk management is the clipper’s job, definition is the trimmer’s job, and crossing the streams is what causes the snags.
For a home goatee, that maps cleanly onto the guard logic in our clipper guard sizes chart: one short guard setting for the bulk pass, then everything finer happens with the trimmer freehand.
Bulk down with the clipper, detail with the trimmer. Reverse the order and neither tool does its job.
Light pressure and the glide
Once the bulk is down, Thomas follows with the trimmer, and the technique note he calls the number one tip for reducing irritation is pressure. He uses light pressure and just lets the trimmer do the work, letting it glide across the skin without pressing down. This is the single most repeated instruction in the video, and it shows up in every pass: bulk trimming, neckline cleanup, the under-chin pass.
Why light pressure works is worth understanding so you actually apply it. A trimmer’s teeth cut hair that passes between them; pressing the head into the skin does not cut faster, it just drags the housing across the skin, and dragging is what produces redness and bumps. If the trimmer is sharp and the pressure is right, the speed of the blade does the cutting for you. Pressing harder is the classic beginner reflex, and it is the cause of most of the irritation people blame on their equipment.
Light pressure and let the trimmer glide. Pressure is what turns a trimmer pass into irritation.
The rough draft line
After the bulk comes the step that keeps a goatee symmetrical: the rough draft. Thomas is explicit that he is not trying to get the line sharp at this stage. He just wants to put in a line to see where he is at, and then clean the hair up under the chin. Setting a draft line first means the fine-tuning happens against a reference that already exists, rather than trying to establish a final line and perfect it in one motion.
This two-stage approach has a practical payoff beyond symmetry. A rough draft line is cheap to adjust: if the goatee’s width or length reads wrong once the draft is in, you move the draft before any precision work is committed. A single-shot sharp line has no such safety net, because the moment it is wrong, you are cutting away hair you needed to keep. Draft first, refine second, is the whole architecture of a symmetric goatee.
Draft the line first, sharpen it later. The rough draft is what keeps a goatee symmetrical.
The neck: the sensitive zone
The under-chin and neckline pass gets its own warning, and Thomas says he cannot emphasize it enough: people are often very sensitive in the neck area. The technique adapts to that with a two-handed habit. If you need to, stretch the skin with one hand and let the trimmer do the work with the other.
Stretched skin does two things at once. It flattens the surface so the trimmer glides instead of riding over contours, which keeps the depth of cut even along the line. And it lifts the hairs so they stand into the blade path instead of lying flat, which gets a cleaner pass with fewer repeat strokes. Fewer passes over the same patch of neck skin is the whole game in that zone, because repeated irritation there is what clients actually complain about.
The neck is the sensitive zone: stretch it and work slow.
The golden rule of shaping
Midway through the video, Thomas introduces the rule his subscribers know: whatever you do to one side you have to do it to the other side as well. It sounds obvious until you watch how a real shaping session drifts. Every small correction on the left cheek line has a matching correction waiting on the right, and the discipline of pairing every move is what keeps the two sides converged instead of slowly diverging.
A practical way to enforce the rule at home is to mirror-check after every paired move, not at the end. Whatever the last adjustment was, go look at its twin before making the next one. Symmetry lost at step two is recoverable; symmetry lost at step eight is a shave-it-all-off decision.
Whatever you do to one side, you do to the other. That rule is the whole symmetry check.
Against the grain, and why
Partway through the video you can see Thomas going against the grain with the trimmer, and he stops to define the term because it gets used loosely: against the grain just means opposite the way the hair naturally grows. If the hair grows down, he is cutting it up. The reason is stated plainly: it gives you a closer shave.
It is worth knowing when that trade is worth making. Against the grain gets closer but spends more of the skin’s tolerance, because each pass is taking hair shorter than the skin surface expects. With the grain is gentler but leaves the stubble line higher. On the bulk pass and the draft line, the trimmer is working with plenty of hair to guide on, so against the grain costs little. On the final finish pass, the video actually switches tools, which the next sections cover.
Against the grain just means opposite the way the hair grows. Nothing more mystical than that.
Blade teeth up: the bump prevention rule
The most technically specific tip in the video is about trimmer orientation. Whenever he performs a shave, Thomas always does it with the teeth of the blades facing up. If he turned the trimmer blades toward the skin, the motion becomes more like digging, which causes more irritation. The goal is a clean shave without the client bumping up or experiencing any redness, and blade orientation is one of the levers that actually controls that.
This tip pairs naturally with our guide on shaping the neckline, cheek line and lip line, which covers the same bump-avoidance logic across all three of a goatee’s defining lines.
Blade teeth face up. Flip them toward the skin and you are cutting bumps in, not preventing them.
Shaping the bottom: the afro technique
With the lines drafted, the general shaping pass starts, and it uses a tool swap back to the clipper. Thomas turns the clipper over and shapes the bottom because he wants that nice rounded look. He picks out the hair and shapes the beard, and he says it is similar to how he would shape an afro: freehand sculpting with the clipper body, working the silhouette rather than following a guide comb.
The lever work in this pass is the detail that separates a tidy goatee from a fuzzy one. While shaping the bottom of the chin with the lever slightly open, he closes the lever when he wants a more precise cut. Open lever means longer cut and more forgiving blending; closed lever means shorter cut and a crisper edge. Moving between the two positions within the same pass, instead of switching guards or tools, is how the rounded bottom gets both softness where it blends and precision where it defines.
 ” alt=”Man combing a styled mustache” class=”wp-image-6804″ style=”width:640px;height:auto” />
Turn the clipper over and shape the bottom: that is where the rounded look comes from.
The mustache pass
The mustache gets its own pass, and it starts from the client’s preference: he does not like his hair growing over his lip. Thomas takes the one guard and smooths down the mustache with it, which sets a uniform length across the mustache body before any detail work happens around it.
That one-guard approach solves a problem hand-scissoring does not: the mustache is the easiest part of a goatee to leave lumpy, because you are working across a curved lip line at eye-crossing angles. A single short guard evened across the whole mustache gives you a flat, predictable field, and then the detailed line work that follows only has to deal with the perimeter, not the interior.
One guard, smoothed straight down, sets the whole mustache length.
The hard line and client communication
For the crisp final edges, Thomas swaps to a different trimmer set a little bit closer, and this is where the draft line from earlier earns its keep: he is now trying to put in a hard line to make it more precise, working over the reference the draft established. He also gets the hair from around the lip in this pass, cleaning the perimeter the mustache guard left slightly soft.
Then comes the part of the video most tutorials never mention, and it applies to anyone cutting a family member’s goatee as much as to barbers: communicate to your clients what you need them to do to get the haircut as precise as possible. If you need them to curl their lip or puff air into their cheek, just communicate that. A puffed cheek stretches the cheek line area taut; a curled lip lifts the mustache border away from the lip line. Those two seconds of cooperation buy a sharper line than any additional pass with the trimmer.
This is also the moment to close the loop on the pairing discipline: every hard line you set on one side gets its twin immediately, per the golden rule, before you move on. If you are shaping your own goatee at home, our at-home beard shaping framework covers the mirror setup that makes self-applied symmetry realistic.
The hard line is precision work over the draft line, not a fresh start.
The electric shaver finish
The final step is a tool most home goatee attempts skip entirely: he follows with the electric shaver, and the video states the value proposition exactly. It gives you that razor-close shave without the risk of cutting or nicking the client, and it is much faster. Once again he is using light pressure, not digging or using heavy pressure.
The shaver’s role in this workflow is to finish the cleared areas, everything outside the goatee’s outline, down to a genuinely clean shave without exposing skin to a bare blade. For clients who react badly to straight razors, and for home users who have nicked themselves one time too many, this is the step that makes the difference between a shaped goatee with red halos around it and one that looks like it was done by someone with steady hands. The outline work above defines the shape; the shaver pass is what makes the frame around it invisible.
The electric shaver finish is razor-close without the nicks.
The tools for the shape
The trimmer
Both trimmer passes, the draft line and the hard line, run on a detailer-class blade. The Wahl Professional 5 Star Cordless Detailer is the T-wide blade tool built for exactly this work: lineups, detailing and the close perimeter passes the video demonstrates, with the cordless freedom to work around the chin at any angle. The light-pressure rule matters most on this tool, since its blade is sharp enough that pressing adds nothing.
The clipper
The bulk-down pass and the rounded shaping pass both need a clipper, not a trimmer. The Wahl Professional 5 Star Magic Clip Cordless handles the bulk removal without stressing a trimmer blade, and its lever is what runs the open-to-closed precision shift during the chin shaping. For a home-first kit, the lighter-weight Wahl Color Pro Cordless covers the same two jobs at a friendlier price, with color-coded guards that map directly onto the one-guard mustache pass.
Aftercare
A fresh goatee with shaved borders needs the skin around it treated like the shaved area it is. Keeping the hair itself conditioned changes how the edges read too, and our beard oil, balm and butter comparison sorts out which product keeps the goatee body soft without softening the lines you just cut. If growth density is the limiting factor on your goatee, our thicker beard guide covers the longer game.
FAQ
Why not just go straight in with the trimmer? Thomas addresses this directly: it could probably work, but it puts stress on the trimmer blade and might snag in a few spots. The clipper-first pass removes the bulk so the trimmer only does definition, which is what its blade is built for.
How do you avoid red bumps around a fresh goatee? Three habits from the video stack together: light pressure with the trimmer gliding instead of pressing, blade teeth facing up so the motion never digs, and a final pass with an electric shaver that gets razor-close without the nick risk. Skipping any one of them shows up as redness within the hour.
Should the goatee outline be sharp or soft? The video builds both deliberately: a soft draft line first to locate the shape, then a hard line from a closer-set trimmer to make it precise. The draft is what lets the hard line be committed safely, because the geometry was already confirmed before the precision pass.
How does the lever setting change the chin shaping? Slightly open while roughing in the rounded bottom, closed when precision matters. The clipper’s lever is doing two different jobs inside one pass, and the closed position is what turns a blended bottom into a defined one.