There is a moment every barber knows: the trimmer that used to crisp hairlines now drags, folds hair over, and needs three passes to do what one used to do. Before you spend two hundred dollars on a replacement, know that you can bring most blades back with a sharpening stone, a screwdriver and about ten minutes at your station. This guide follows the method working barbers actually use, including the counterintuitive detail that some trimmer blades perform better slightly worn in than fresh out of the box.
Key Takeaways
- A trimmer that hits needs two things: a strong motor and a sharp, well-set blade. Both matter equally.
- You can sharpen clipper and trimmer blades at home with a fine grit stone in around ten minutes.
- Drag the blade across the stone in one direction only, a couple of minutes per side. Never scrub back and forth.
- Some trimmer blades, Babyliss-style ones especially, cut better after a little wear than brand new.
- Clean, oil and test after every sharpening. Chipped or corroded blades should be replaced, not sharpened.
In this article
When a blade needs sharpening
The symptoms stack up quietly: lines stop popping, the blade starts snagging coarse strands, you find yourself going over the same spot, and heat builds up faster because the motor is working harder against a dull edge. If cleaning and oiling do not bring the cut back, the edge is the problem. A hone fixes most cases. But inspect the teeth first under a lamp. Chipped, bent or rusted teeth will not sharpen back, and a damaged blade is a safety issue, so replacement wins there.
What you need
The shopping list is short. A fine grit sharpening stone or a purpose-made honing stone for clipper and razor blades. A precision screwdriver for the blade screws. A clipper brush. Blade oil. And a disinfected work surface. A dedicated option like the Vincent sharpening hone for clippers and razors is made for exactly this job, and any quality fine-grit whetstone works too since a clipper blade is steel like any other.
What you need to sharpen
The shopping list from the section above.
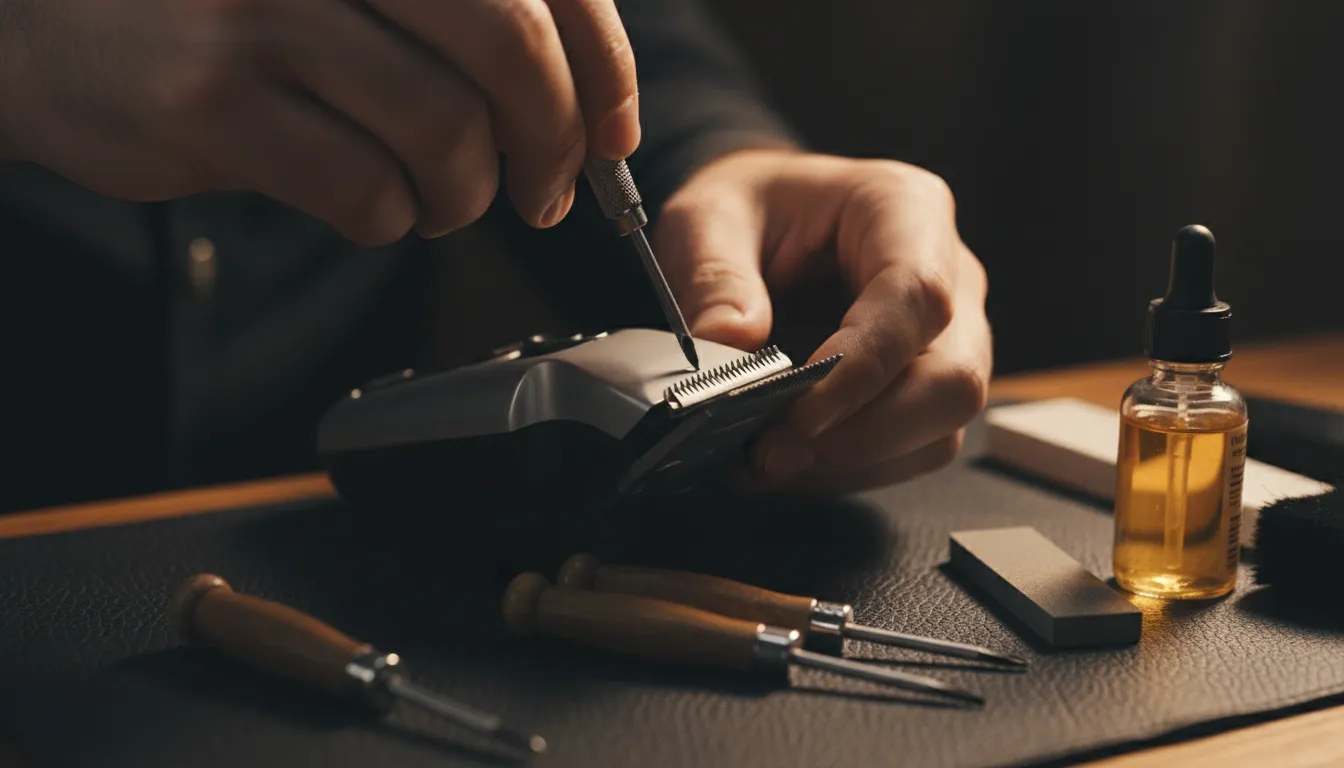
Sharpening honePrecision screwdriver setClipper brushClipper oil
Step by step
- Set the blade first. Before removing anything, set your trimmer blades to where you want them, close but not fully zero gapped. The recommended setting is just shy of the stop, because a slightly open, versatile trimmer cuts kids’ hair, hairlines, bulk and beards without the nick risk of a full zero gap.
- Remove the blades as a pair. Take both blades off together and do not separate them. They wear as a matched set and go back together as one.
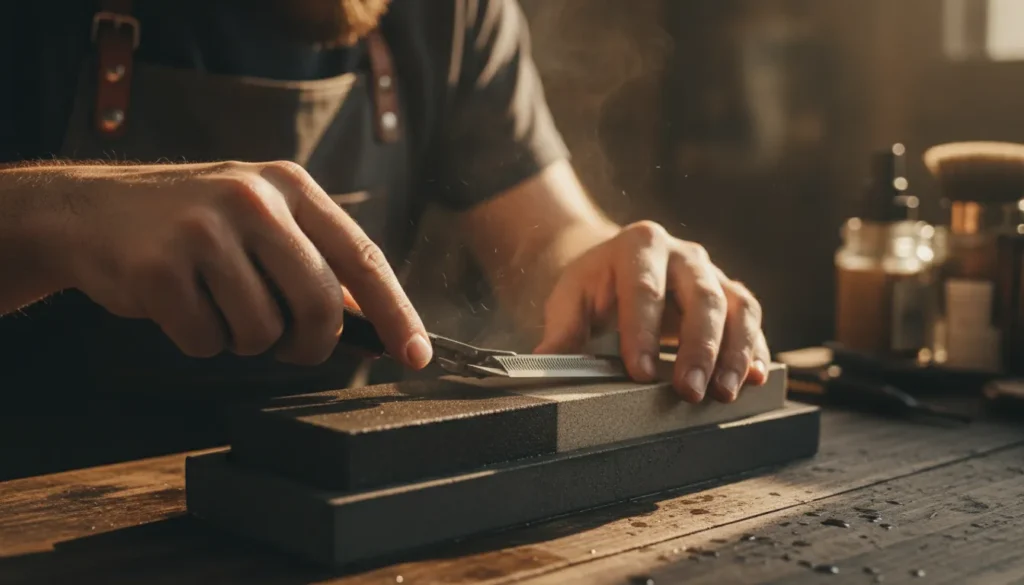
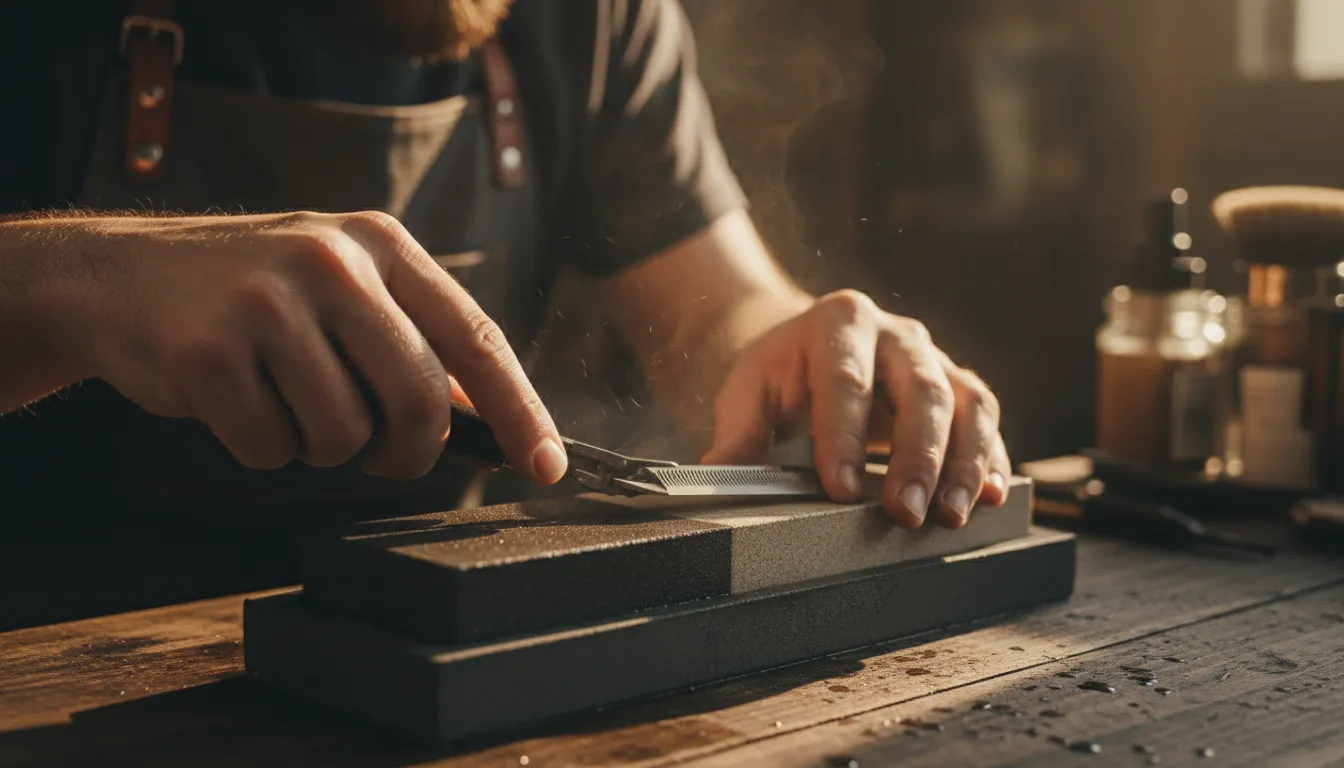
- Sharpen in one direction. Lay the blade flat on the stone and drag it, edge first, in a single direction. You will hear a gritty sound and see fine metal dust collect. Do a couple of minutes. Then flip the blade around and repeat on the other side. Never scrub back and forth, which rolls the edge.
- Brush off the dust. All that metal powder needs to come off before reassembly. Brush both blades thoroughly.
- Reassemble at your setting. Put the paired blades back on, keeping them parallel, and tighten the screws evenly.
- Oil and test. Two drops at the teeth, run it five seconds, then test on a guard or some old hair before it touches a client. It should glide with no snag.
The motor matters just as much
It is tempting to blame every bad cut on the blade, but the video this guide follows makes the point well: motor and blade are equally important. A perfect blade on a weak motor will not be versatile. It might manage certain hair textures but it will not remove bulk or hold up through a full day. You can feel a good motor in the hand, the power is obvious. And a caution for anyone buying new: even the big brands ship occasional bad batches, so test any new trimmer on a range of hair types while the return window is open.
Home hone vs pro service vs new blade
| Option | Cost | Time | Result | Best for |
|---|---|---|---|---|
| Home sharpening stone | Low, one time | 10 minutes | Restores most dull blades | Regular maintenance, trimmer blades |
| Professional sharpening service | Per blade | Days, plus shipping | Factory-grade edge | Expensive detachable blades, major damage |
| New blade | Highest | Instant swap | Like new | Chipped teeth, corrosion, worn past saving |
Make it last
Sharpening is a reset, not a substitute for daily care. The blade care schedule in our clipper blade care and oil guide keeps edges sharp longer, the products worth keeping at your station are covered in our maintenance supplies rundown, and if your trimmer runs close to the skin all day, our zero gap trimmer comparison covers which ones hold an edge best. Keep a cooling disinfectant spray handy as well, since heat softens the cut and a hot blade drags. A splash of Andis Cool Care Plus between clients covers both, and a bottle of Wahl Premium Blade Oil should never be more than an arm’s reach away.
FAQ
How often should I sharpen trimmer blades?
Barbers who cut daily tend to touch up every couple of months. Home users can go much longer, and the tell is performance, not the calendar: when the blade starts snagging, sharpen.
Can I use a kitchen knife whetstone?
Yes, a fine grit stone works, since clipper blades are hardened steel. Keep the blade flat and use single-direction strokes. A dedicated clipper hone just makes the angle easier to hold.
Does sharpening remove the blade coating?
Sharpening works on the cutting edge, not the coating over the rest of the blade. Keep your strokes on the edge face and the finish stays intact.
Why does my new trimmer cut worse than my old one?
Some trimmer blades genuinely improve with a little wear as the surfaces lap in. A new blade that feels grabby often settles after a week of use, and a light hone speeds that up.