
TrustedBarber is reader-supported. If you buy through links on this page, we may earn a commission from Amazon at no extra cost to you.
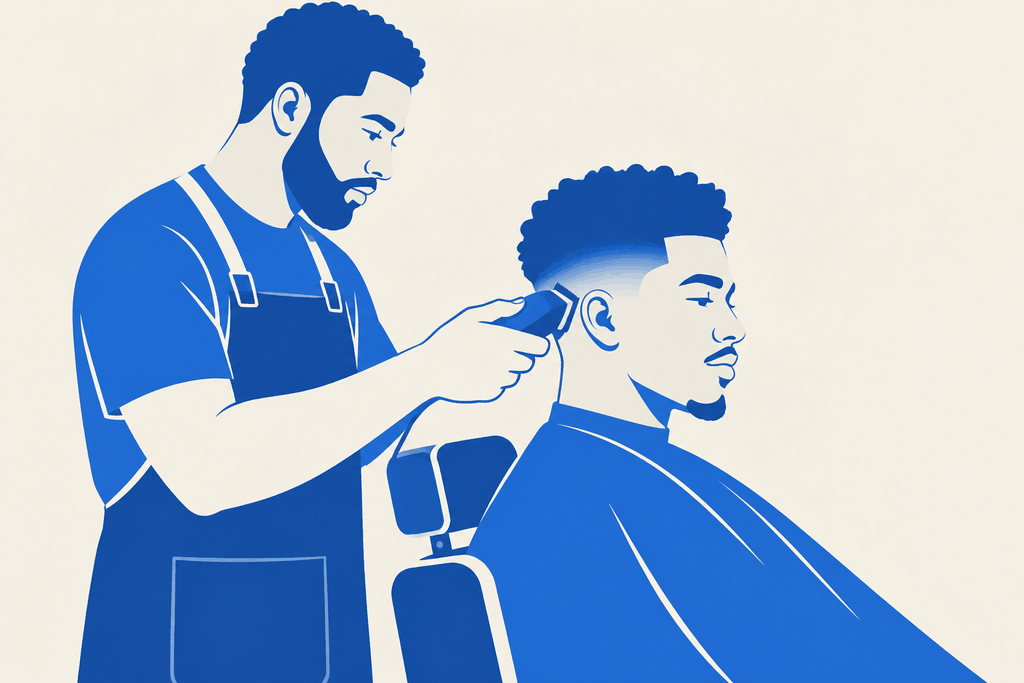
A taper looks simple from the chair: the hair gets gradually shorter as it drops toward the sideburns, the ears and the neckline, while the top keeps its length. Getting that gradient clean is where most home cuts fall apart. Two barber tutorials approach it as a repeatable system rather than a talent: Yass The Barber builds the whole shape with scissors before a clipper ever touches the head, and Barber Style Directory runs a strict guard-by-guard fading order. Together they cover both halves of the job. If you are still deciding between a taper and a fade, our taper vs fade breakdown covers the difference barbers draw between the two.
What makes a taper a taper
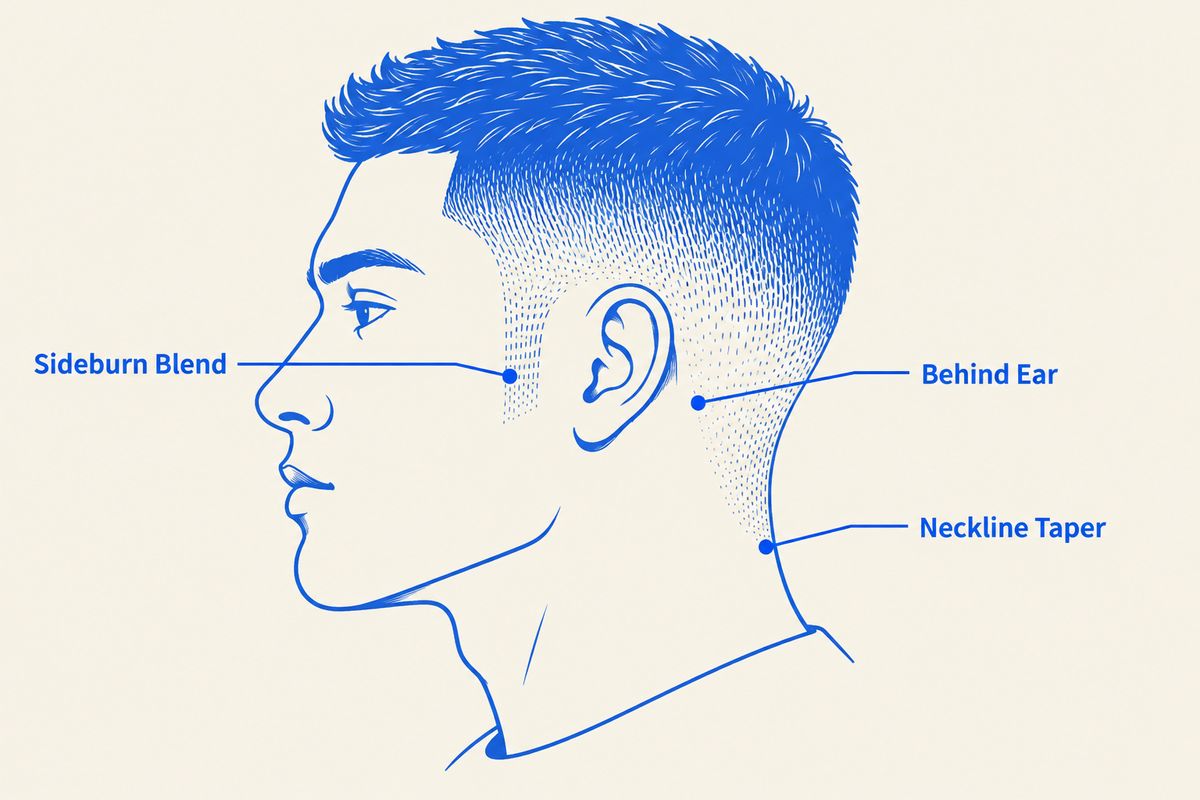
A taper concentrates the shortest work in three zones: the sideburns, the area around the ear, and the neckline. Everything above those zones keeps real length, and the transition between the two is blended rather than lined. That is what separates it from a full fade, where the short work climbs much higher up the head. In Barber Style Directory’s high taper tutorial, the entire haircut is built around keeping the blend low and tight so the curls on top stay the focus. Yass The Barber’s tutorial pairs a mid to high taper with a longer scissor-cut top, which is the version most guys asking for “a taper” in a shop actually mean.
The practical implication: a taper is two haircuts that have to meet cleanly. There is the shaped top, usually scissor work, and there is the faded perimeter, which is clipper work. Both tutorials cut the top first and fade second, because the fade has to blend into whatever length the top leaves behind.
Sectioning: map the head before cutting
Yass The Barber starts every cut by mapping the head with the comb, not by removing hair. His first section runs straight through the middle, using the nose as the center point, and parts the hair into two halves. The second is a horizontal section taken where the head shape starts to round, combing everything toward the back and then everything toward the front to separate those zones. Two more sections at the front isolate the apex, which he twists and clips away.
That mapping does two things. It shows exactly where the top ends and the sides begin, which is where the taper will have to connect. And it keeps long hair out of the way so the graduation work underneath stays visible. Skipping this step is how home cutters lose track of how much length they actually have left.
Building the shape with scissors first
With the head mapped, Yass cuts the sides with a graduation technique. The first section goes in slightly higher than the natural fall because the taper will sit disconnected from the top at first. Every section after that is over-directed to the previous one, which keeps weight where he wants it while connecting the longer length to the shorter length underneath. He notes that he over-directs slightly more than usual on the last sections to preserve length at the top, using the shortest point as the guide everything builds from.
The top connects to the sides with a diagonal cutting line taken from corner to corner, mirrored on both sides. He then switches to a razor to take length off the top, using the connected length as his guide toward the fringe. The fringe itself gets horizontal sections with a point cutting technique, which leaves texture instead of a blunt line. Before any fading starts, he styles the hair with sea salt spray to see the shape it will actually be worn in, noting the same cut can be styled forward and messy or pushed into a textured curtain.
The clipper system, guard by guard
Barber Style Directory’s tutorial is the cleanest version of the fading order. He sets the bald guidelines at the sides and back first, then debulks everything above them with a 1.5 guard. From there the system is strict:
- Lever fully open, no guard: a guideline about an inch high. Then the lever closes gradually as he works up to the top of that line, opening a little more with each pass.
- Number 1 guard, lever open: right up under the 1.5 debulk line. Then lever fully closed, then halfway, to blend the space between.
- Half guard, lever halfway: under the number 1 work, then lever closed. His warning here is to not go too high with this guard, because the half guard is where visible lines get carved in if it climbs.
- Detail pass: back to the number 1 guard for touch-ups, doing all detail work on one side before starting the other.
Yass runs the same logic from the other direction on his taper: a number 2 guard sets the fade foundation, a double zero cleans the bottom, and a number 1 blends into the 2 with the lever played open and closed. Corners get detailed with the 1 mostly open. If guard numbers are still fuzzy, our guard numbers guide shows what each length actually leaves behind.
The neck taper and the lineup
The neck taper repeats the side sequence in a smaller space. Yass runs the number 2 first, follows with the double zero, then the number 1 fully open to blend into the 2, and closes the lever down in stages. Both tapers get connected at the back, then a foil shaver finishes the bottom. For the lineup, Barber Style Directory’s advice is restraint: do not push the line back into the hair, do not over-exaggerate the arch over the ear, and use the corner of the blade to work around the ear rather than the full blade. He starts in the middle of the hairline, works to one side, then matches the other. A light mist of hairspray holds stray hairs in place so the line you cut is the line the client keeps.
Tools for the job
Both tutorials run a cordless clipper with a taper lever as the main tool. The Wahl 5 Star Cordless Magic Clip is the shop standard for this kind of lever play, since the stagger-tooth blade is built to erase guard lines instead of stack them. The lineup and neck work calls for a trimmer you can steer with a corner: the Andis T-Outliner is the classic pick for that. For the skin-tight finish at the bottom of the taper, the Andis ProFoil Lithium is the foil shaver barbers reach for.
Check the Magic Clip on Amazon
Check the T-Outliner on Amazon
Watch the full tutorials
Yass The Barber’s full taper build, from sectioning to the finished style:
Video credit: Yass The Barber on YouTube. The video also promotes his paid barber academy; the technique above stands on its own.
Barber Style Directory’s high taper, run at full working speed with the guard order narrated:
Video credit: Barber Style Directory on YouTube.
FAQ
How often does a taper need a cleanup?
The perimeter grows out faster than the top, so the taper zones start looking soft first. A neckline cleanup at home stretches the time between full cuts, and our haircut cadence guide covers what barbers recommend for the full cut.
Can you taper curly hair?
Yes. Barber Style Directory’s demo head is curly on top, and the whole point of the cut is that the tight perimeter makes the texture on top the feature. The guard order stays the same; the top just gets left longer and shaped dry.
Is a taper easier than a full fade for a beginner?
Marginally, because the blend sits lower where mistakes are less visible and there is less real estate to fade. The same lever discipline applies either way, and our beginner fade guide walks the full version.