Disclosure: this article contains Amazon affiliate links. As an Amazon Associate, Trusted Barber earns from qualifying purchases, at no extra cost to you. It does not change what we recommend.
The two block pairs short back and sides, an untouched-looking mass of length on top, and a clean line where the two meet. The One Minute Barber channel built one on camera from the first guard pass to the final comb, and his version teaches the parts that usually get skipped, like why the back starts with a square line instead of following the hairline, and how a single marker point creates the graduation that makes the top fall the way it does. Here is the full method.
What two block actually means
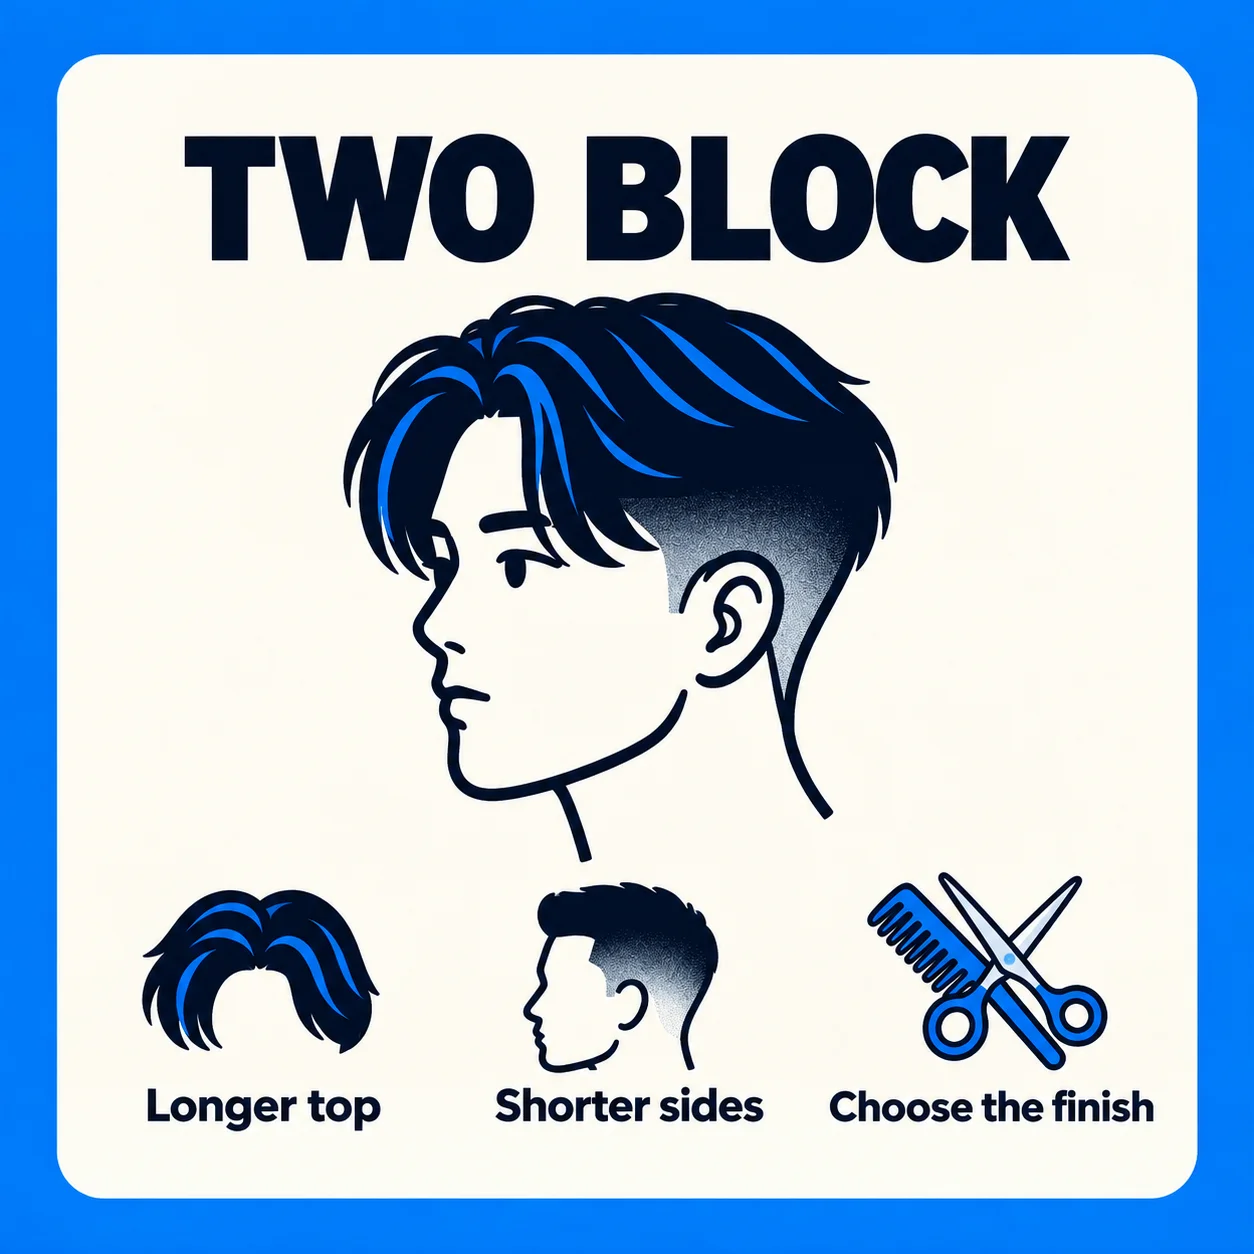
The name is the instruction. A two block cuts the head in two blocks: one block for the back and sides, one block for the top, with the boundary between them kept deliberate. Everything else is interpretation. This particular top gets finished swept to the side and longer toward the front, while other two blocks pull forward more like an Edgar. The barber makes the point that you can interpret the top any way you want; the two-block structure is the gist of the cut.
In this recorded tutorial, he says his own clients were asking for more two blocks and fewer fades. He wonders whether younger clients want to keep more length. His response is the professional one: cut whatever they ask for, but know how to do it when they ask. If the shape you are picturing sits between this and a fade, the low, mid and high fade guide and the taper versus fade comparison bracket the options.
The back: a square line and a lifted taper
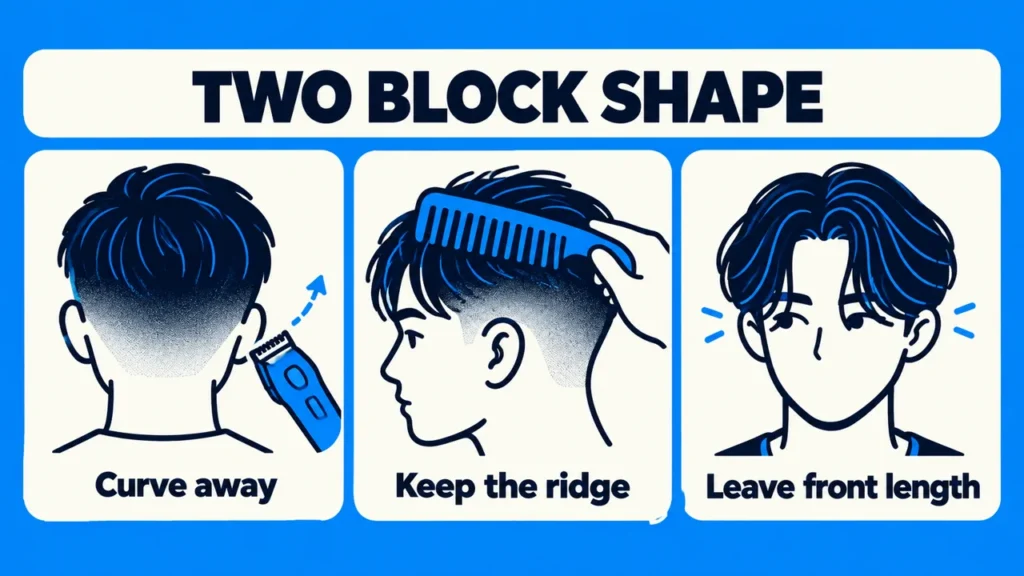
The back starts on a number three, and the first technique instruction is about the angle, not the guard. Do not follow the shape of the skull. Curve out in a C motion with the clipper, pulling the guard away from the head as you rise, so the guard stops touching the hair even though it travels above the occipital bone. That bone, the one that sticks out the most at the back of the head, is the landmark. Curving away above it leaves the hair lengthening as the clipper climbs instead of stepping down onto the crown.
Then the taper underneath, and this is where the two block earns its crispness. He goes in with a zero, lever closed, no guard, and cuts a straight line across the back. Completely straight, square, and not following the curvature of the hairline. From that ledge, longer guards lift the line upward: the half with the lever down first, then the number one, then the two, which is the last step joining into the three that opened the cut.
The technique on every longer pass is the same and it is the discipline point of the whole back: attack the line. When the clipper touches the line, flick it away immediately. Do not go any higher. He warns that going higher can cause problems with this taper. At the model’s nape whorl, where the hair grows sideways and upward, he changes direction and works downward with the clipper.
Framing comes next, and he lingers on it because it is his favorite part: getting those two lines at the back really straight is what produces the beautiful finish on the taper. He also adds an honesty note about hair color: jet black hair shows this definition the most, and the lighter the hair gets, the less definition you have, so do not beat yourself up if a lighter head does not read as crisp. For the guard math behind all of these steps, the guard size chart and the buzz cut numbers guide cover the ladder in detail.
Square line at the nape, then lift it guard by guard, flicking off the moment the clipper touches the line. The aim is to keep the taper from climbing into the longer hair.
De-bulk, then scissor over comb
With the perimeter set, the back gets de-bulked in sections: hair pulled out from the head and a good amount taken off, while keeping enough length that it lies down all the way onto the occipital bone. The cuts are roughly even section by section, and he says the quiet part out loud: at this stage it does not need to be perfect, because de-bulking is not refining.
The refinement is scissor over comb, worked from the top of the back down toward the taper, stepping down each time. As you get nearer the bottom, less hair comes off, which is the signal that you are close to the taper: when the hair stops coming, stop cutting, go back to the top and work down again. De-bulking first is what makes this possible, because scissor over comb on a section that is too heavy becomes a mess.
His description of the technique is the best short definition of it: scissor over comb is a relaxed method where you use no tension and no fingers, just the scissors, so the hair sits in its natural state while it is cut. He likes watching how the hair falls as it cuts, because it shows how the haircut is progressing, and he encourages learning it because you will use it every day in the shop and it is the key tool for longer hair. The mechanics pair with the moves in our long hair layers guide and the over-comb fundamentals in the clipper over comb guide.
The sides: the ridge that holds the top
The sides exist to do one structural job: form a ridge that supports the hair swept over from the top, and keep the hair from rising above it. He marks where he wants that ridge with his comb and works the number three toward the back, letting the ridge dip down as it approaches the taper at the back. The comb is the guide; the guard follows it.
The edge underneath gets finished in short steps. A half with the lever down takes the sideburn away, the zero cleans it up, then the number one goes in and bites at that line, and the one and a half works up from there. The warning repeats: do not go too high, and stay out of the ridge. He keeps the clipper below the ridge while refining the shorter side section.
Refinement around the ear uses the corner of the trimmer blade to curve the line behind the ear. He is relaxed about how bold that curve needs to be, pointing out that hair will fall over most of it anyway, but he is strict about the patch just behind the ear: that area is a very visible part of the haircut, so a line that is not straight goes back in for refining. If the trimmer work here is the part you want to sharpen, the detailer comparisons in our T-Outliner review cover the tool end.
The top: the marker point and compound over-direction
The top starts with a single strip cut down the middle, taken to soften the final look. The longest hair on the head sits right in that middle strip because it has to reach all the way down to the edges, and layering it means it runs slightly shorter higher up so it does not slam into the perimeter. He works forward from the back in methodical sections, each one matched to what the previous section took off.
Then the sides, and here is the technique that defines this cut. He sets a marker point, and every side section gets pulled all the way back to it before it is cut, vertical from the side of the head. The further forward the section comes from, the further it has to travel back to the marker point, so the hair has to get longer and longer toward the front. That single rule produces the graduation from short at the side to long at the front, and the triangular shape around the cheekbone that makes the two block read designed instead of grown out.
He names it properly too: this is compound over-direction, because the hair is being over-directed from the top and from the side simultaneously, everything pulled back toward one point. If you want the technical grounding for over-direction and sectioning, the layering in the long hair layers guide uses the same physics on longer lengths.
After the shape is cut, the edge gets softened: broad sections taken from higher up on the perimeter with about a centimeter removed. The point is to keep all the weight from landing right at the edge of the triangular shape. He mentions texture scissors, slicing, or a razor as the aggressive versions of that softening, but decides this particular head does not need them, which is the right call to make per head rather than per formula.
One marker point, every section pulled back to it. Compound over-direction is what builds the graduation, and it costs nothing but discipline.
Finish: dry, comb, and almost no product
The styling instructions are almost an anti-tutorial, and that is the point. The hair gets blown back, which gives a little root lift and bounce, then falls to the side on its own. He runs a comb through for a check, uses a pompadour comb for the finish because those leave a nice texture when pulled through, and cleans up any stubble with a foil shaver and says those finishing details make a difference to the haircut.
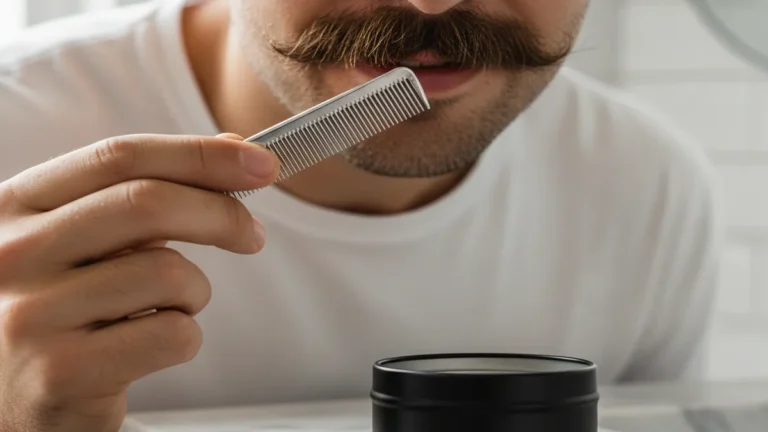
Product? He believes you should use the least amount necessary to get what you want, and on this head the answer is basically none: the hair tumbles and sweeps back on its own, and if it falls out of place during the day, running your fingers through it puts it right back. For styling options, the pomade, clay and wax guide compares the finishes. For a separate product option, Baxter of California Clay Pomade has a strong, pliable hold and matte finish according to Baxter. The maker directs a fingernail-sized amount warmed between the palms, then distributed through damp or dry hair with the fingertips. It is an optional styling product, not something the barber uses in this tutorial.
Check Baxter Clay Pomade Price
One structural decision is worth flagging because it comes straight from the barber’s own judgment call: a strict two block is fully disconnected between the blocks, but he chose to connect the back in his interpretation because he felt it sat better. That is the license the name gives you: the blocks are the rule, everything else is interpretation, and the Caesar cut guide and the Edgar cut method show the forward-pulled alternatives.
Which hair types this suits
He describes his model’s hair as a particularly good fit and also mentions long, wavy hair as another option. The broader rule is that anything near the lengths shown, on the side or on top, can be cut to this shape and styled however you want. Bring a reference picture to the consultation so the barber can discuss the longer top and shorter sides on your own hair.
For barbers adding this to the menu, the shears work here leans on the same fundamentals covered in the shears guide and the texturizing moves in the thinning shears guide, and the client conversation maps to the vocabulary in how to brief your barber.
FAQ
What does two block mean in a haircut?
The head is cut in two blocks: back and sides as one block, top as the other, with a deliberate boundary between them. The top gets interpreted freely, swept back, pulled forward, or parted, but the two-zone structure is what makes it a two block.
What guard is a two block cut with?
This build starts on a number three, curves away from the head above the occipital bone, then builds the taper from a zero straight line up through the half, one and two. The guards matter less than the C-motion and the flick-off-line discipline that keeps the taper clean.
Is a two block disconnected from the sides?
Traditionally yes, fully disconnected. The barber in this video deliberately connected the back in his interpretation because he preferred how it sat, which is a fair read of the style: the blocks are the rule, the connection is a judgment call.
How is a two block different from a fade?
A fade blends continuously from skin up to length; a two block keeps the back and sides as a visible block with a defined edge. In this recorded tutorial, the barber describes fewer fade requests and more two-block requests from his own clients, and both cuts are covered in the fade height guide and this article if your clients sit between them.
Does a two block need product?
On the right hair, almost none. The video finishes with fingers through the hair and nothing else, on the principle of using the least product necessary. The barber’s advice is to use only the product needed for the finish you want, rather than add it when the hair already sits as intended.